

Strip the wire, insert it into the correct terminal, and squeeze the crimper firmly until the connection is secure.
Learning how to use a hand crimping tool is simple once you understand terminal types, wire sizes, crimp locations, and proper testing. This guide explains the process step by step, including safety tips, common mistakes, and practical lessons that help create strong, reliable electrical connections.
What Is a Hand Crimping Tool?
A hand crimping tool joins a wire to a connector by pressing the connector around the wire. This creates a firm mechanical bond and, in many cases, a reliable electrical path.
Unlike soldering, crimping does not require heat or liquid metal. A good crimp depends on the right pressure, the correct terminal, and a close match between the terminal and wire size.
Common uses include:
- Automotive wiring
- Home electrical projects
- Speaker and low-voltage wiring
- Network and communication cables
- Battery cables
- Control panels
- Marine wiring
- Appliance repairs
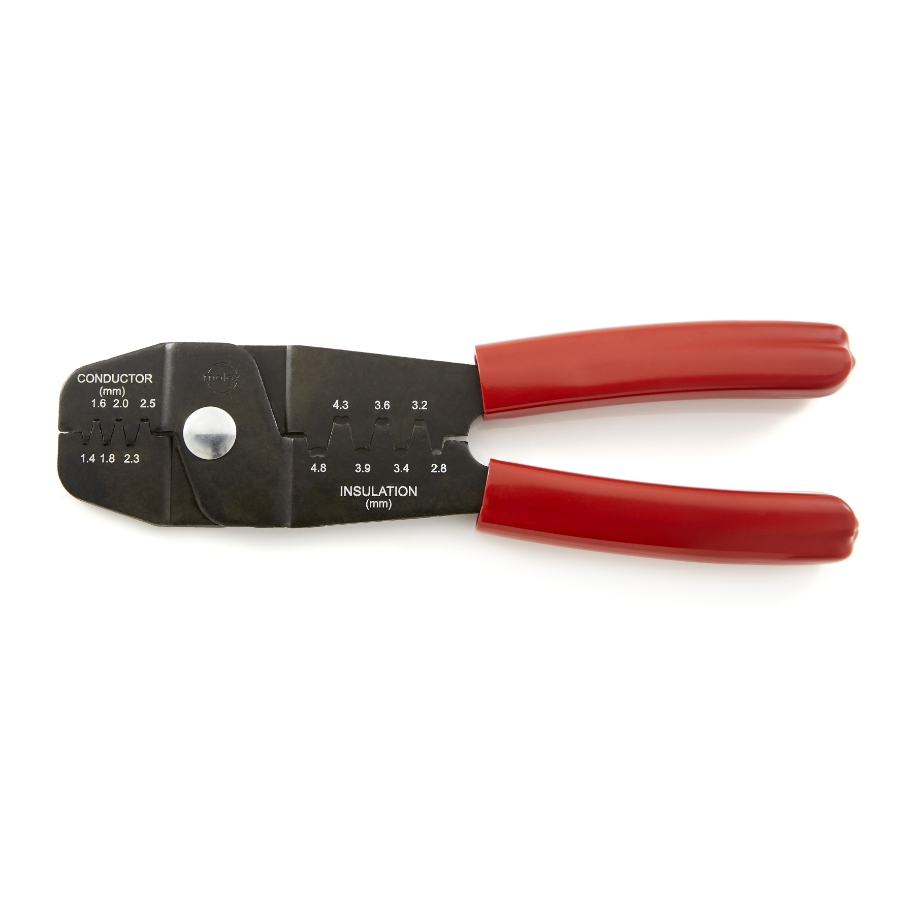
Most hand crimpers are made for specific terminals. Some tools crimp insulated terminals, while others work with non-insulated terminals, coaxial connectors, modular plugs, or heavy battery lugs.
A crimp should hold the wire tightly without cutting through the conductor or damaging the terminal. Think of it like a firm handshake. Too loose, and the wire slips. Too hard, and the connection becomes damaged.
Types of Hand Crimping Tools
Choosing the correct tool is the first step in learning how to use a hand crimping tool. Different connectors need different crimp shapes and pressure levels.
Insulated terminal crimper
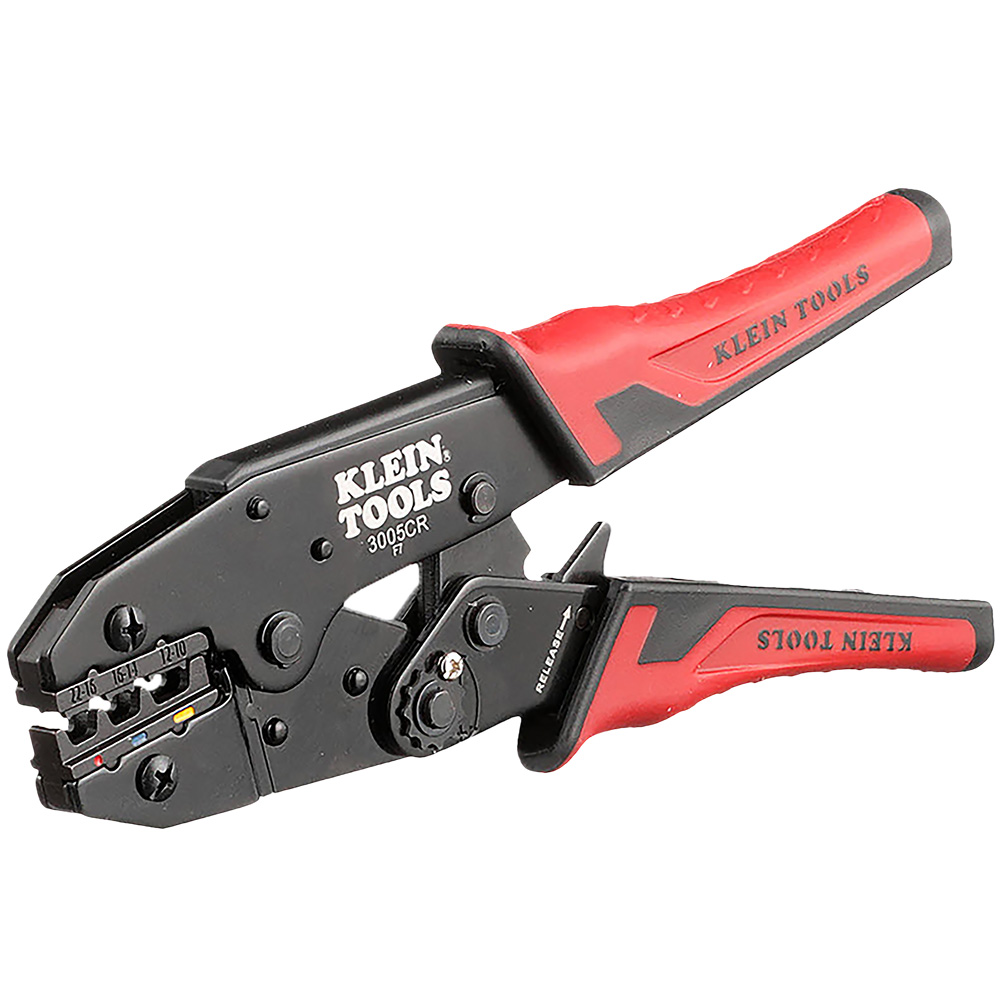
This tool is common in automotive and household wiring. It often has color-coded sections for red, blue, and yellow terminals.
Typical color ranges are:
- Red terminals for smaller wires, often 22 to 16 AWG
- Blue terminals for medium wires, often 16 to 14 AWG
- Yellow terminals for larger wires, often 12 to 10 AWG
Always check the terminal package. Color ranges can vary between brands.
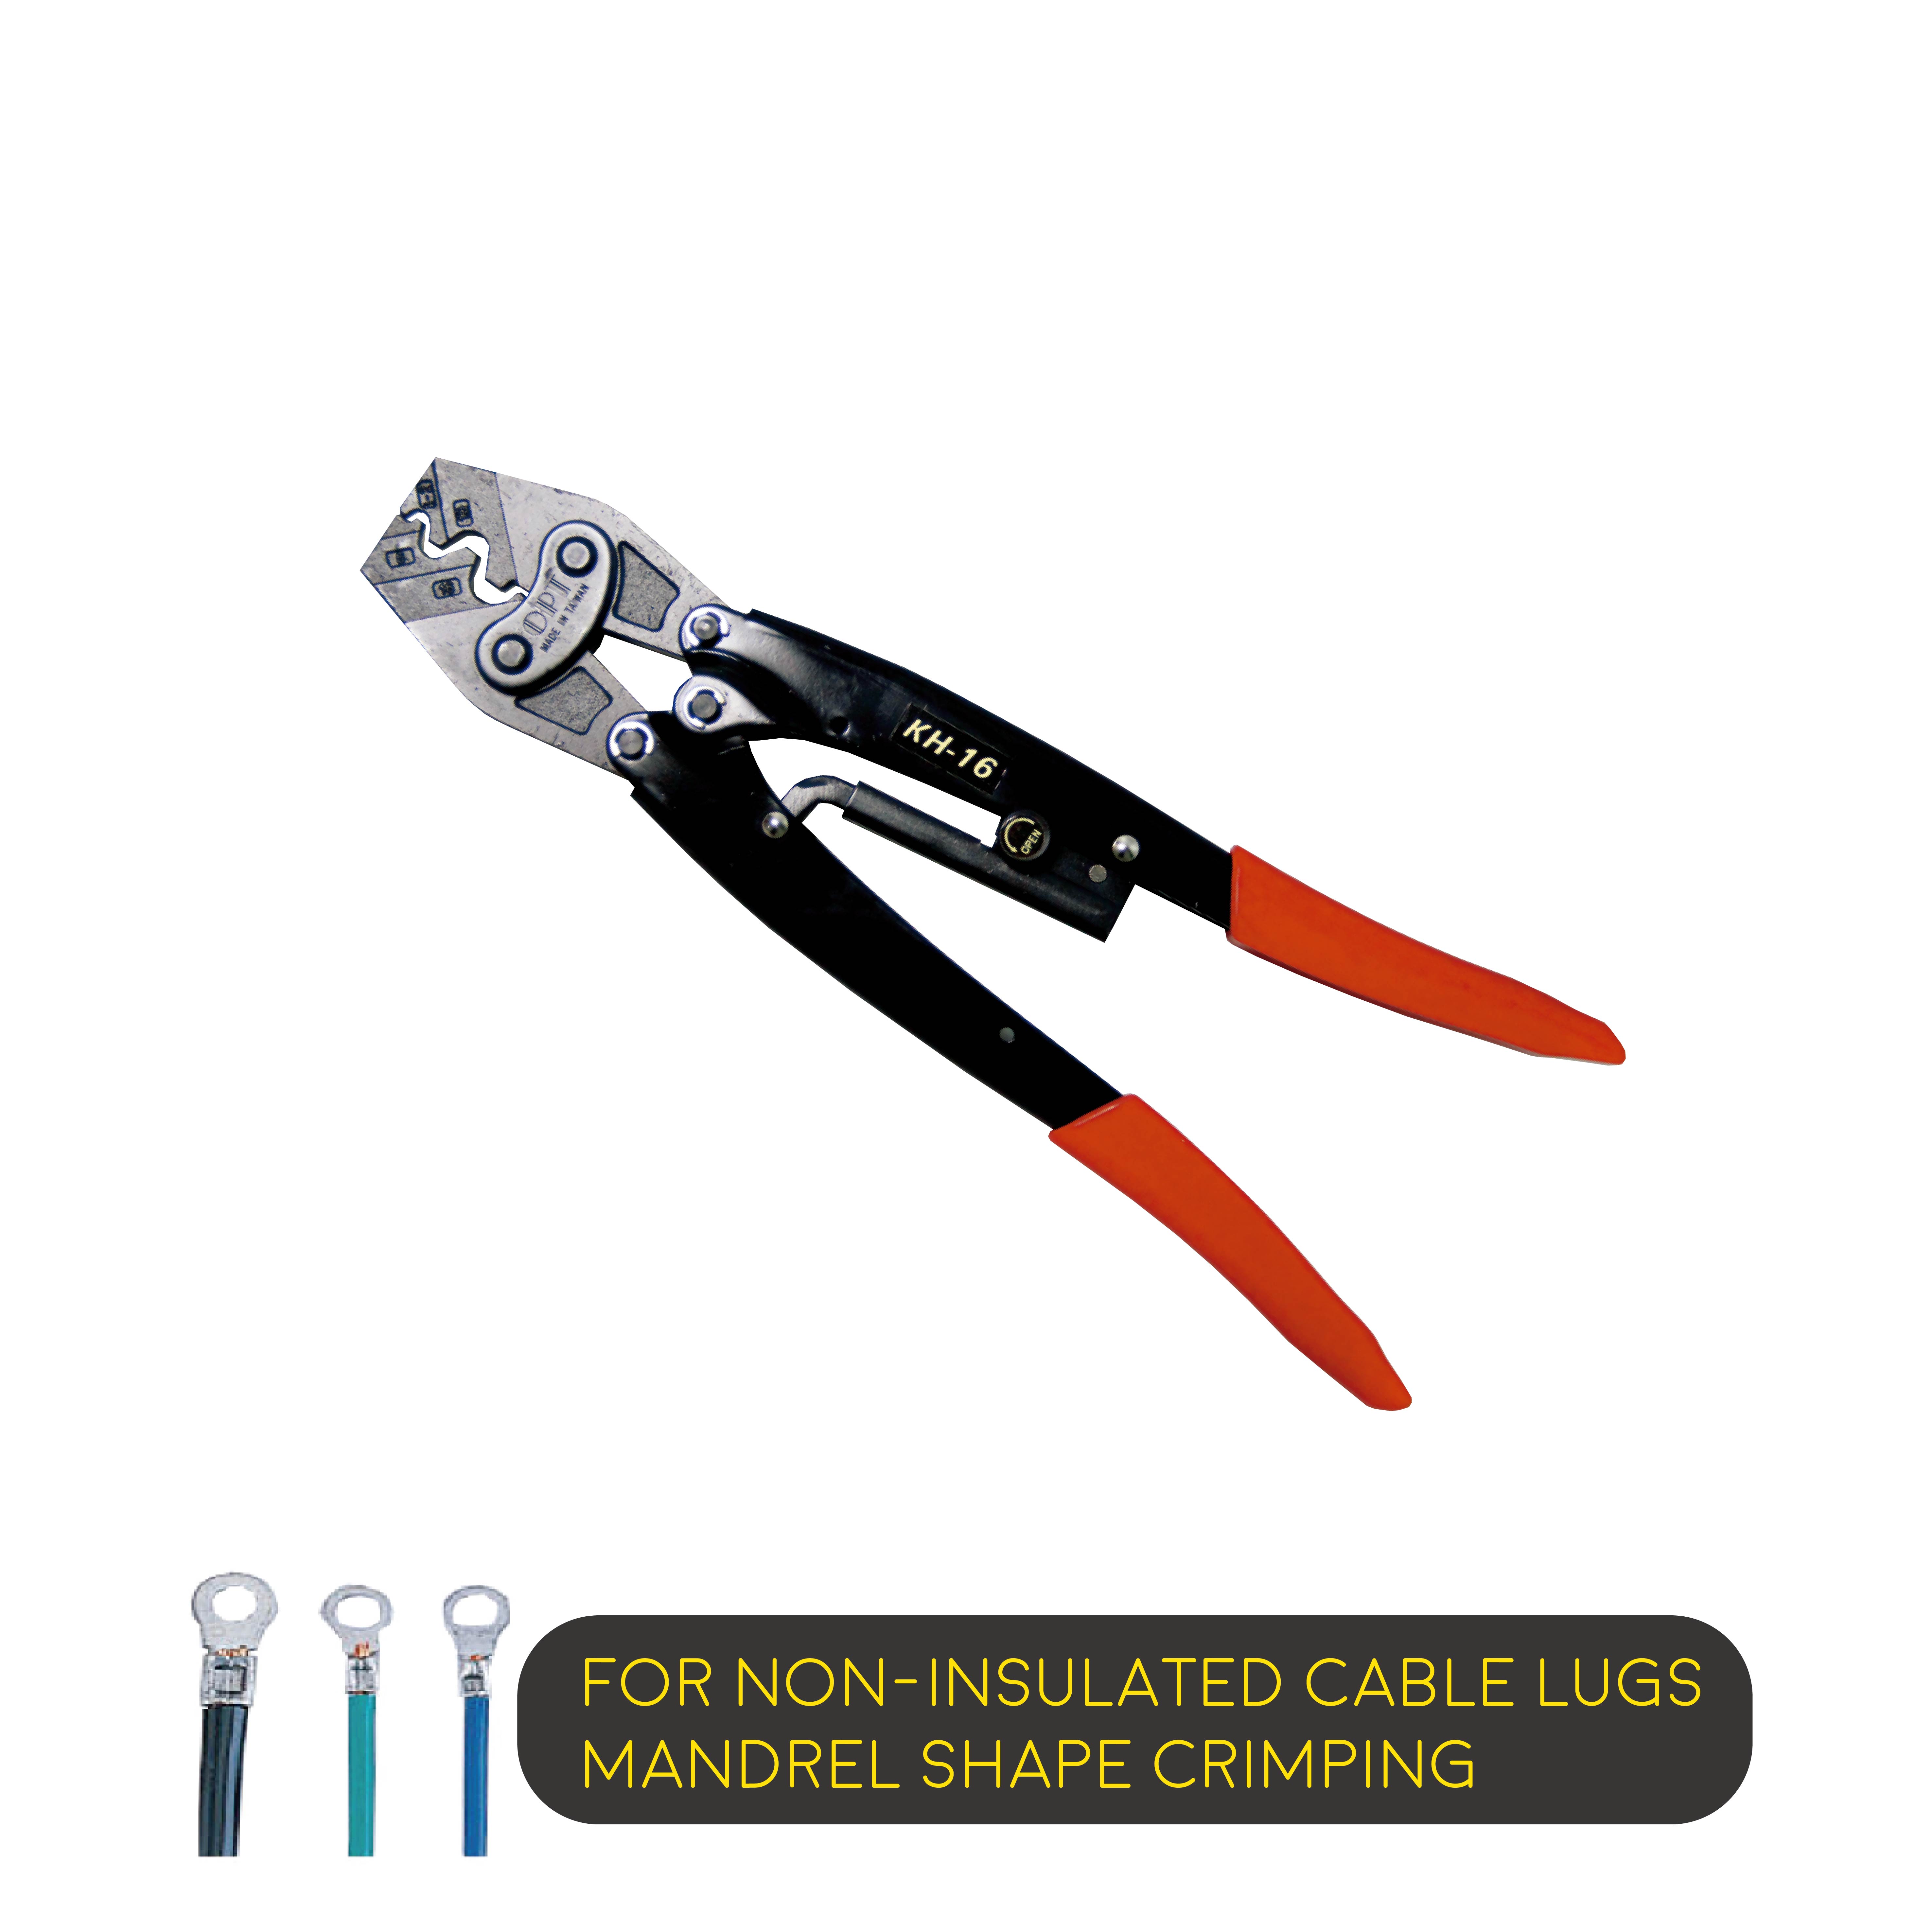
Non-insulated terminal crimper
This tool is made for bare copper terminals. It gives more controlled pressure and usually creates a tighter crimp than a basic insulated terminal tool.
It is often used in control cabinets, industrial equipment, and high-quality automotive repairs.
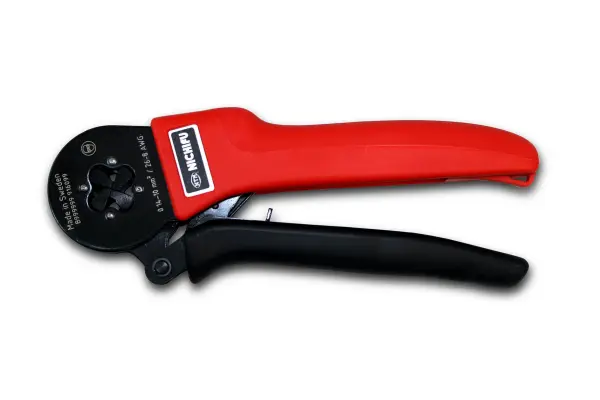
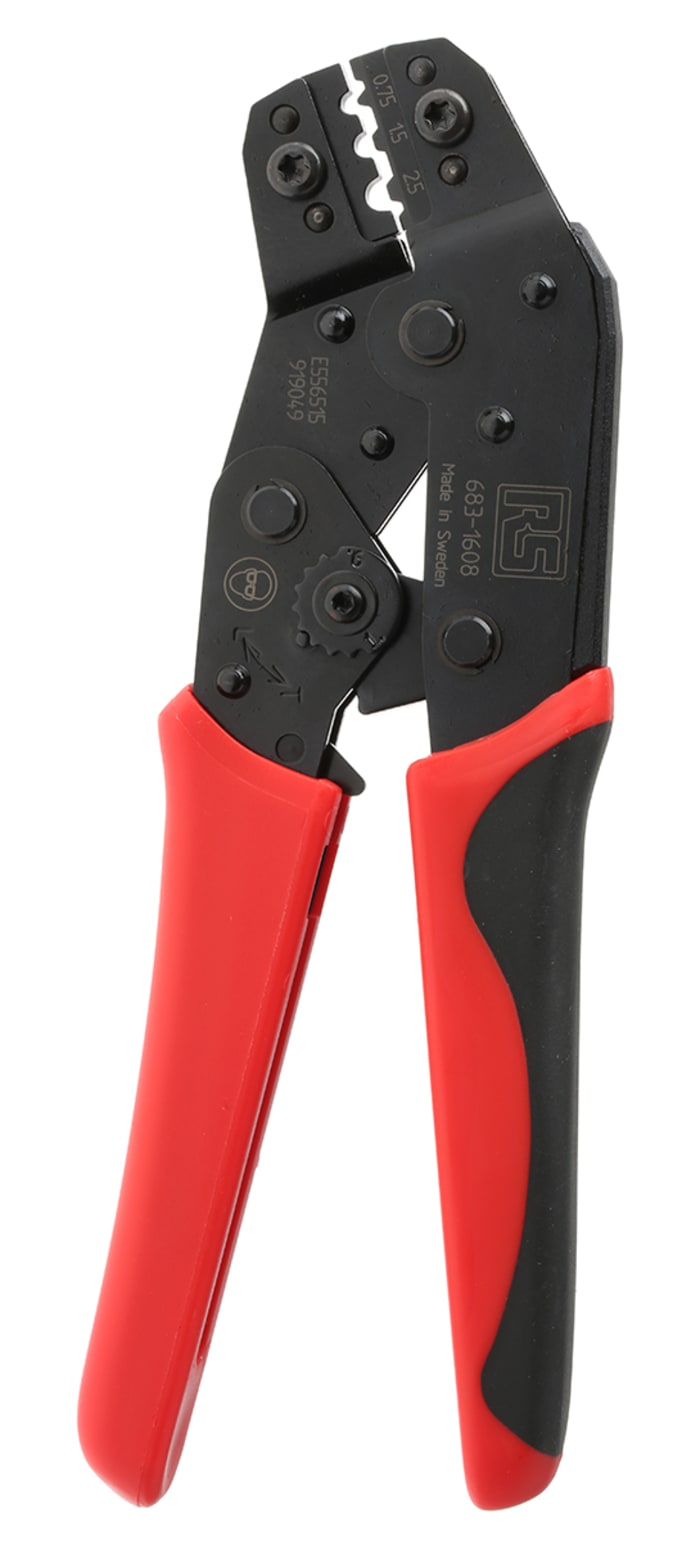
Ratcheting crimper
A ratcheting crimper stays locked until the handles complete the crimp cycle. This helps apply consistent pressure.
Many beginners prefer ratcheting tools because they reduce incomplete crimps. The tool may not release until the terminal reaches the correct compression.
Modular plug crimper
This tool attaches plugs to Ethernet, telephone, and similar cables. It may also include a cable cutter and wire stripper.
The contact pattern must match the connector. For example, an RJ45 network plug requires the wires to follow the correct wiring order before crimping.
Coaxial cable crimper
A coaxial crimper attaches compression or crimp connectors to cables such as RG6 or RG59. The connector must match the cable diameter.
Using the wrong connector can cause signal loss, poor shielding, or a loose connection.
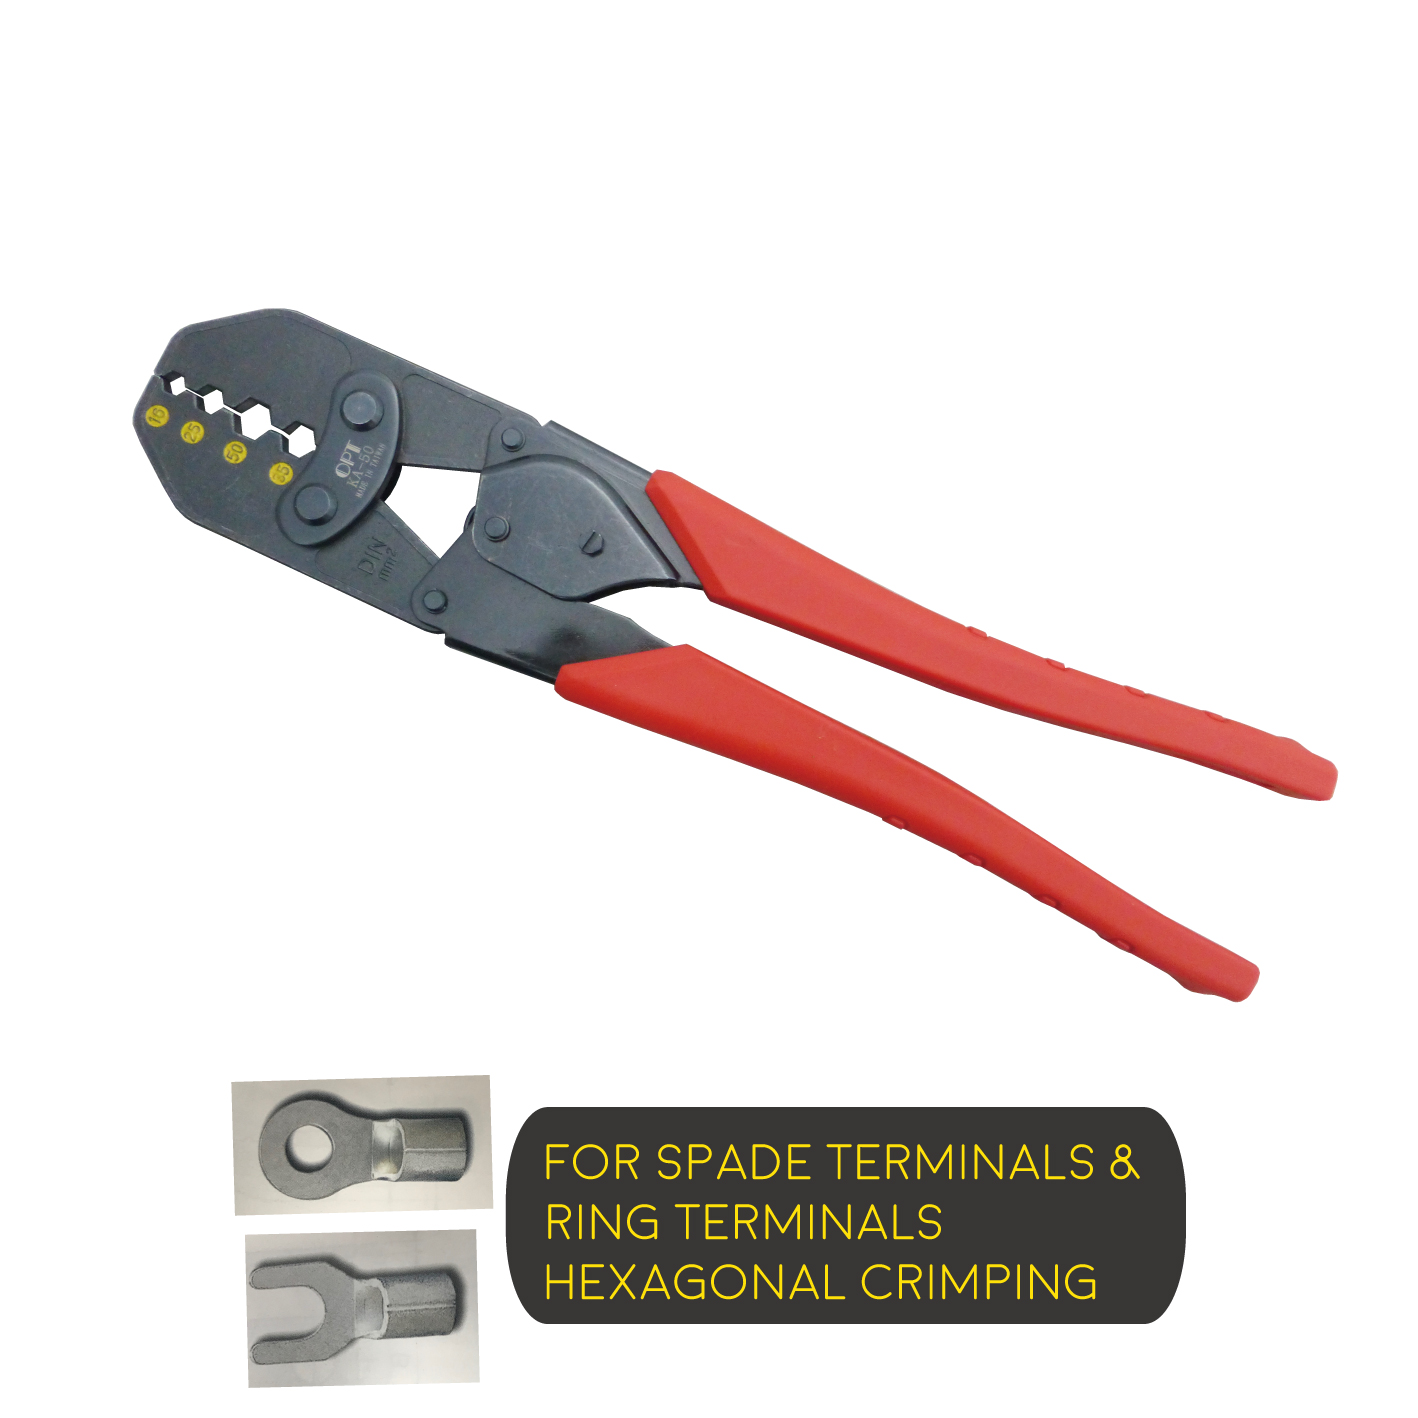
Heavy-duty lug crimper
This tool is made for large cables and battery terminals. Some models use long handles for extra leverage, while hydraulic versions create much higher pressure.
Never use a small household crimper on a large battery cable. The connection may look tight but fail under load.
Tools and Materials You Need
Before learning how to use a hand crimping tool, gather the right materials. A clean work area makes the process faster and prevents small mistakes.
You may need:
- A suitable hand crimping tool
- The correct wire
- A matching terminal or connector
- Wire strippers
- Side cutters
- A ruler or wire gauge tool
- Heat-shrink tubing
- A lighter or heat gun for heat-shrink tubing
- Safety glasses
- A multimeter or continuity tester
Use terminals designed for the wire material. Copper terminals are common for copper wire. Aluminum wire may require terminals approved for aluminum conductors.
Check the connector package for the wire size, insulation type, voltage rating, and current rating. Do not assume that two terminals with the same shape have the same electrical capacity.
Turn off power before working on any circuit. For automotive systems, disconnect the negative battery cable when appropriate, but follow the vehicle manufacturer’s instructions because some vehicles need power for memory or safety systems.
How to Use a Hand Crimping Tool Step by Step
The following process works for many common insulated and non-insulated wire terminals. Always follow the instructions supplied with your specific tool and connector.
1. Identify the wire size
Find the wire size printed on the cable or measure it with a wire gauge tool. Wire size is often shown in American Wire Gauge, or AWG.
A smaller AWG number means a thicker wire. For example, 12 AWG wire is thicker than 18 AWG wire.
Match the wire to the terminal. A terminal that is too large may not grip the conductor. A terminal that is too small may damage the wire during insertion.
2. Select the correct terminal
Choose a terminal that matches:
- The wire size
- The wire material
- The stud or connector size
- The expected current
- The insulation type
- The working environment
For outdoor, marine, or damp locations, use terminals with suitable corrosion protection. Heat-shrink terminals can help seal the connection, but they must still be crimped correctly.
3. Cut the wire cleanly
Use a sharp wire cutter to make a straight cut. A clean end is easier to strip and insert into the terminal.
Avoid crushing the wire with dull cutters. Flattened strands may not fit well inside the connector.
4. Strip the insulation
Set the wire stripper to the correct size. Remove only enough insulation to fill the conductor barrel.
The bare wire should reach the end of the metal barrel without extending far beyond it. Do not remove too much insulation because exposed conductor can cause a short circuit.
Do not twist stranded wire tightly unless the terminal instructions allow it. Excess twisting can change the wire shape and affect the crimp.
5. Place the terminal in the crimper
Put the terminal into the crimp cavity that matches its size. For a color-coded insulated terminal, use the matching color section.
Position the terminal so the metal barrel sits in the correct part of the jaw. Many crimpers have a marked indentation that must face a particular direction.
Close the handles slightly to hold the terminal. Do not fully crimp it yet.
6. Insert the wire
Push the stripped wire into the terminal barrel. The insulation should stop near the insulation support area.
The conductor should fill the metal barrel. If only a few strands enter, remove the wire and cut a fresh end.
A small amount of conductor may be visible at the front of the terminal. The wire should not pass through the connector so far that it touches another metal part.
7. Squeeze the handles firmly
Close the crimper with steady pressure. Use one smooth motion instead of several light squeezes.
For a ratcheting tool, continue until the release mechanism opens. For a basic tool, squeeze firmly but avoid crushing the terminal.
Do not crimp the plastic insulation instead of the metal barrel. The metal must compress around the conductor.
8. Inspect the crimp
Look closely at the finished connection. Check for:
- A centered crimp mark
- No cracked insulation
- No loose strands
- No cut or flattened conductor
- A terminal that is not twisted
- A wire that sits fully inside the barrel
The insulation support should hold the jacket without cutting into it. The conductor crimp should grip the bare strands.
9. Perform a pull test
Hold the terminal in one hand and the wire in the other. Pull with firm, controlled pressure.
Do not yank so hard that you damage a good connection. The wire should remain locked in the terminal and should not slide out.
Professional work may require a measured pull test based on the terminal manufacturer’s specifications. A simple hand pull test is useful for basic repairs, but it does not replace a formal test.
10. Protect the connection
If you are using heat-shrink tubing, slide it over the connection before crimping. After the crimp is complete, move the tubing into place and heat it evenly.
Keep the heat source moving. Stop when the tubing shrinks tightly around the joint.
Do not use heat near fuel, flammable vapors, or sensitive materials. In those areas, use an approved cold-seal method or follow the equipment instructions.

How to Crimp Insulated Terminals
Insulated terminals are easy to use, but they still require careful positioning. The metal barrel sits inside the colored plastic sleeve.
Follow these steps:
- Match the terminal color to the wire size.
- Strip the wire to the length recommended by the terminal maker.
- Insert the wire until the conductor reaches the end of the metal barrel.
- Place the terminal in the matching crimp cavity.
- Crimp the metal section, not the plastic sleeve.
- Pull the wire gently to check the grip.
- Cover the connection if the terminal requires extra protection.
Many basic crimpers use two different jaw areas. One section may form the conductor crimp, while another supports the insulation. Check the markings on the tool before squeezing.
A common beginner mistake is placing the connector too deep in the jaw. This can crush the terminal or make an uneven crimp. Center the metal barrel in the shaped section of the tool.
How to Crimp Non-Insulated Terminals
Non-insulated terminals require more care because the metal barrel is exposed. They are often used where a clean, compact, and durable connection is needed.
Use a crimper designed for bare terminals. The jaw should form the barrel without splitting it.
The conductor crimp must grip the wire. The strain relief area should support the insulation if the terminal includes one.
After crimping, inspect the barrel from all sides. A good connection has an even indentation and no sharp split in the metal.
For critical wiring, use a terminal and tool system recommended by the manufacturer. Crimp quality depends on the terminal material, barrel design, wire type, and tool profile. Mixing unrelated brands can produce a connection that looks acceptable but does not meet the required pull force.

How to Crimp Battery Cables and Large Wire
Large cables need a crimper with enough force to compress the lug properly. A standard small hand crimper is not suitable for most battery cables.
Before crimping a battery lug:
- Confirm the cable size
- Select a lug made for that cable
- Clean the cable strands
- Strip the insulation to the correct length
- Insert every strand into the lug
- Use the correct heavy-duty crimping tool
- Apply the number of crimps specified by the lug maker
- Seal the connection against moisture when needed
A large lug may require two or more crimps. The correct locations are usually marked on the lug or listed in its instructions.
Do not solder a large battery lug as a substitute for a proper crimp. Solder can wick into the cable and create a stiff area that may flex and break near the terminal. For high-current cables, use an approved crimping method and verify the connection carefully.
How to Crimp Network Cable Plugs
Network cable crimping requires correct wire order and a compatible plug. The wire arrangement is just as important as the pressure from the crimping tool.
For a standard Ethernet cable:
- Remove a short section of the outer jacket.
- Untwist the pairs only as much as needed.
- Arrange the wires according to the selected wiring standard.
- Trim the wires evenly.
- Insert them fully into the RJ45 plug.
- Confirm that each wire reaches the front of the plug.
- Place the plug into the crimper.
- Squeeze the handles fully.
- Test the cable with a network cable tester.
The cable jacket should enter the plug far enough for the strain relief to hold it. If only the individual wires enter the plug, the cable may fail after repeated movement.
A plug can look perfect and still be wired incorrectly. Always test both continuity and wire order with a cable tester.
How to Test a Crimped Connection
Testing confirms whether the crimp is both mechanically sound and electrically continuous. Visual inspection is important, but it cannot reveal every problem.
For a basic connection:
- Perform a gentle pull test.
- Check that no copper strands are exposed where they should not be.
- Use a multimeter on continuity mode.
- Measure resistance when low resistance matters.
- Test the circuit under its normal operating conditions.
A continuity test only shows that current can pass. It does not prove that the connection can handle the expected load.
For power circuits, inspect for heat after the circuit runs under normal conditions. An unusually warm terminal can indicate high resistance, an undersized connector, a loose crimp, or corrosion.
Never touch a suspected hot connection with bare skin. Turn off power and investigate safely.
Common Hand Crimping Mistakes
Most poor crimps come from a small mismatch or rushed preparation. The following mistakes are easy to avoid.
Using the wrong crimp cavity
A terminal may fit into several openings, but only one creates the correct shape. Use the cavity marked for the terminal size.
Crimping the insulation
The metal barrel must be compressed. Crimping only the plastic sleeve will not secure the conductor.
Stripping too much insulation
Excess exposed wire can touch nearby conductors or metal parts. Strip only the length needed for the terminal barrel.
Leaving strands outside the terminal
Stray strands can cause shorts or reduce the strength of the connection. Remove the terminal and prepare a clean wire end if strands escape.
Using the wrong wire size
A large terminal on a small wire often produces a loose joint. A small terminal on a large wire may damage the strands.
Reusing a crimp terminal
Most crimp terminals are designed for one crimp. Once compressed, the metal may not return to its original shape. Cut off a failed terminal and install a new one.
Applying too little pressure
A light squeeze may leave the wire loose. Use a ratcheting crimper when consistent pressure is important.
Applying too much pressure
Over-crimping can cut strands, crack insulation, or weaken the terminal. The tool should create the intended shape, not flatten the connector.
Skipping the test
A connection can look neat and still fail under vibration or load. Always inspect and test the finished crimp.
Safety Tips for Hand Crimping
Hand crimping tools are simple, but electrical work still carries risk. Use safe habits every time.
- Disconnect power before working on wiring.
- Wear safety glasses when cutting or crimping wire.
- Keep fingers away from the crimping jaws.
- Use insulated tools when working near electrical systems.
- Never work near exposed live conductors unless you are trained and authorized.
- Follow local electrical codes for permanent installations.
- Use connectors rated for the voltage, current, and environment.
- Keep flammable liquids away from heat-shrink work.
- Replace damaged tools and cracked terminals.
- Get professional help for service panels, high-voltage systems, and safety-critical equipment.
The National Electrical Code and equipment manufacturers provide rules for many wiring tasks. Local requirements can differ, so check the rules that apply to your project.
Tips for Better and More Reliable Crimps
A few habits can improve both speed and quality.
First, prepare several wire ends before you begin. This helps you focus on terminal placement instead of switching between tools after every connection.
Second, use the same terminal and tool system whenever possible. The tool’s jaw profile is designed to shape a specific type of connector.
Third, keep a small sample piece of wire nearby. You can test the crimper setting on the sample before working on the final cable.
Fourth, inspect the tool regularly. Dirt, worn jaws, loose pivots, and damaged springs can affect the crimp.
In my own wiring work, the most common failure was not weak hand pressure. It was using a terminal that was slightly too large for the wire. The connection passed a quick visual check but loosened when the cable moved. Since then, I always check the wire range printed on the terminal before making the first crimp.
How to Choose a Hand Crimping Tool
The best hand crimping tool depends on the connector and the work. There is no single crimper for every application.
Consider these features:
- Supported terminal types
- Wire size range
- Ratcheting action
- Jaw markings
- Handle comfort
- Replacement parts
- Manufacturer instructions
- Expected number of crimps
- Indoor or outdoor use
- Required pull strength
For occasional home repairs, a quality insulated terminal crimper may be enough. For frequent automotive work, a ratcheting tool can provide better consistency.
For network cables, buy a tool designed for the plug type. For battery cables, use a heavy-duty or hydraulic model that matches the lug manufacturer’s requirements.
Avoid choosing only by price. A low-cost tool may work for a few light repairs but create inconsistent crimps over time. A reliable tool is often cheaper than repairing a failed connection later.
Frequently Asked Questions About How to Use a Hand Crimping Tool
How tight should a crimped wire be?
A properly crimped wire should not pull out during a firm hand pull test. It should grip the conductor without cutting strands or crushing the terminal.
Can I use a hand crimping tool on any connector?
No. Each crimping tool is designed for certain connector types and wire sizes. Check the tool markings and terminal instructions before use.
Should I twist stranded wire before crimping?
Usually, you should not twist stranded wire tightly. Keep the strands together naturally and insert them fully into the terminal unless the connector instructions say otherwise.
Why does my crimped wire keep pulling out?
The terminal may be too large, the wrong crimp cavity may have been used, or the wire may not be fully inside the barrel. Replace the terminal and repeat the process with the correct size and tool position.
Can I crimp a terminal twice?
In most cases, no. A second crimp can damage the terminal or cut the conductor. Remove the failed terminal and use a new one.
Is crimping better than soldering?
Neither method is best for every job. A properly made crimp provides strong mechanical support without creating a rigid section, while soldering may suit specific electronics work and manufacturer-approved applications.
How do I know if a crimp is good?
Inspect the terminal, perform a firm pull test, and check electrical continuity. For important or high-current work, use the manufacturer’s required pull-force and resistance tests.
Conclusion
Using a hand crimping tool is straightforward when you match the wire, terminal, and crimper correctly. Strip the wire carefully, place the terminal in the right jaw, crimp the metal barrel with steady pressure, and test the finished connection.
Take your time with the first few crimps. A clean connection is safer, stronger, and more reliable than one made in a rush. Practice on spare wire, follow terminal instructions, and explore trusted electrical guides for more advanced projects.
