

Use basic hand tools by choosing the right tool, wearing safety gear, and applying steady, controlled pressure.
Learning how to use basic hand tools gives you the power to fix, build, and maintain everyday items with confidence. A screwdriver, hammer, wrench, or tape measure may look simple, but each tool works best with the right grip, angle, force, and safety habit. This guide explains how to use basic hand tools correctly, avoid common mistakes, and gain practical skill through small projects.

Why Learning How to Use Basic Hand Tools Matters
Basic hand tools help you complete many home, workshop, and outdoor tasks. You can tighten a loose chair, hang a shelf, assemble furniture, repair a bicycle, or measure a space without calling a professional for every small job.
Good tool use is not about strength. It is about control. The right tool acts like an extension of your hand, while the wrong tool can damage the fastener, workpiece, or your fingers.
Learning how to use basic hand tools also saves time and money. It can make simple repairs less stressful and help you understand when a project is safe to do yourself and when it needs a trained professional.
The main benefits include:
• Safer repairs with less risk of slips and injuries
• Cleaner work with fewer damaged screws, boards, and surfaces
• Better control over home improvement projects
• Lower repair costs for simple tasks
• Greater confidence when using power tools later
A useful rule is simple: use the smallest amount of force needed to complete the job. If a tool does not work with steady pressure, stop and check the tool, fastener, or method.

Essential Basic Hand Tools and Their Uses
A small tool kit does not need dozens of items. Start with tools that solve common problems and fit comfortably in your hand.
Screwdrivers
A screwdriver turns screws. The most common types are:
• Flat head screwdrivers for slotted screws
• Phillips screwdrivers for cross-shaped screws
• Torx screwdrivers for star-shaped screws
• Hex keys for hexagonal socket screws
Choose a screwdriver tip that fills the screw head. A tip that is too small can slip and strip the screw. A tip that is too large may not seat correctly.
Place the tip straight into the screw head. Hold the handle near the center, press down lightly, and turn with your wrist. Keep the shaft aligned with the screw. Do not use a screwdriver as a pry bar, chisel, or punch.
Hammers
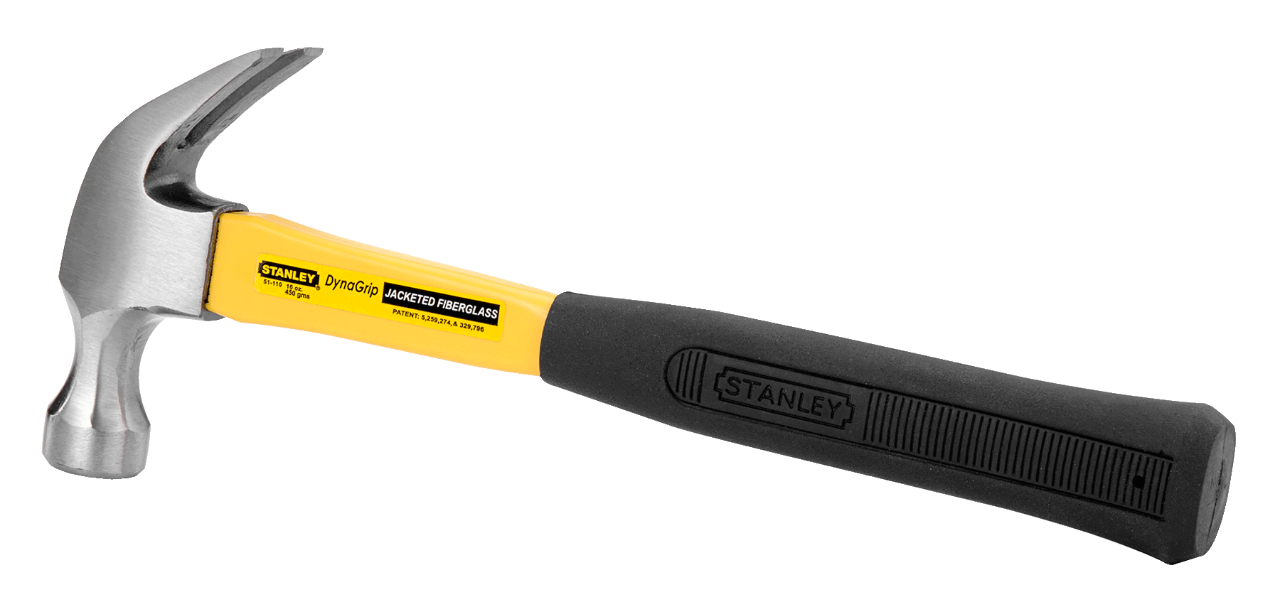
A claw hammer is useful for driving and removing nails. Hold the handle near the end for stronger swings or closer to the head for more control.
Start with light taps. Once the nail stands straight, use firm, even strikes. Keep your eyes on the nail head, not the hammer. To remove a nail, place the claw under the head and pull the handle back slowly.
Use a rubber mallet when you need to tap a surface without leaving deep marks. A hammer is not always the best answer. Delicate materials may need a mallet or a padded block.
Pliers
Pliers grip, bend, cut, or hold materials. Common types include:
• Slip joint pliers for general gripping
• Needle nose pliers for small spaces
• Locking pliers for strong temporary grip
• Diagonal cutters for cutting wire
• Tongue and groove pliers for pipes and large fittings
Grip the work close to the hinge when possible. This gives better control and reduces the chance of slipping. Never use pliers to turn a bolt when a wrench fits it. Pliers can damage the bolt corners.
Wrenches
Wrenches turn nuts and bolts. An adjustable wrench can fit several sizes, but a fixed-size wrench often grips better.
Fit the wrench fully over the fastener. Pull the handle toward you instead of pushing when possible. This position gives you more control and protects your knuckles if the wrench slips.
Keep the wrench square with the nut. If it sits at an angle, it may round the corners. For plumbing work, use the correct pipe wrench and avoid over-tightening fittings.
Tape Measures and Levels
A tape measure helps you find length, width, height, and distance. Pull the tape straight and keep it flat against the surface. Read the mark where the edge of the object meets the tape.
A level checks whether a surface is horizontal or vertical. Place it on the surface and wait for the bubble to settle. A centered bubble usually means the surface is level, but check the tool on a known flat surface if accuracy matters.
Utility Knives
A utility knife cuts cardboard, plastic, carpet, insulation, and other materials. Extend only as much blade as needed. Cut away from your body and keep your free hand outside the cutting path.
Retract or cover the blade as soon as you finish. Replace dull blades instead of forcing them through the material. A dull blade needs more pressure and is more likely to slip.

How to Use Basic Hand Tools Safely
Safety should come before speed. Many hand tool injuries happen because a person rushes, uses a damaged tool, or holds the workpiece in an unsafe position.
Wear safety glasses when cutting, striking, scraping, or working with metal. Small chips can travel farther than expected. Use work gloves when they improve grip, but do not wear loose gloves near rotating machinery or moving parts.
Before starting, inspect the tool:
• Check handles for cracks or loose heads
• Look for bent jaws, worn tips, or damaged edges
• Make sure cutting tools are sharp and stable
• Confirm that the tool fits the fastener or material
• Keep the work area clean and well lit
Hold the workpiece with a clamp when possible. Do not hold a small object in your hand while striking or cutting it. A clamp gives you better control and keeps your fingers away from the tool path.
Keep your body balanced. Stand with both feet firmly on the floor and avoid reaching too far. If you need more force, change your position or use a better tool. Do not add a pipe to a wrench handle unless the tool maker specifically permits it.
Electrical and plumbing work require extra care. Turn off power at the circuit breaker before working on electrical components, then verify that the circuit is dead with a proper tester. Shut off water before opening a pipe or faucet connection. If you are unsure, stop and contact a qualified professional.
Safety guidance from workplace agencies and consumer protection groups consistently emphasizes eye protection, proper tool selection, good maintenance, and correct storage. These habits apply at home as well as in a professional workshop.

How to Use Basic Hand Tools Step by Step
A repeatable process makes almost every repair easier. Use these steps before picking up a tool.
1. Understand the task
Look at the problem closely. Identify what needs to move, tighten, cut, measure, or support.
Ask yourself:
• What material am I working with?
• What fastener or joint is involved?
• Does the part need to stay level or aligned?
• Could the task involve electricity, gas, or pressurized water?
A clear answer helps you choose the correct tool.
2. Select the right tool
Match the tool to the job and the size of the fastener. A Phillips screwdriver should fit the screw head, and a wrench should fit the nut without excessive play.
Never substitute a knife for a screwdriver or pliers for a wrench. A shortcut may save a few seconds but cause damage or injury.
3. Secure the work
Place the item on a stable surface. Use a clamp, vise, or helper when the workpiece may move.
For example, clamp a board before sawing or drilling. Hold a small screw with needle nose pliers while starting it in a tight space. Stability improves both safety and accuracy.
4. Mark and measure
Measure twice before cutting, drilling, or mounting. Mark the exact point with a pencil, marker, or suitable tool.
When hanging a shelf, measure from the floor and check the wall for studs or suitable anchors. A level can prevent a small error from becoming a visible, frustrating mistake.
5. Apply controlled force
Start slowly. Use short movements until the tool feels secure. Increase pressure only when the tool stays aligned.
For screws, press down while turning. For nails, begin with light hammer taps. For wrenches, pull smoothly rather than jerking. Controlled force protects both you and the material.
6. Check your work
Test the repaired item before using it fully. Check that screws are tight, joints are stable, and moving parts work as expected.
Do not over-tighten. A screw can strip, a fitting can crack, and a wood surface can split. Tight means secure, not crushed.
Using Hand Tools on Common Materials
Different materials respond to tools in different ways. The same amount of force may be safe for hardwood but damaging to plastic.
Wood
Wood can split when screws or nails enter too close to an edge. Drill a pilot hole when using a large screw or working near the end of a board.
Use a countersink when you want the screw head to sit below or flush with the surface. Sand rough edges with the grain to reduce scratches.
When hammering into wood, hold the nail near the top and use small taps first. Once the nail is stable, move your fingers away.
Metal
Metal edges can be sharp, and metal chips can cause eye injuries. Wear safety glasses and remove burrs with a file.
Use the correct wrench size on nuts and bolts. Apply penetrating oil to a stuck fastener and allow time for it to work. Do not immediately use extreme force, as this may snap the bolt or damage the surrounding part.
A file should move in a controlled direction. Most files cut on the forward stroke, so lift or reduce pressure on the return stroke when appropriate.
Plastic
Plastic can crack under high pressure. Use a screwdriver with a good fit and tighten fasteners gently.
When cutting plastic, support the material close to the cut. A utility knife works for thin plastic, while thicker pieces may need a fine-tooth saw. Test your method on scrap material first.
Drywall
Drywall anchors help support light objects when no wall stud is available. Choose an anchor based on the object’s weight and the package rating.
Do not assume every wall can support a heavy shelf or television. Locate studs with a stud finder or other reliable method, and use proper mounting hardware for heavier loads.
Common Mistakes to Avoid
Many tool problems come from small choices. Avoiding these mistakes will improve your results quickly.
• Using the wrong tool: A substitute tool may slip or damage the fastener.
• Using the wrong size: A loose screwdriver or wrench can round edges.
• Applying too much force: Excess pressure can break parts and cause injuries.
• Working with dull blades: Dull edges require more effort and slip more easily.
• Ignoring damaged handles: Cracks and loose heads can cause sudden failure.
• Skipping measurement: Small errors can make shelves, frames, and cuts look uneven.
• Failing to secure the work: A moving workpiece can turn a simple cut into an injury.
• Striking hardened objects: Some metal parts can chip when hit with a hammer.
• Leaving tools on the floor: This creates trip hazards and damages tools.
• Forgetting to clean tools: Dirt and moisture can shorten tool life.
One mistake I learned to avoid is rushing the first step. I once tried to loosen a stubborn fastener with a tool that almost fit. The tool slipped, damaged the fastener, and made the repair harder. Taking a moment to find the correct size would have been faster.

How to Maintain and Store Hand Tools
Clean tools last longer and work better. Wipe dirt, dust, and oil from tools after use. Dry them before storage, especially after outdoor work.
Apply a small amount of suitable oil to hinges, plier joints, and other moving parts. Do not oil surfaces that need a dry grip unless the product instructions allow it.
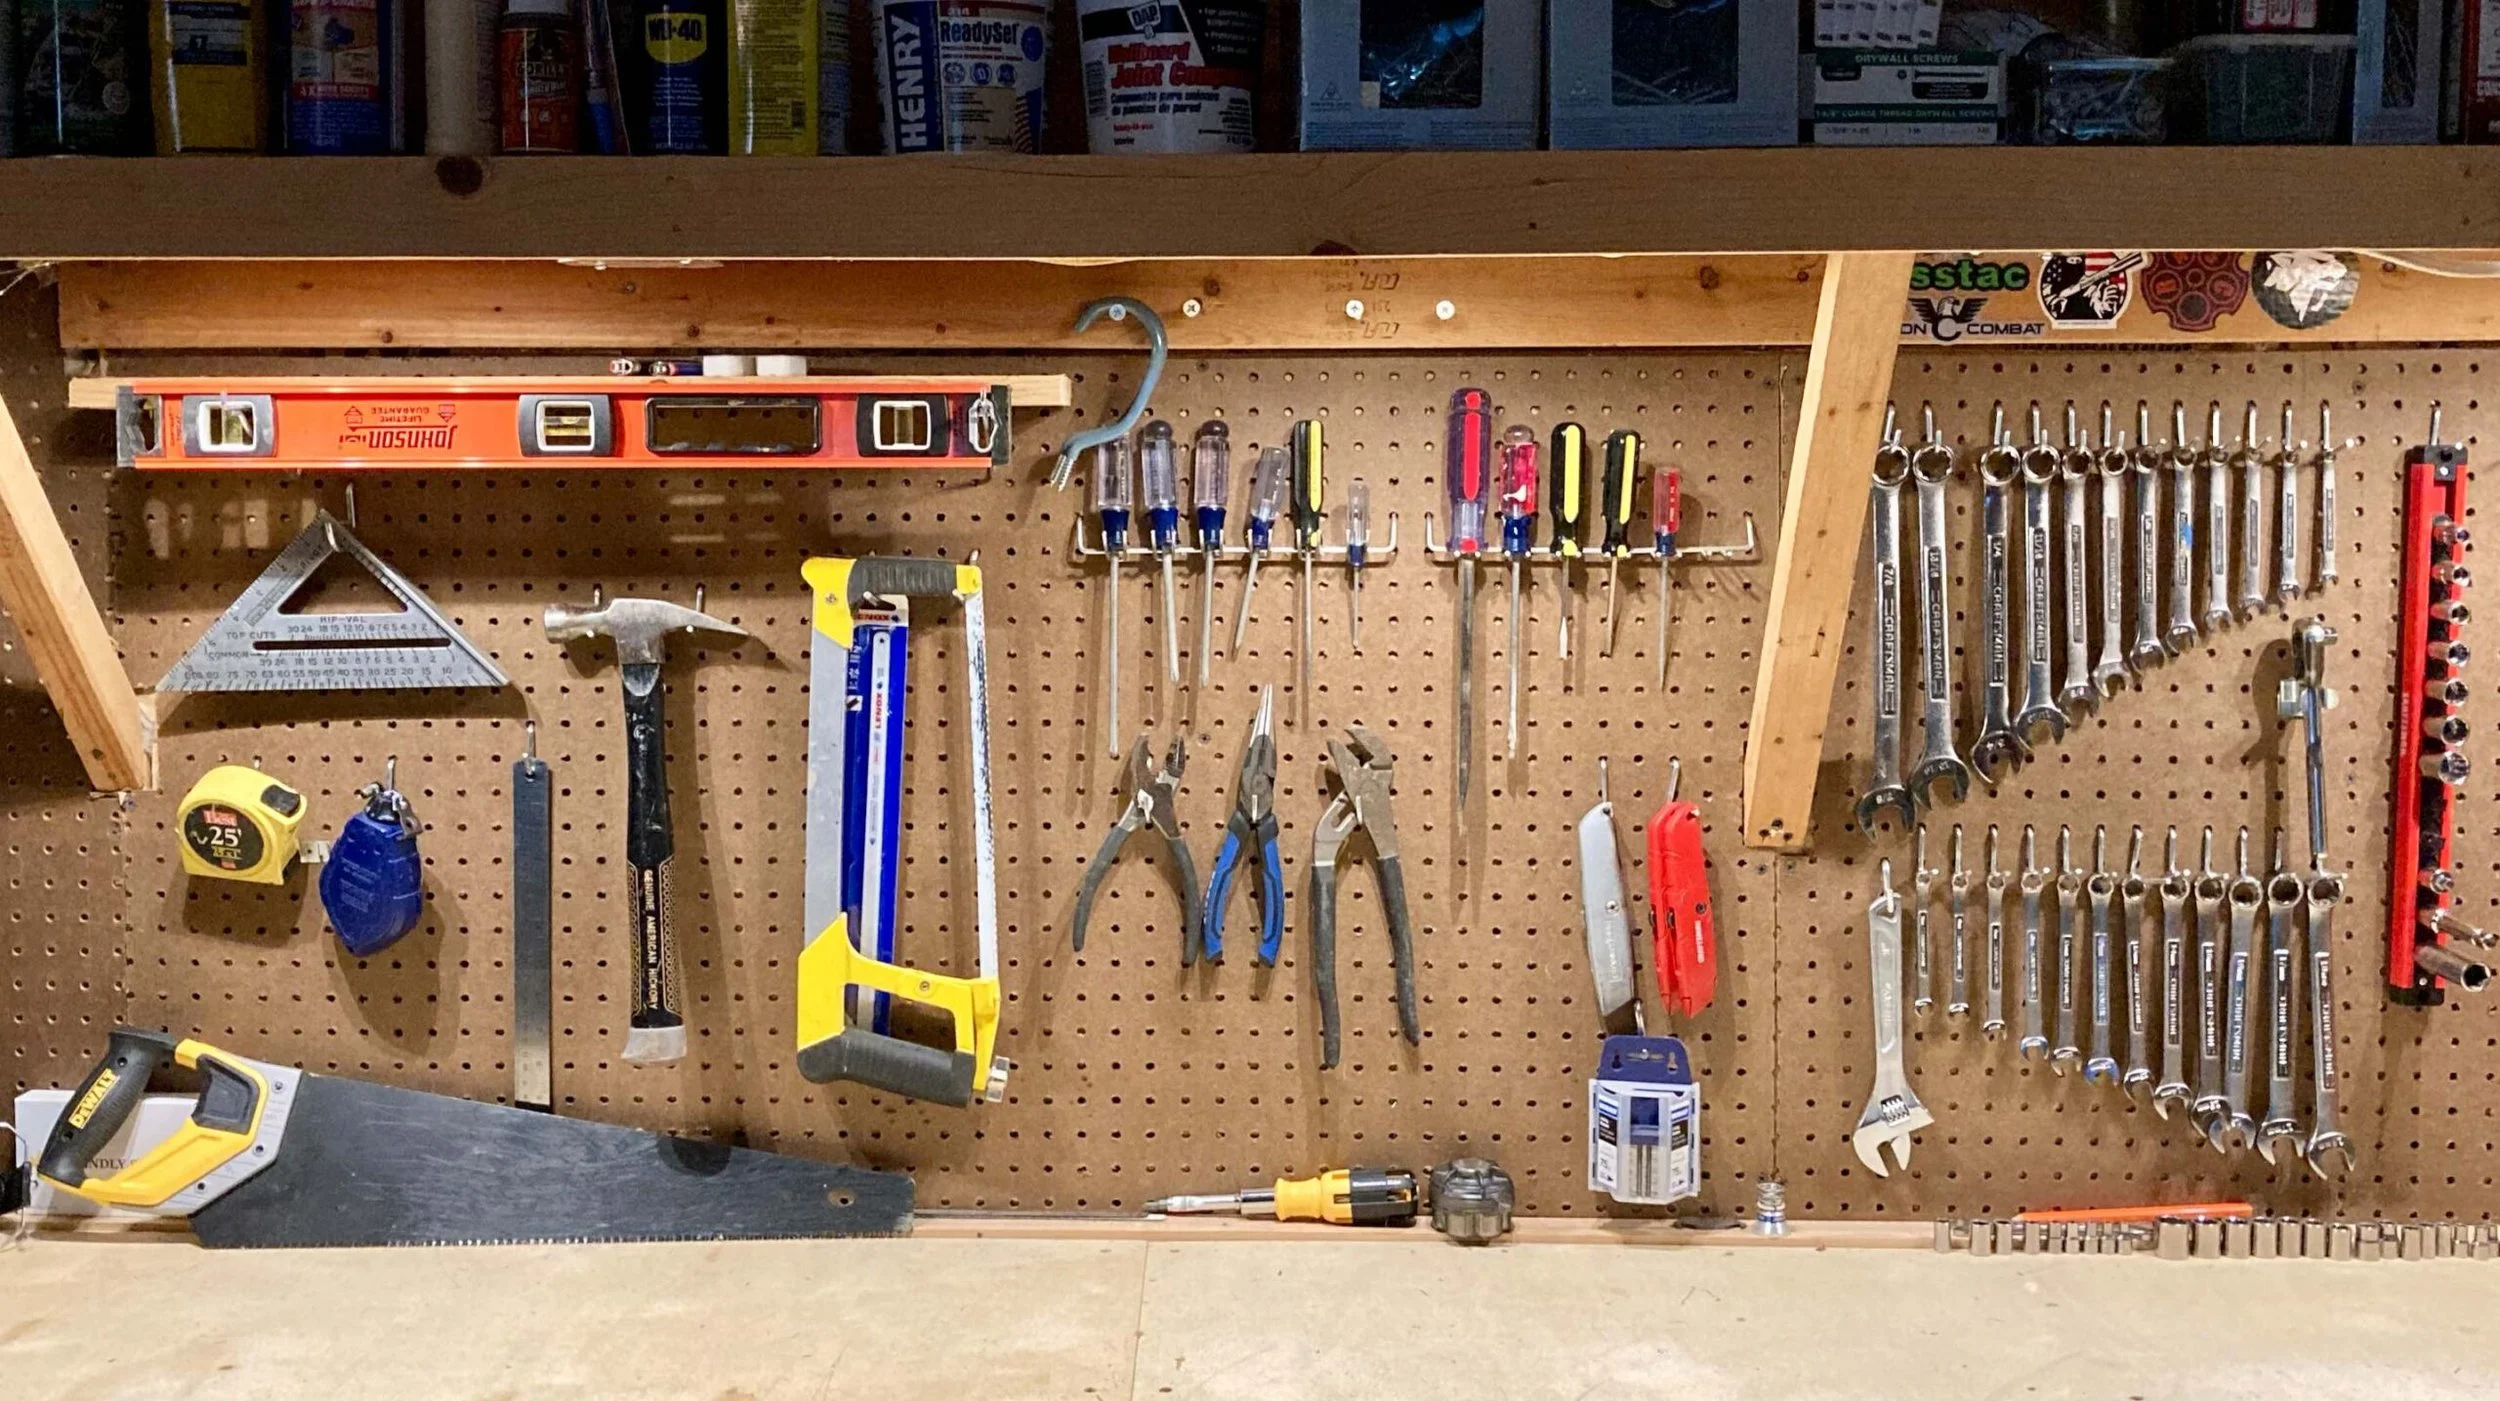
Store tools where you can see and reach them. A toolbox, pegboard, drawer organizer, or wall rack can work well. Keep sharp tools covered and place heavy tools low to reduce falling hazards.
Inspect tools regularly:
• Sharpen or replace dull cutting edges
• Tighten loose handles and fasteners
• Replace cracked handles
• Remove rust with a suitable brush or rust remover
• Discard tools that cannot be repaired safely
Do not store wet tools in a closed box. Moisture can cause rust and damage wooden handles. A dry, organized tool kit also helps you choose the correct tool instead of grabbing the closest one.
Simple Projects for Building Skill
Practice on small jobs before taking on major repairs. These projects teach the main skills without requiring advanced equipment.
Hang a picture frame
Measure the wall and mark the hanging point. Use a level to check the frame after placing it on the wall.
Choose a picture hook or wall anchor based on the frame’s weight and the wall material. Tap the hardware in gently and avoid placing it too close to the edge of drywall.
Tighten a loose chair
Turn the chair upside down and inspect each joint. Tighten screws with the correct screwdriver, but stop when the joint is firm.
If the screw spins without tightening, the hole may be worn. A replacement screw or proper wood repair may be needed.
Assemble flat-pack furniture
Sort the hardware before beginning. Read the instructions and avoid fully tightening every fastener until the main parts are aligned.
Once the frame is square, tighten the screws evenly. Over-tightening particleboard can strip the material.
Repair a loose cabinet handle
Remove the handle and inspect the screws and mounting holes. Replace damaged screws and tighten the new hardware by hand.
Use a screwdriver rather than a drill for the final tightening. This gives better control and lowers the chance of damaging the cabinet surface.
Build a simple storage shelf
Measure the space, mark the support points, and check for studs. Use a level during installation and select anchors that match the shelf load.
For a heavy shelf, use stronger brackets and secure them to studs when possible. When in doubt, reduce the load or ask a qualified installer for advice.
Choosing a Basic Hand Tool Kit
A practical starter kit should cover measuring, fastening, gripping, striking, cutting, and safety.
Consider including:
• Claw hammer
• Flat head and Phillips screwdrivers
• Adjustable wrench
• Combination wrench set
• Slip joint and needle nose pliers
• Diagonal cutters
• Tape measure
• Utility knife with spare blades
• Level
• Hex key set
• Wood and metal files
• Safety glasses
• Work gloves
• Clamps
Choose tools with comfortable, non-slip handles. Quality does not always mean the most expensive option, but extremely cheap tools may have poor fit, weak edges, or loose handles.
Buy tools as your projects require them. A small set that you use often is more useful than a large set filled with tools you do not understand.
When Not to Use Basic Hand Tools
Knowing your limits is part of knowing how to use basic hand tools. Some work has serious risks or requires special training.
Contact a qualified professional for tasks involving:
• Live electrical wiring
• Gas lines or gas appliances
• Major plumbing leaks
• Structural walls, beams, or foundations
• Roof repairs at unsafe heights
• Asbestos, lead paint, or unknown insulation
• High-pressure systems
• Vehicle safety systems such as brakes or airbags
You should also stop if a fastener will not move, a material is cracking, or the tool keeps slipping. Forcing the job can turn a minor repair into costly damage.
Basic hand tools are excellent for routine maintenance, but they do not replace professional training for hazardous work. A careful decision can protect your home, health, and budget.
Frequently Asked Questions About How to Use Basic Hand Tools
What are the most useful basic hand tools for beginners?
A claw hammer, screwdriver set, adjustable wrench, pliers, tape measure, utility knife, level, and safety glasses are a strong starting point. Add clamps and hex keys as your projects require them.
How do I use a screwdriver without stripping a screw?
Choose the correct tip size and keep it straight in the screw head. Press down firmly while turning slowly, and stop if the tip slips.
Should I push or pull a wrench?
Pull a wrench toward your body when possible. Pulling usually gives you better control and helps keep your hands away from nearby sharp edges.
How can I use a hammer safely?
Hold the handle firmly but not rigidly, begin with light taps, and keep your free hand away from the striking area. Wear safety glasses when a nail or material could chip.
How do I know which wrench size to use?
Choose the wrench that fits the nut or bolt fully without rocking. A correct fit grips the flat sides and reduces the risk of rounding the corners.
Is it safe to use pliers instead of a wrench?
Pliers are suitable for gripping, bending, and holding, but they are not ideal for turning nuts and bolts. Use a wrench when possible because it applies force evenly to the fastener.
How often should I clean hand tools?
Wipe tools after every use and clean them more deeply when they contact dirt, moisture, paint, or chemicals. Regular cleaning helps prevent rust and keeps moving parts smooth.
Conclusion
Learning how to use basic hand tools starts with choosing the right tool, securing the work, measuring carefully, and using steady force. Safety glasses, clean tools, good posture, and regular inspection make simple repairs safer and more accurate.
Start with a small project, such as tightening a chair, hanging a frame, or assembling furniture. Practice slowly, learn from each mistake, and build your tool kit as your skills grow. Explore more home repair guides, and share your favorite beginner project or tool tip in the comments.
