

Restore old hand tools by cleaning, removing rust, repairing handles, sharpening edges, and protecting the metal.
Learning how to restore old hand tools is part cleaning, part repair, and part detective work. Each tool shows clues about its past through worn edges, dark steel, loose joints, and damaged wood. With the right process, patience, and safety habits, you can turn a rusty flea-market find into a strong, useful tool again.
Why Restore Old Hand Tools?
Old hand tools often have better steel and stronger construction than many low-cost modern tools. A vintage chisel, plane, saw, brace, or wrench may have been made for decades of daily use. Restoration can bring that tool back without removing the marks that give it character.
Learning how to restore old hand tools also saves money. You can often buy a neglected tool for a few dollars, then improve it with basic supplies. The result is useful, personal, and less wasteful than throwing the tool away.
Restoration is not the same as making a tool look new. A few scratches and stains are part of its history. The goal is to make the tool safe, sound, comfortable, and ready for work.
Inspect the Tool Before You Start
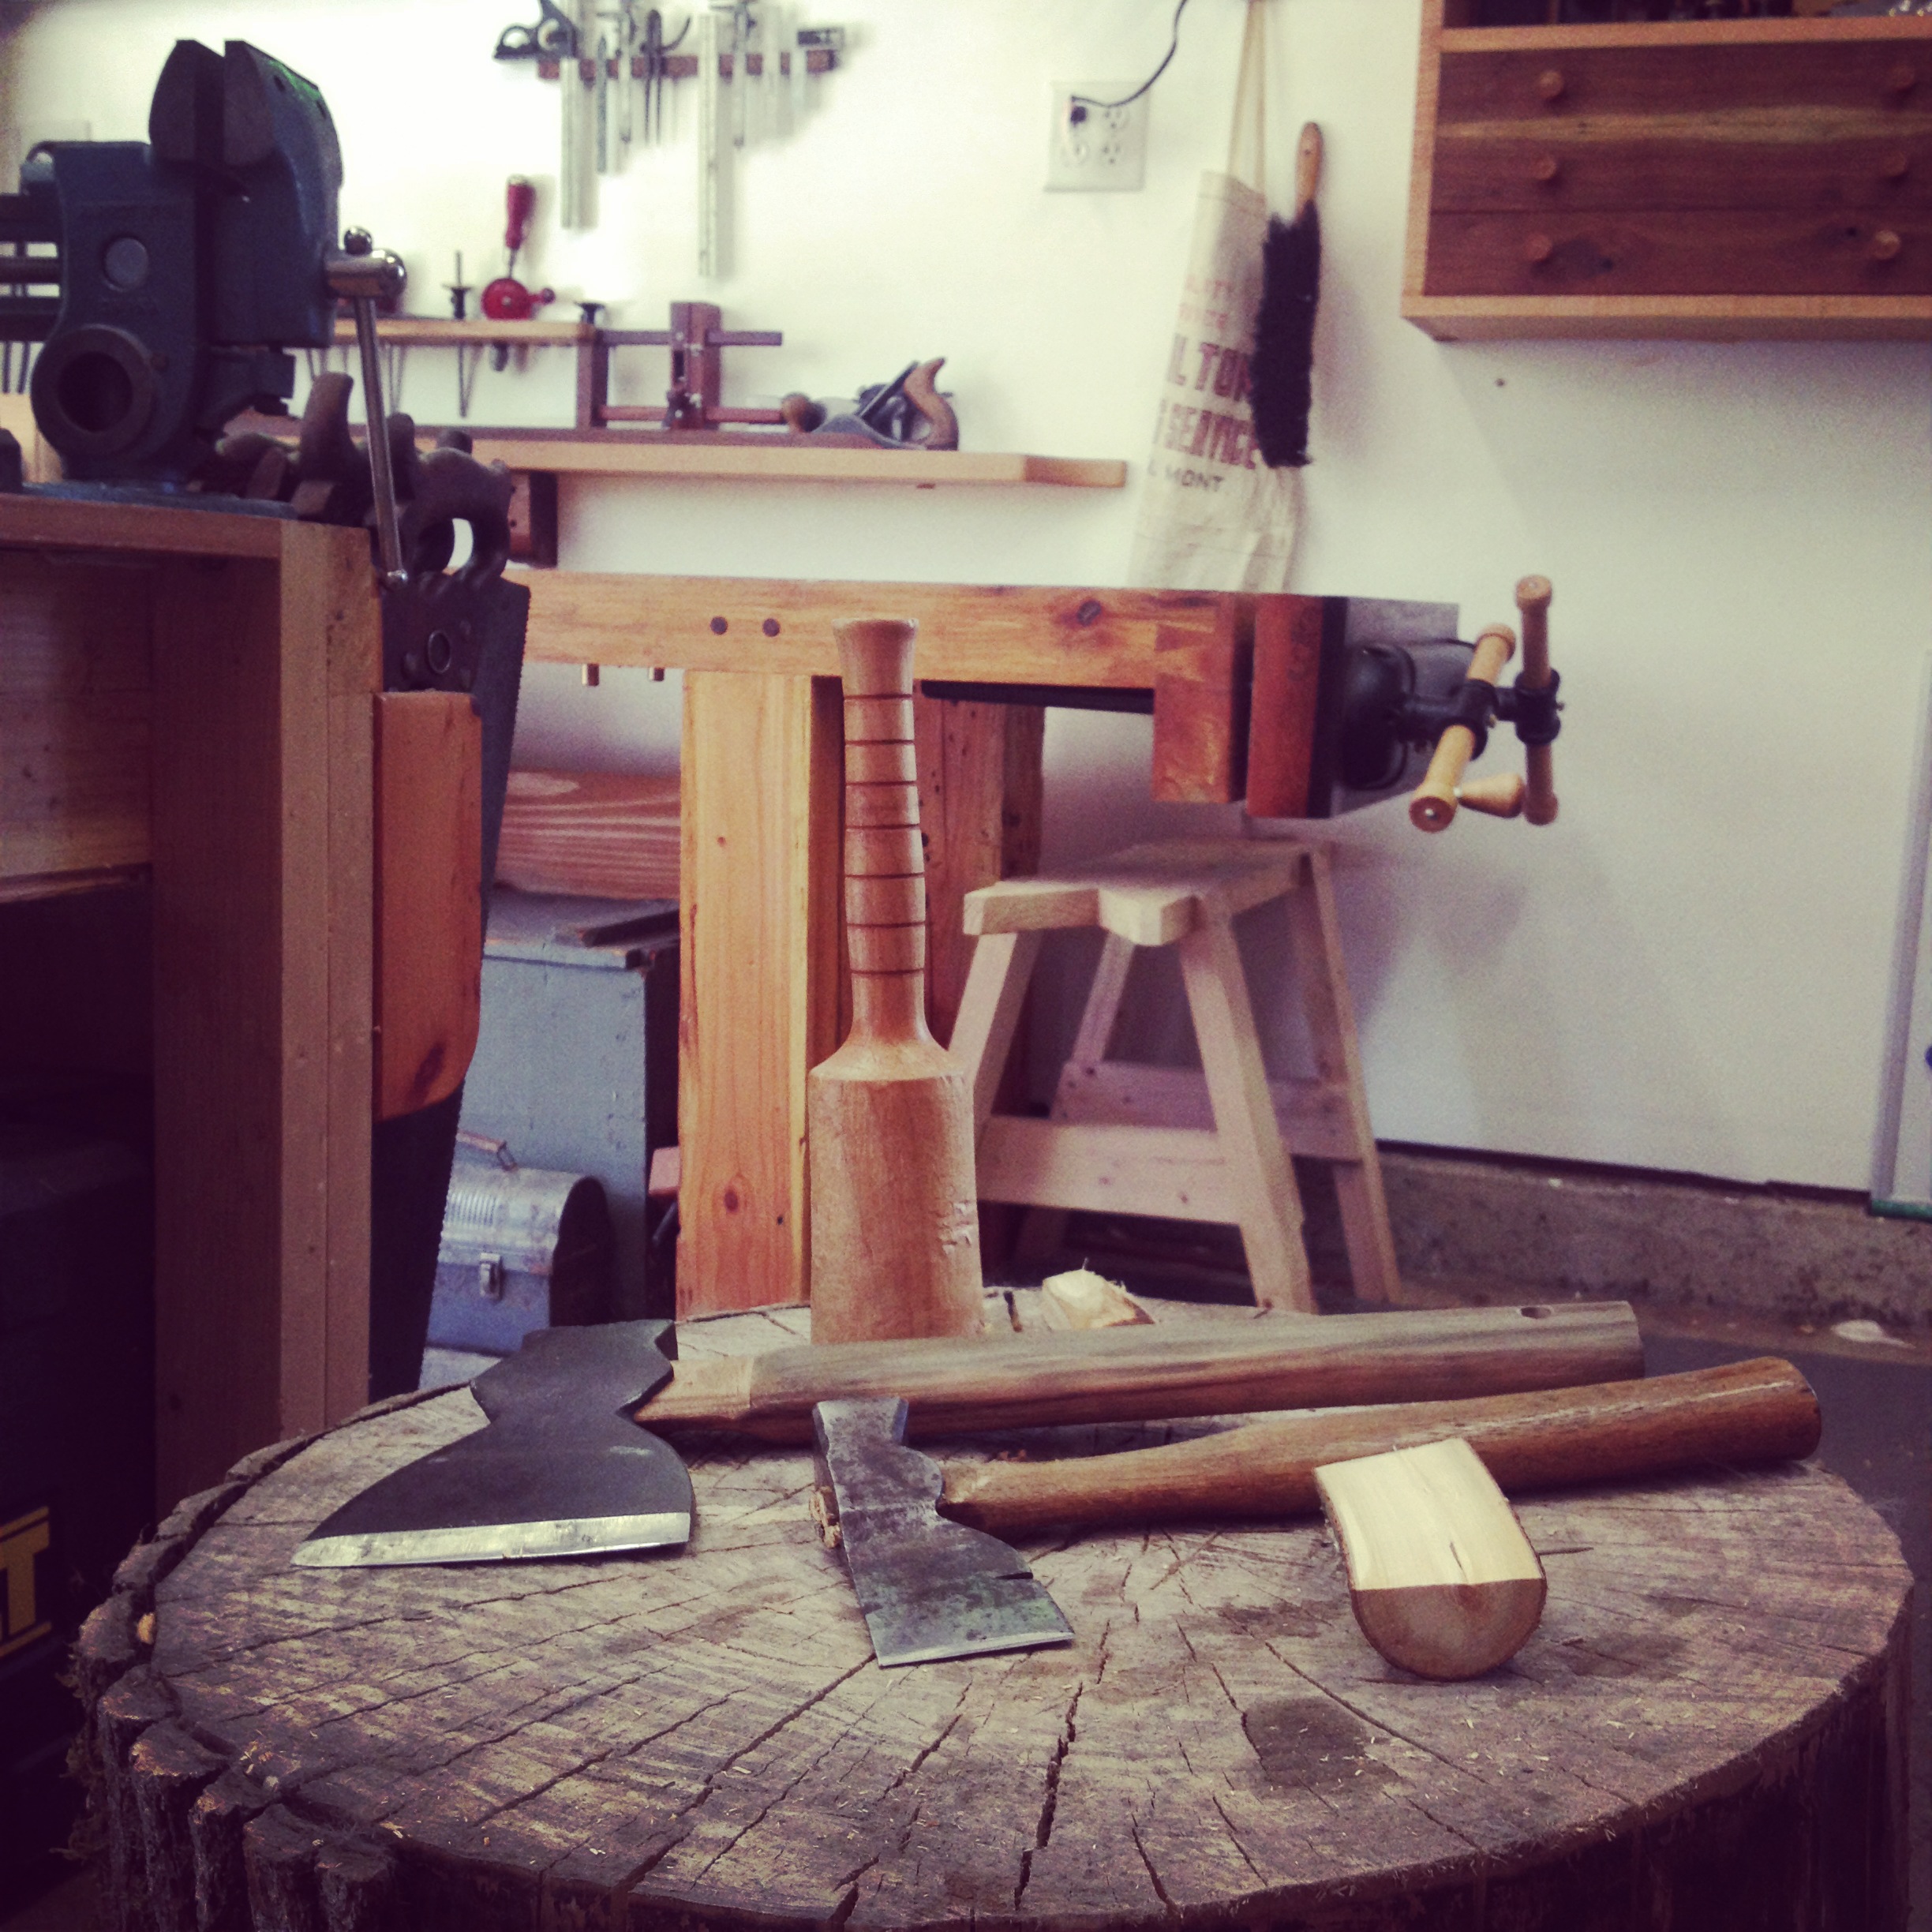
The first step in how to restore old hand tools is a careful inspection. Do not begin with a wire wheel or chemical cleaner. First, learn what can be saved and what may need replacement.
Look at the tool under bright light. Check the metal, wood, fasteners, moving parts, and cutting edge. Take photos before cleaning. These photos can help you remember how the tool was assembled.
Check for these problems:
• Deep cracks in the handle or body
• Missing screws, pins, nuts, or washers
• Severe pitting on a cutting edge
• Bent blades or twisted frames
• Loose joints or broken welds
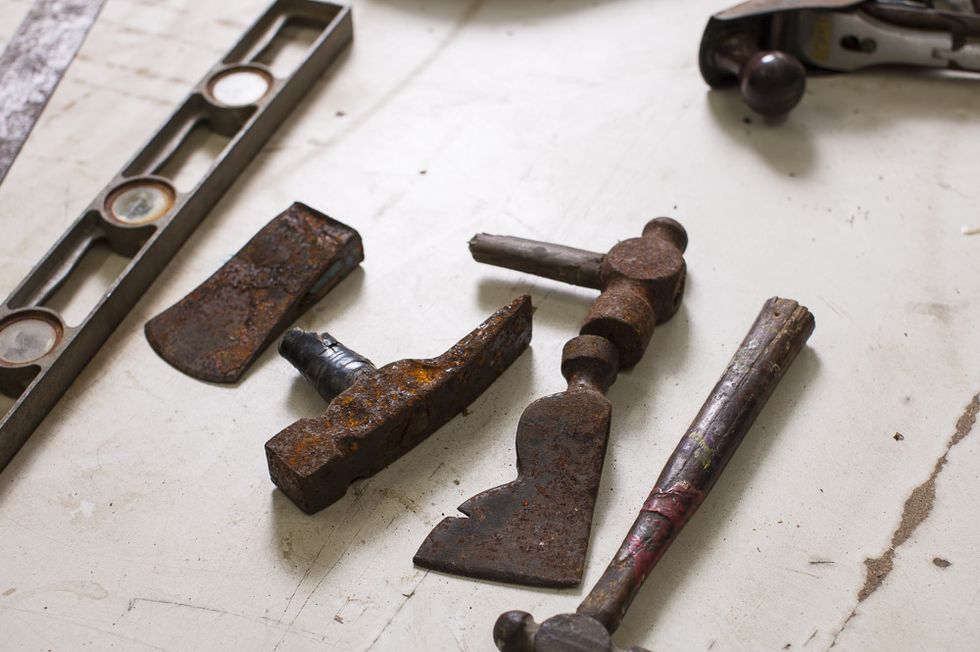
• Active rust that flakes when touched
• Oil, paint, or chemical residue
• Signs of lead paint on old painted surfaces
Surface rust is usually easy to manage. Deep pitting may still be safe on a wrench or bracket, but it can weaken a thin blade. A cracked hammer handle or split chisel handle needs repair before use.
In my own restoration work, I learned to test movement before applying force. An old adjustable wrench may look frozen, but a slow soak can free it. Trying to force it with a long pipe can bend the jaws or break the screw.
Decide Whether to Preserve or Replace
Keep original parts when they are safe and strong. Replace parts that can cause injury or prevent proper use. For example, an original wood handle with dents may be worth keeping, while a handle with a deep split is not.
Avoid removing useful metal just to create a bright surface. Excess grinding can change the shape, balance, or strength of a tool.

Gather the Right Restoration Supplies
You do not need a large workshop to restore old hand tools. A small set of basic tools can handle most projects.
Useful supplies include:
• Safety glasses and chemical-resistant gloves
• A dust mask or properly fitted respirator
• Nylon brushes and brass brushes
• A stiff steel brush for heavy rust
• Penetrating oil
• Mineral spirits or a mild degreaser
• White vinegar or a commercial rust remover
• Plastic tubs and old towels
• Sandpaper from about 80 to 600 grit
• Scrapers and small picks
• A bench vise with soft jaws
• Files and sharpening stones
• Boiled linseed oil or a suitable wood finish
• Paste wax or tool protectant
• Clean rags and paper towels
Use a respirator approved for the hazard you are dealing with. A simple dust mask does not protect you from every vapor or metal particle. Read the label on each product, and never mix cleaning chemicals.
A wire wheel can save time, but it can also remove markings and round sharp edges. Use it at low speed when possible. Keep both hands on the tool, and never wear loose clothing near rotating equipment.
Clean Dirt, Grease, and Old Oil
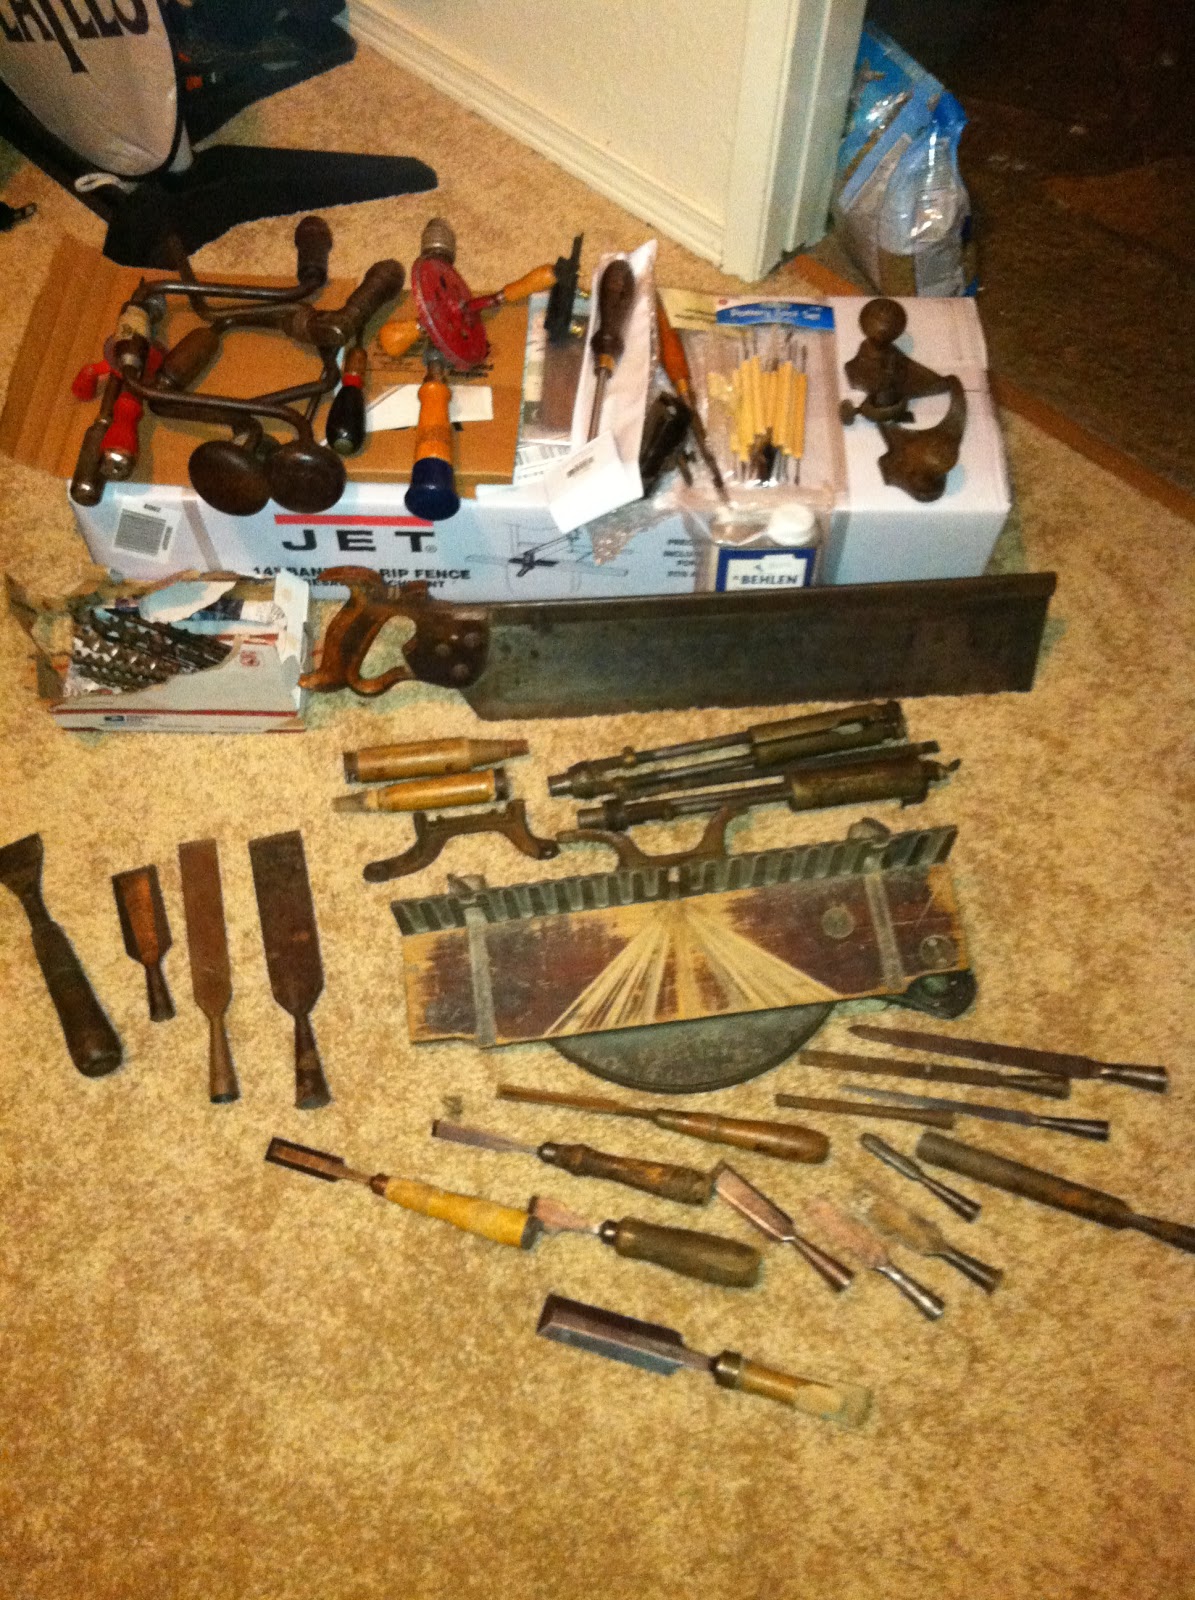
Before removing rust, clean away dirt and grease. Rust removers work better when the metal surface is free of thick oil and grime.
Start with a dry brush. Remove loose dirt from seams, threads, teeth, and corners. Then wipe the tool with a cloth and a mild degreaser.
For heavy grease, use a small brush and mineral spirits in a well-ventilated area. Keep the liquid away from flames and ignition sources. Let the tool dry fully before moving to rust removal.
Avoid soaking wood handles in water. Wood can swell, split, or loosen around a metal tang. Clean wooden parts with a damp cloth, then dry them at room temperature.
Old tools may contain unknown coatings. If you see peeling paint, test it before sanding. Paint from older buildings and tools may contain lead. The Environmental Protection Agency advises using lead-safe methods when lead paint may be present. Do not create dust by dry sanding an unknown coating.

Remove Rust Without Damaging the Tool
Rust removal is the central part of how to restore old hand tools. Choose the mildest method that can do the job.
Light Surface Rust
For light rust, apply penetrating oil and scrub with a nylon or brass brush. Wipe the surface often so you can see your progress.
Fine abrasive pads can remove orange rust without cutting deeply into the steel. Work along the shape of the tool rather than across important edges.
Soaking in Vinegar
White vinegar can loosen rust on many plain steel parts. Place the cleaned metal in a plastic container and check it often. A short soak may work for light rust, while heavier rust may need more time.
Do not assume that a long soak is better. Acid can darken steel and may attack fine edges or markings. Remove the part when the rust softens, then rinse it well.
Neutralize and rinse the surface with clean water. Dry it at once with towels and gentle heat. Bare steel can begin to rust again within minutes.
Electrolysis
Electrolysis can remove rust from suitable iron and steel parts. It uses a low-voltage direct-current supply, water, washing soda, and a sacrificial steel anode.
This method requires care. Keep the power source away from water, use good ventilation, and never use stainless steel as the anode because it can create harmful compounds. Follow a reliable equipment guide and never leave the setup unattended.
Electrolysis is useful for large cast iron parts, such as plane bodies and old vises. It usually removes rust while leaving sound metal and stamped marks in place.
Abrasive Tools
Sandpaper, files, wire brushes, and abrasive wheels all remove metal as well as rust. Use them with restraint.
A file is helpful on flat areas, but it can create low spots if you rock it. A wire wheel cleans quickly but may polish raised areas and erase maker’s marks. For valuable or rare tools, use hand methods first.

Treat Deep Pitting and Stubborn Rust
Deep pitting cannot always be removed without changing the tool. The pits are empty spaces where rust consumed the steel. Cleaning removes loose rust, but it cannot restore lost metal.
For a noncritical surface, you can clean the pits and protect them with oil or wax. On a plane sole, heavy pitting may affect performance. You may need careful flattening on abrasive paper fixed to a flat surface.
Do not flatten a plane sole until you confirm that it needs flattening. Removing too much metal can change the mouth opening or damage the original shape.
For a chisel, focus on the back and cutting edge. Small pits away from the edge may not matter. Pits that reach the bevel or edge can make sharpening difficult and may reduce cutting performance.
A good restoration keeps the tool’s working geometry intact. Shiny metal is not proof of a successful repair.

Repair and Restore Wooden Handles
Wooden handles add comfort, balance, and safety. They also need careful treatment because old wood can be dry and fragile.
Remove loose dirt with a soft brush. Wipe the handle with a slightly damp cloth, then let it dry slowly. Do not place old wood near a heater or use a heat gun. Fast drying can cause cracks.
Small dents may improve with gentle moisture and light steam, but use caution. Steam can loosen glue and damage a finish. Deep cracks may need adhesive repair, while major splits often call for a new handle.
Sand only as much as needed. Start with a medium grit and move to a finer grit for comfort. Keep the original shape. A handle should fit the hand, not look perfectly smooth under bright light.
Apply a thin coat of an appropriate wood finish. Boiled linseed oil is common, but oily rags can heat up and catch fire as they dry. Lay them flat outdoors to dry, or store them in a sealed metal container made for oily waste.
Let the finish cure before use. A sticky handle collects dirt and can become slippery.
Free Stuck and Moving Parts
Old pliers, hinges, braces, vises, and adjustable tools often seize because rust grows between moving surfaces. Penetrating oil can help, but it needs time.
Apply the oil to threads, pins, and joints. Tap the area lightly with a small hammer to help the oil enter. Wait several hours, then try small movements instead of one large twist.
Use a vise with soft jaws when you need extra support. Protect finished surfaces with leather, wood, or thick cardboard.
If a part will not move, add more soak time. Heat can help with some metal parts, but never heat a tool that may hold oil, fuel, unknown chemicals, or a spring under tension. Heating galvanized or painted surfaces can also release harmful fumes.
Once the part moves, clean out the old residue. Add a light lubricant to pivots and threads. Do not leave thick oil on a cutting tool because it attracts grit.
Sharpen Cutting Tools Correctly
Sharpening is often the final step in how to restore old hand tools. A clean tool with a dull edge is still not ready for work.
Begin by checking whether the blade is straight. Remove only enough metal to create a clean, even edge. Use a coarse abrasive for repairs, then move to a medium and fine abrasive.
For many woodworking chisels and plane irons, a bevel angle near 25 degrees is common, with a small secondary bevel often added near the edge. The correct angle depends on the tool and its use. A heavy chisel may need a stronger edge than a fine paring chisel.
Flatten the back near the cutting edge. It does not always need to be polished across its entire length, but the area behind the edge should be flat and smooth.
Use a honing guide if you struggle to hold a steady angle. A guide may feel slower at first, but it helps create a repeatable edge.
Finish by removing the burr. Test the edge on a piece of scrap wood, not on your finger. A sharp tool should cut with controlled pressure and should not need force.
For handsaws, inspect the teeth before filing. A saw may need jointing, setting, and filing, but severe damage may make professional service more practical.

Protect the Restored Metal
Clean steel needs protection as soon as restoration ends. Even indoor humidity can cause flash rust.
Wipe the tool completely dry. Apply a thin coat of paste wax, camellia oil, mineral oil, or another product suited to the tool. For tools that touch food, use a food-safe product approved for that purpose.
Avoid thick coatings. Heavy oil attracts dust and can make handles slippery. A thin film is usually enough.
Cast iron surfaces, such as table tops and plane soles, benefit from a light protective wax. Do not wax a surface that must grip wood or hold a workpiece unless you know the wax will not affect the task.
Check the tool after a few days. If orange spots return, moisture remains in a seam or the protective layer is too thin.
Reassemble and Test the Tool
Reassembly is more than putting parts back in place. It is a safety check.
Clean threads before installing screws and nuts. Replace damaged fasteners with parts of the correct size and strength. Do not force a wrong screw into an old threaded hole.
Check these points:
• Handles fit tightly and do not twist
• Blades seat evenly
• Moving parts work without binding
• Nuts and screws hold securely
• Cutting edges are sharp but protected
• No sharp burrs remain on the body
• The tool rests safely when set down
Test the tool on scrap material first. Use light pressure and listen for unusual sounds. A loose handle, shifting blade, or bent part can become dangerous during hard work.
When I restore an old tool for regular use, I give it several short test sessions. This often reveals problems that are not clear on the bench. A handle may feel secure at first but shift after repeated impact.
Common Mistakes to Avoid
Restoring old hand tools rewards patience. Most damage happens when someone tries to hurry.
Avoid these common mistakes:
• Using a wire wheel too aggressively
• Removing all patina from a collectible tool
• Soaking wood in water or harsh chemicals
• Grinding away a damaged edge without checking alignment
• Using heat near oil, paint, or unknown residue
• Mixing rust removers or household chemicals
• Leaving bare steel wet after rinsing
• Over-sanding a handle until its shape changes
• Testing sharpness on skin
• Using a cracked handle for striking work
Another mistake is treating every old tool as disposable. Some tools need only cleaning and oil. Others need new handles or professional repair. Learn to separate cosmetic flaws from structural defects.
Restoration also has limits. A badly cracked casting, dangerously thin blade, or failed spring may not be worth repairing. Safety should always matter more than sentimental value.
How Much Does Tool Restoration Cost?
The cost depends on the tool and its condition. A basic project may need only brushes, oil, sandpaper, and a sharpening stone. More advanced work may require a vise, rust-removal setup, replacement handles, or professional sharpening.
A simple budget may include:
• Cleaning supplies: $10 to $25
• Abrasive paper and pads: $10 to $30
• Rust remover: $8 to $25
• Sharpening supplies: $20 to $100 or more
• Replacement handle: $10 to $50
• Protective finish: $8 to $20
These figures vary by region and product quality. Specialty tools may cost more to restore than to replace, while high-quality vintage tools may offer excellent value after repair.
Before spending money, look for maker’s marks, unusual shapes, and quality steel. A common damaged tool may be a good learning project. A rare tool deserves slower, more careful work.
How to Store Restored Hand Tools
Good storage prevents repeat rust and damage. Keep tools in a dry space with steady temperatures. Avoid damp basements, unheated sheds, and places where condensation forms.
Use a toolbox, cabinet, or wall rack that allows air to move around the tools. Do not store sharp edges loose in a drawer. Add guards, sleeves, or wooden blocks where needed.
Helpful storage habits include:
• Wiping tools after each use
• Keeping cutting edges covered
• Checking metal every few months
• Reapplying a thin protective coat as needed
• Storing wooden handles away from direct heat
• Keeping rusty tools separate from clean ones
Silica gel packs can help in enclosed boxes, but they are not a cure for a damp room. If humidity stays high, improve ventilation or use a dehumidifier.
A restored tool should be easy to find and ready to use. Good storage is the final part of how to restore old hand tools because it protects the work you already completed.
A Simple Restoration Workflow
Use this order when you are unsure where to begin:
Photograph the tool and identify its parts.
Inspect for cracks, bends, missing parts, and unsafe damage.
Remove dirt, grease, and loose debris.
Take apart only what you can safely reassemble.
Remove rust with the mildest useful method.
Rinse, dry, and protect bare metal.
Repair or replace unsafe handles and fasteners.
Flatten and sharpen cutting edges when needed.
Lubricate moving parts lightly.
Reassemble and test the tool on scrap material.
Store it in a dry, protected place.
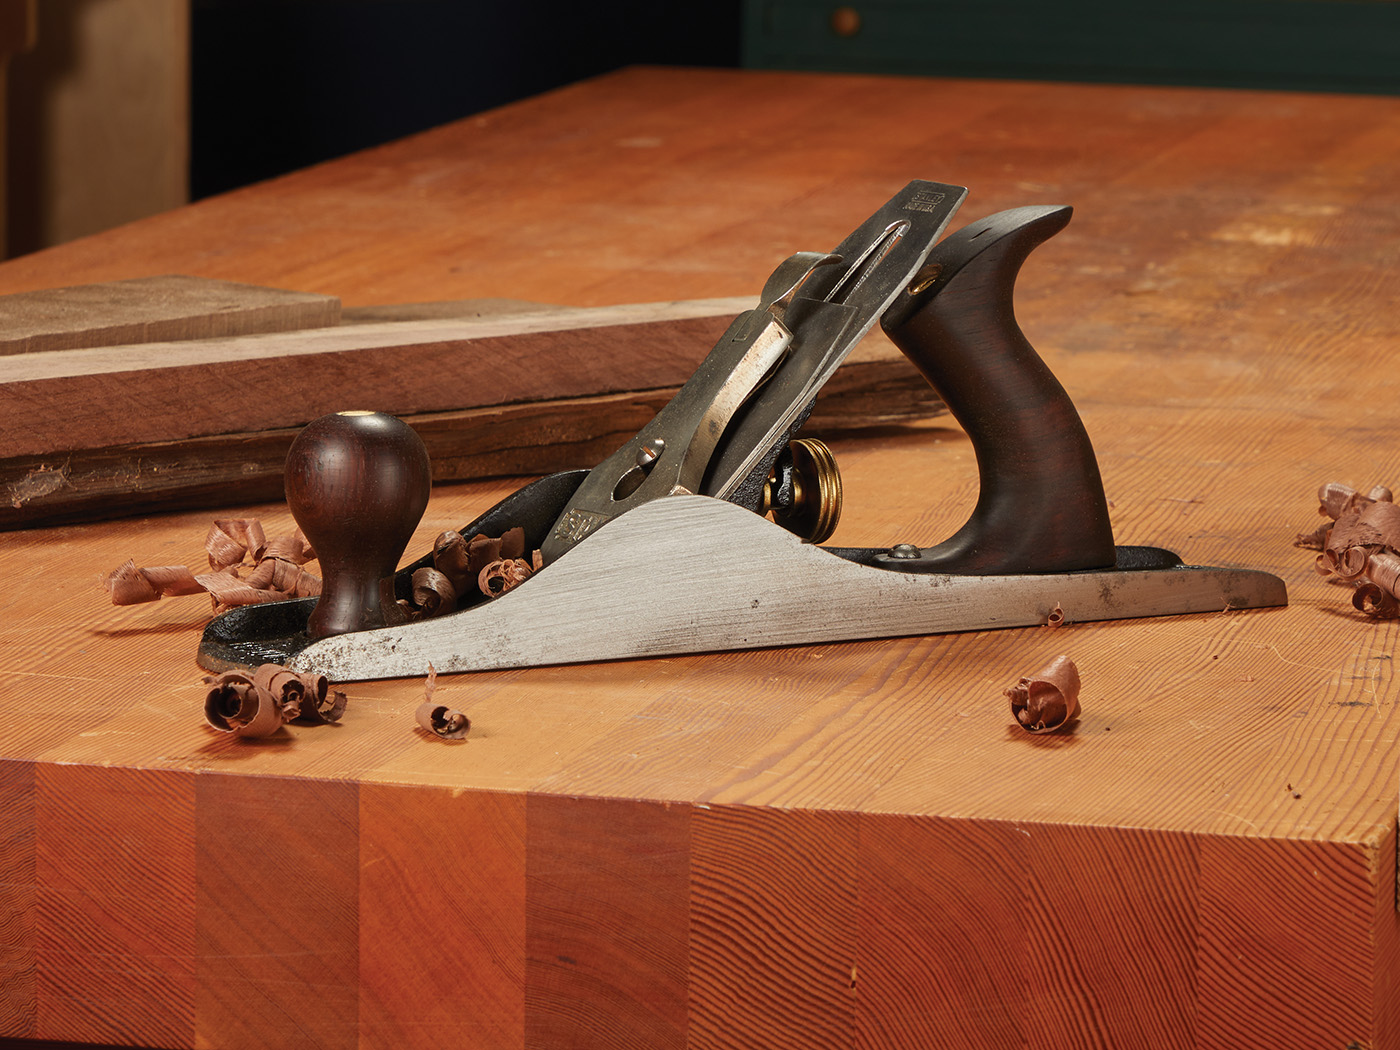
This process works for many tools, but each tool has special needs. A hand plane needs attention to its sole, frog, blade, and mouth. A brace needs smooth gears and a working chuck. A hammer needs a secure eye and handle. Adjust the steps to fit the tool.
Frequently Asked Questions About How to Restore Old Hand Tools
What is the best way to remove rust from old hand tools?
Start with a brush and penetrating oil for light rust. For heavier rust, use a controlled soak, electrolysis, or careful abrasive work, then rinse and dry the metal immediately.
Can vinegar damage old tools?
Vinegar can darken steel and may affect fine edges or markings if the tool stays submerged too long. Check the tool often, rinse it well, dry it fully, and apply protection after the soak.
Should I remove all the patina from a vintage hand tool?
No. Stable dark patina can add character and may help preserve a collectible tool. Remove active rust and harmful residue, but avoid grinding away original markings or sound metal.
How do I know if an old hand tool is safe to use?
Look for cracks, bends, loose handles, damaged fasteners, and thin or badly pitted cutting edges. If a structural part is damaged, repair it correctly or replace the tool rather than taking a risk.
What oil should I use after restoring a hand tool?
Use a thin coat of a product suited to the tool, such as camellia oil, mineral oil, or paste wax. Food-contact tools need a food-safe product, while wooden handles need a compatible wood finish.
Can I use a wire wheel to restore old hand tools?
You can use one for heavy surface rust, but use light pressure and low speed when possible. A wire wheel can remove maker’s marks, round edges, and change the shape of delicate parts.
Do old wooden tool handles need to be replaced?
Replace a handle when it is cracked, loose, badly split, or unsafe. A handle with dents, stains, and small surface wear can often be cleaned, lightly sanded, and refinished.
Conclusion
Learning how to restore old hand tools starts with inspection and ends with careful testing. Clean dirt first, remove rust slowly, protect the metal, repair unsafe parts, and sharpen each edge for its intended job. Preserve useful history, but never keep a damaged part just because it is original.
Choose one simple tool, gather basic supplies, and work in small steps. Your first restoration may not look perfect, but it will teach you how steel, wood, rust, and patience work together. Share your restoration project, explore trusted toolmaking resources, and keep useful tools working for another generation.
