

You can make a sturdy, beautiful cutting board with hand tools, patience, and careful grain matching.
Making a cutting board with hand tools is one of the most rewarding beginner-to-intermediate woodworking projects you can tackle. It teaches layout, sawing, planing, glue-up, and finishing skills in a small, practical build, and you end up with something useful every day. I’ve found that this project also exposes the little details that separate a rough board from a board that feels great in the hand, looks clean on the counter, and lasts for years.
What You Need to Know Before You Start
A cutting board is simple in shape, but it asks a lot from the wood. It must resist moisture, stay flat, and be safe for food use. That means your choices in wood species, grain direction, glue, and finish matter more than most people expect.
For hand-tool work, the best boards are made from straight, stable hardwoods. Maple, walnut, cherry, and beech are common choices because they are dense, attractive, and food-friendly. Soft woods like pine are not a good choice because they dent too easily and can absorb too much moisture.
The biggest mistake I see is rushing the lumber selection. A board can look fine at first, but if the grain is wild or the pieces are not dry, it may warp after a few weeks. In my own early builds, I once glued up a board from mismatched scraps, and it twisted just enough to rock on the counter. That taught me to respect grain direction and dryness more than any fancy finish ever could.
Tools and Materials
You do not need a power shop to make a cutting board with hand tools. You just need a small set of reliable tools and a careful process.
Basic hand tools
• Hand saw or backsaw for cutting boards to length
• Marking gauge for consistent layout
• Pencil and ruler for measurements
• Try square or combination square for checking 90-degree edges
• Hand plane for flattening and smoothing
• Block plane for edge cleanup and chamfers
• Clamps for glue-up
• Cabinet scraper or card scraper for final smoothing
• Sandpaper for hand sanding
• Brush or cloth for applying finish
Materials
• Hardwood boards, kiln-dried and stable
• Food-safe glue, usually standard yellow wood glue is acceptable once fully cured
• Food-safe finish such as mineral oil, walnut oil, or a board cream made from mineral oil and beeswax
Best wood choices
• Hard maple: very durable and common for cutting boards
• Walnut: dark, rich color and easy to work
• Cherry: warm color and good stability
• Beech: traditional and strong
• Oak: usable, but the open grain is less ideal for sanitation and moisture resistance
A cutting board works best when the wood is hard, tight-grained, and dry. If you can, choose boards with similar color and grain so the final piece feels balanced.

How to Make a Cutting Board with Hand Tools
The process is straightforward, but each step deserves care. Think of it like making a loaf of bread: the ingredients are simple, but the result depends on timing, consistency, and small corrections along the way.
Step 1: Choose and inspect your lumber
Start with dry, flat hardwood boards. Look for pieces with no large cracks, knots, or twist. If a board bows or cups heavily, skip it unless you are prepared to flatten it by hand.
Check the grain direction too. Straight grain is easier to plane and produces a cleaner surface. If the grain reverses sharply, hand planing can tear the wood instead of smoothing it.
Step 2: Cut the boards to rough size
Measure the final board size you want, then mark your cuts. A common home cutting board might be 10 by 16 inches or 12 by 18 inches, but you can choose what fits your kitchen.
Use a hand saw or backsaw to cut the pieces a little oversized. Leaving extra length and width gives you room to square the edges later. This matters because hand-tool work is about controlled correction, not perfect cuts on the first pass.
Step 3: Joint the edges by hand
For a strong glue-up, the edges must meet cleanly. If you have no jointer, use a hand plane to true the mating edges. Clamp the boards side by side and check for light gaps.
A simple trick I use is to plane both edges together, face to face. That helps any slight angle cancel out when the boards are glued. It is one of those quiet old-shop habits that saves a lot of trouble later.
Step 4: Arrange the grain and color
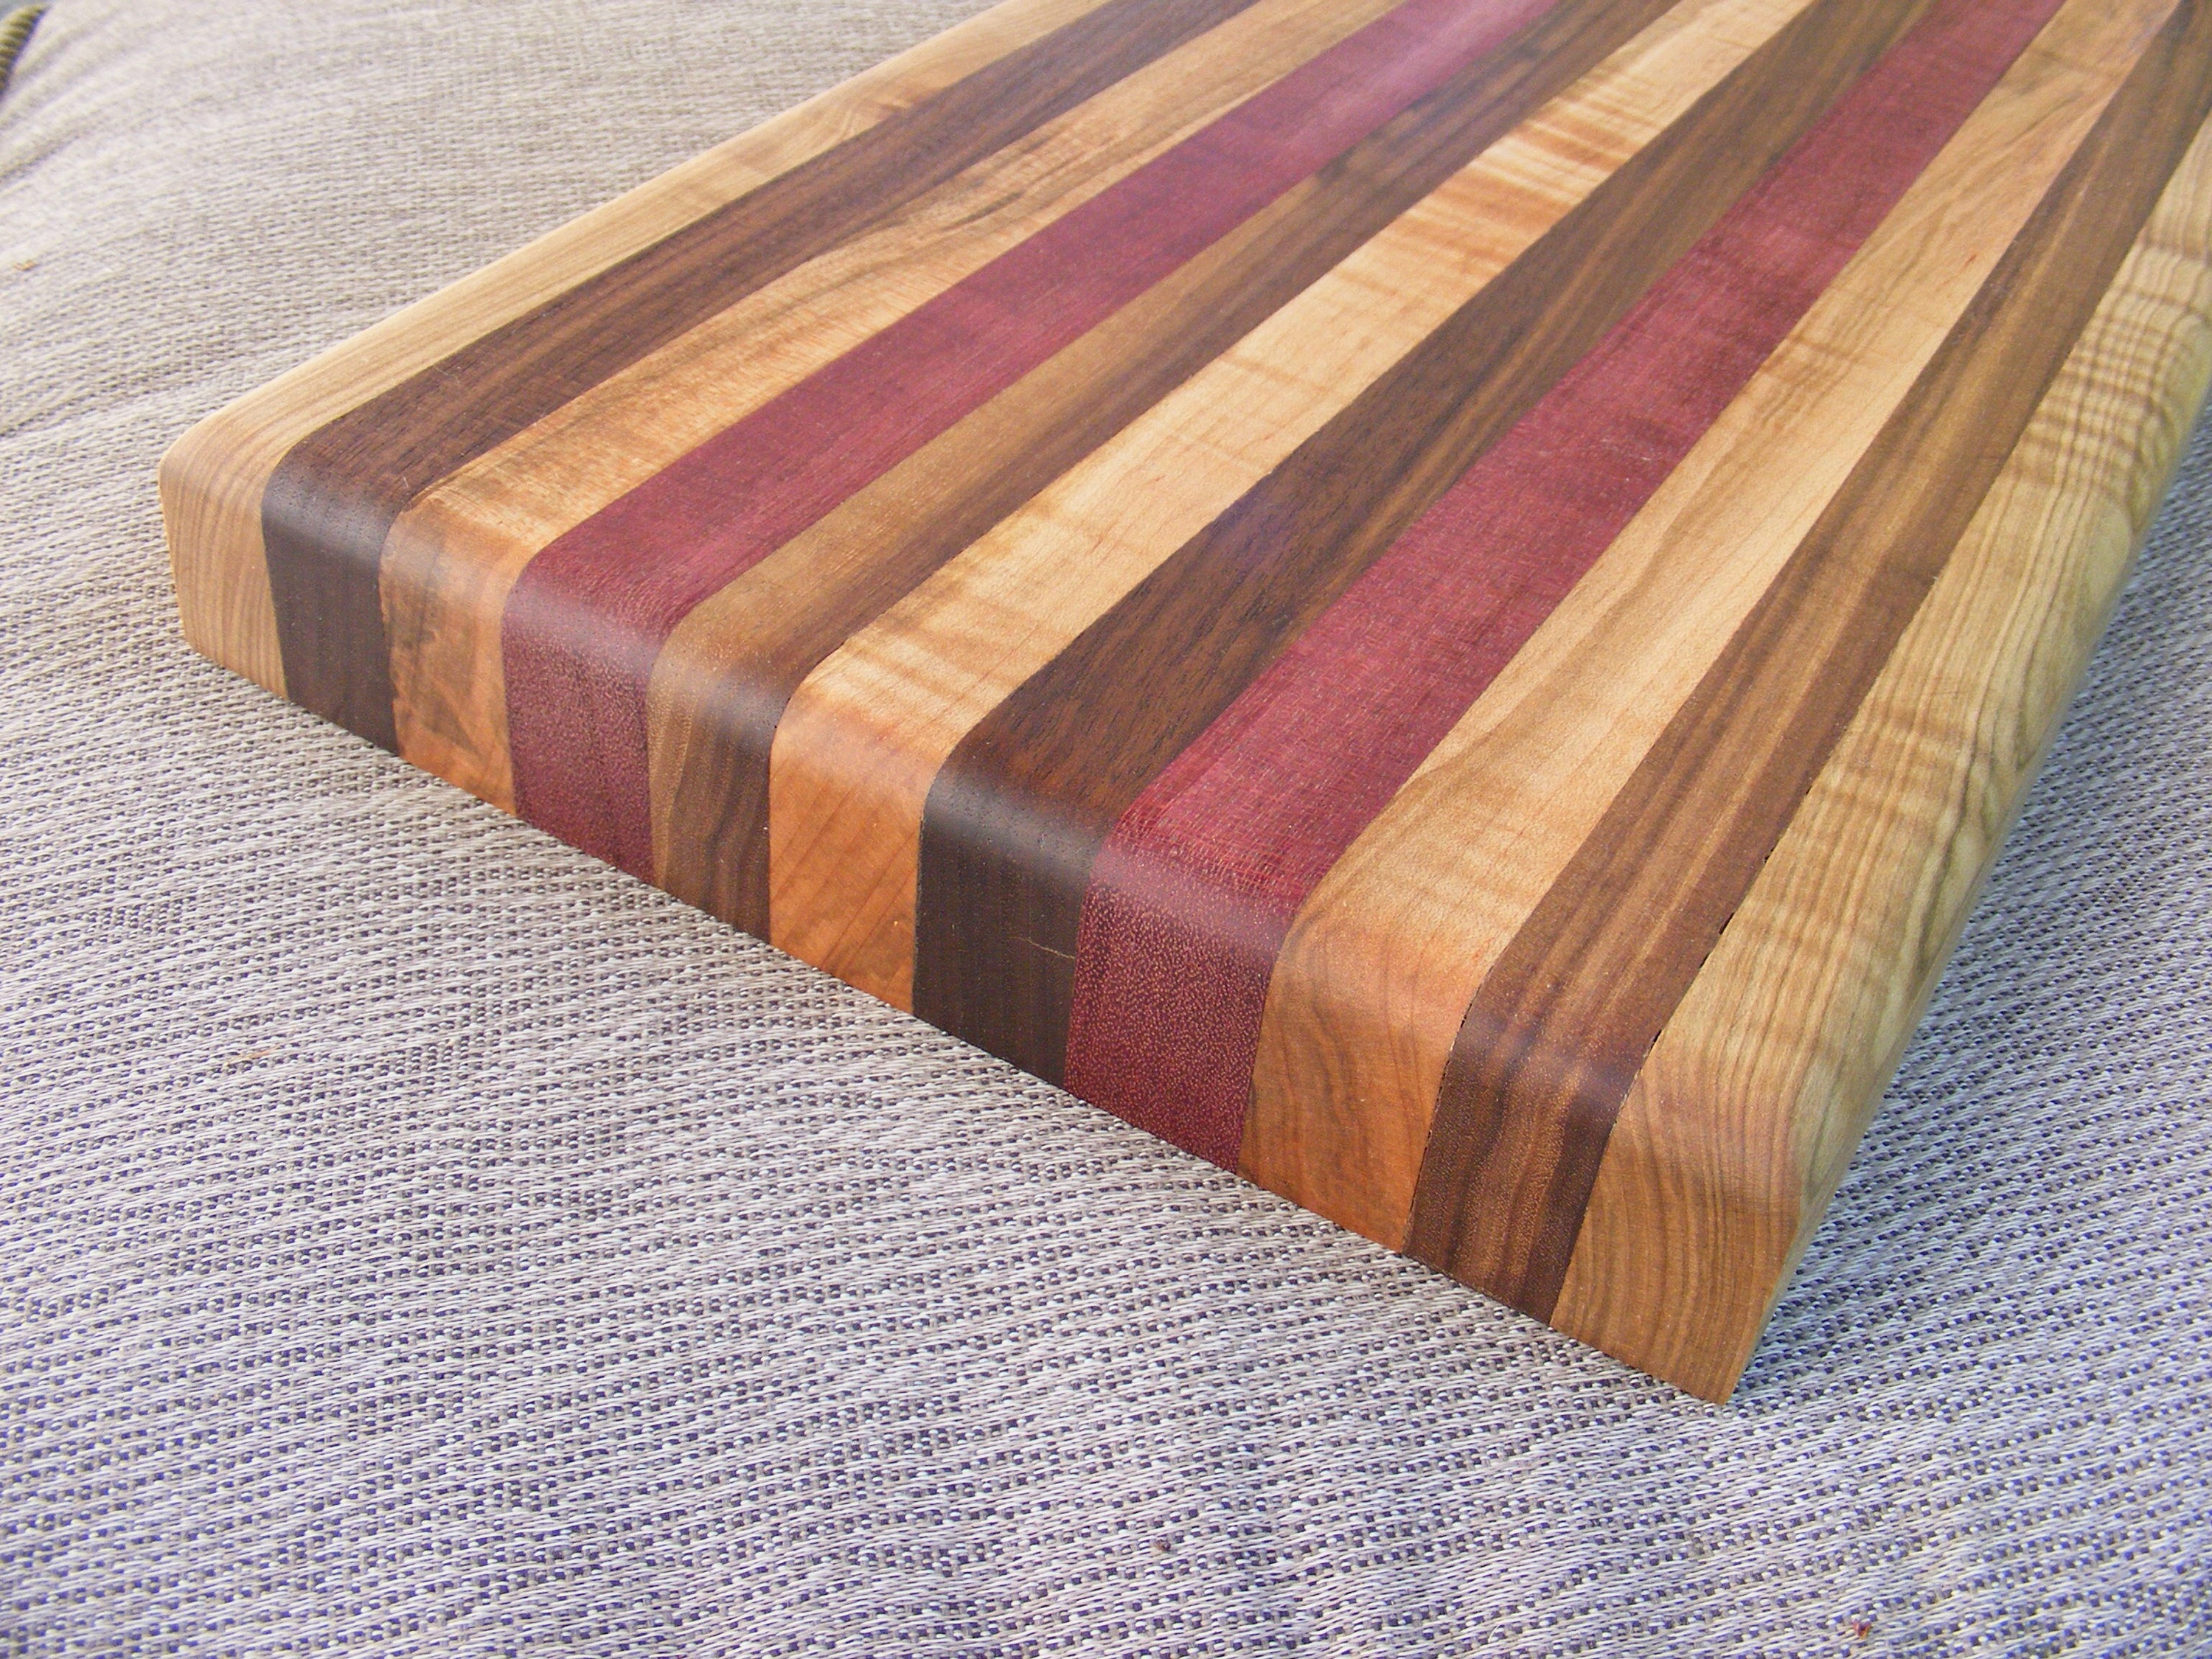
Lay out the boards before glue-up. Alternate the growth ring direction if possible to help reduce cupping. Also try to balance the colors and grain patterns so the board looks intentional.
This is where a cutting board becomes more than a block of wood. A little attention here makes the final piece look custom and thoughtful, even if the joinery is simple.
Step 5: Glue the board together
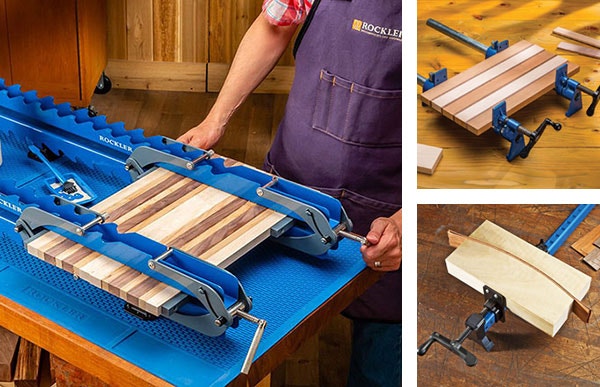
Apply an even coat of wood glue to the edges. Bring the boards together, clamp them firmly, and check that the top surfaces stay aligned. Do not over-tighten the clamps, since too much pressure can squeeze out too much glue and starve the joint.
Wipe away excess glue with a damp cloth before it hardens. If glue dries on the surface, it can leave pale spots that resist finish. Let the glue cure fully before moving on, usually overnight.
Step 6: Flatten the board
Once the glue is dry, remove the clamps and inspect the panel. The board may have small ridges where the seams meet. Use a hand plane or card scraper to flatten both faces.
Work with the grain and take thin shavings. If the board rocks on the bench, mark the high spots first. Patience here pays off because a flat board feels better, cuts better, and looks much more professional.
Step 7: Trim to final size
After flattening, square the ends and edges. Use a try square to mark clean lines, then cut to final size with a hand saw. Clean the edges with a plane or sanding block.
If you want a softer look, round the corners slightly. Sharp corners chip more easily and feel harsher in the hand. A gentle curve gives the board a finished, friendly feel.
Step 8: Add edge treatment
A small chamfer or roundover keeps the board comfortable to pick up. Use a block plane, scraper, or sandpaper to ease the edges. This also helps prevent splintering.
I prefer a small chamfer on the top and bottom edges. It is subtle, easy to make by hand, and it gives the board a crisp but softened look.
Step 9: Sand or scrape the surface
A scraper can leave a very smooth finish without loading the grain the way sandpaper sometimes can. If you do sand, work through fine grits and keep the surface even.
Do not chase perfection to the point of over-sanding. A cutting board does not need to feel like glass. It needs to be smooth, safe, and practical.
Step 10: Apply a food-safe finish
Finish the board with mineral oil, walnut oil, or a board cream made for food-contact surfaces. Apply several coats and let the wood soak in the oil. Wipe off excess after each application.
The finish does two jobs. It improves the look of the wood, and it slows moisture absorption. That helps the board stay stable and resist stains.
Best Practices for a Safer, Longer-Lasting Board
A good cutting board should be easy to use and easy to care for. Small design choices can make a big difference in how long it lasts.
• Use hardwood only, since softwood dents quickly and absorbs more moisture
• Keep the board thickness around 3/4 inch to 1 inch for a good balance of strength and weight
• Sand or scrape all edges so there are no sharp spots
• Avoid using varnish or polyurethane on a food board unless the product is specifically approved for food contact
• Reapply oil regularly to keep the wood from drying out
• Wash by hand, then dry right away instead of soaking the board
One thing I learned the hard way is that even a great board can fail if it lives in water. A cutting board should never sit in a sink or dishwasher. Heat and moisture are the enemy of flat wood.
Common Mistakes to Avoid
Even a simple project can go sideways if you skip the basics. These are the problems that come up most often.
• Using wet wood, which can warp after assembly
• Choosing boards with too much twist or cup
• Rushing the glue-up and leaving gaps
• Forgetting to flatten after glue dries
• Applying too much finish and leaving a sticky surface
• Using the dishwasher, which shortens the life of the board
• Mixing woods with very different movement rates without planning for it
The most common issue I see is impatience during layout and glue-up. People often think the board will “pull itself straight” under clamps. It will not. If the edges are not prepared well, the glue line will show it forever.
Design Ideas and Variations
Once you learn how to make a cutting board with hand tools, you can start changing the design to fit your style.
End-grain vs face-grain
A face-grain board is simpler and easier to make by hand. It shows the long grain of the wood and is a great first project. An end-grain board is more complex because it requires more cuts and glue-ups, but it can be gentler on knives and has a distinctive checkerboard look.
For most beginners, face-grain is the best starting point. It is faster, less fussy, and still very durable when made well.
Reversible boards
You can make the board reversible so both sides are usable. This is practical for home cooks who want one side for vegetables and the other for bread or serving.
Juice grooves
A shallow juice groove around one face can catch liquid from fruit, meat, or tomatoes. Hand cutting this groove takes patience, so many makers skip it on their first board. That is not a flaw; it is just a smart way to keep the build manageable.
Handle holes
A finger hole or handhold can make the board easier to lift. If you add one, keep it simple and smooth so it does not trap debris.
How to Care for a Hand-Made Cutting Board
A cutting board is a living piece of wood in the sense that it responds to its environment. Good care keeps it flat, clean, and attractive.
• Wash with mild soap and warm water
• Dry immediately with a towel
• Store it upright so air can move around it
• Re-oil when the wood looks dry or pale
• Use a light coat of board cream if you want extra moisture protection
• Lightly sand scratch marks before re-oiling if needed
If a board starts to feel rough, do not panic. A quick sanding and fresh oil usually brings it back. That is one of the best parts of woodwork: it can often be renewed instead of replaced.
Why Hand Tools Are a Great Way to Build a Cutting Board
Hand tools slow you down in the best possible way. They teach you to see grain direction, feel surface flatness, and correct small errors before they become big ones.
This kind of project also builds real woodworking confidence. You learn how to square stock, create clean glue joints, and finish a surface by hand. Those skills carry over into larger furniture projects, so the board is more than a kitchen tool. It is practice with a purpose.
For many makers, the first handmade cutting board becomes a benchmark. You remember the fit of the joints, the smell of the fresh wood, and the first time you oiled the surface and watched the grain come alive. That memory often leads to the next project.
Frequently Asked Questions of how to make a cutting board with hand tools
What is the best wood for a hand-made cutting board?
Hard maple is one of the best choices because it is dense, durable, and easy to clean. Walnut and cherry are also excellent if you want a richer color and smooth hand-tool workability.
Do I need power tools to make a cutting board?
No, you can make a cutting board with hand tools alone. A saw, plane, scraper, clamps, and sandpaper are enough for a strong, attractive board.
What finish is safest for a cutting board?
Food-safe mineral oil is a common choice, and many makers also use a mineral oil and beeswax blend. Avoid ordinary film finishes unless they are clearly approved for food contact.
How thick should a cutting board be?
A good thickness is usually between 3/4 inch and 1 inch. That gives the board enough strength without making it too heavy for daily use.
Why did my cutting board warp?
Warping usually comes from wood movement, moisture, or uneven grain layout. Using dry wood, balancing the board structure, and storing it away from excess water will help prevent it.
How often should I oil a cutting board?
Oil it whenever the surface starts to look dry or faded. For a board used often, that may mean once a month at first, then less often depending on use and climate.
Conclusion
Making a cutting board with hand tools is one of the most practical and satisfying woodworking projects you can do. It teaches core skills, rewards careful work, and gives you a useful object you can trust in the kitchen. If you choose good hardwood, prepare clean joints, finish it well, and care for it properly, your board can last a very long time.
If you are ready, gather your tools, pick a stable piece of wood, and make your first board with patience and confidence. Then share your results, compare notes with other woodworkers, and keep building from there.
