

The must have woodworking hand tools are a hand saw, chisels, planes, a marking gauge, a square, and reliable measuring tools.
Choosing the must have woodworking hand tools is less about owning a huge collection and more about having the right tools for accurate, safe, and enjoyable work. After years of building shelves, boxes, doors, and furniture, I have learned that a small set of sharp, well-kept tools often beats a crowded toolbox full of cheap gear.
What Makes a Woodworking Hand Tool Essential?
An essential woodworking hand tool should solve a common task, improve accuracy, or help you work safely. The best tools also last for years when you store them well and keep their edges sharp.
You do not need every tool at once. A beginner can start with a basic set, then add tools as new projects demand them. This approach saves money and helps you learn what each tool really does.
The must have woodworking hand tools usually fall into five groups:
• Measuring and marking tools
• Cutting tools
• Chisels and carving tools
• Smoothing and shaping tools
• Clamping, holding, and maintenance tools
Each group supports the others. A square helps you mark a straight cut. A saw makes the cut. A chisel cleans the joint. A plane brings the surface level.
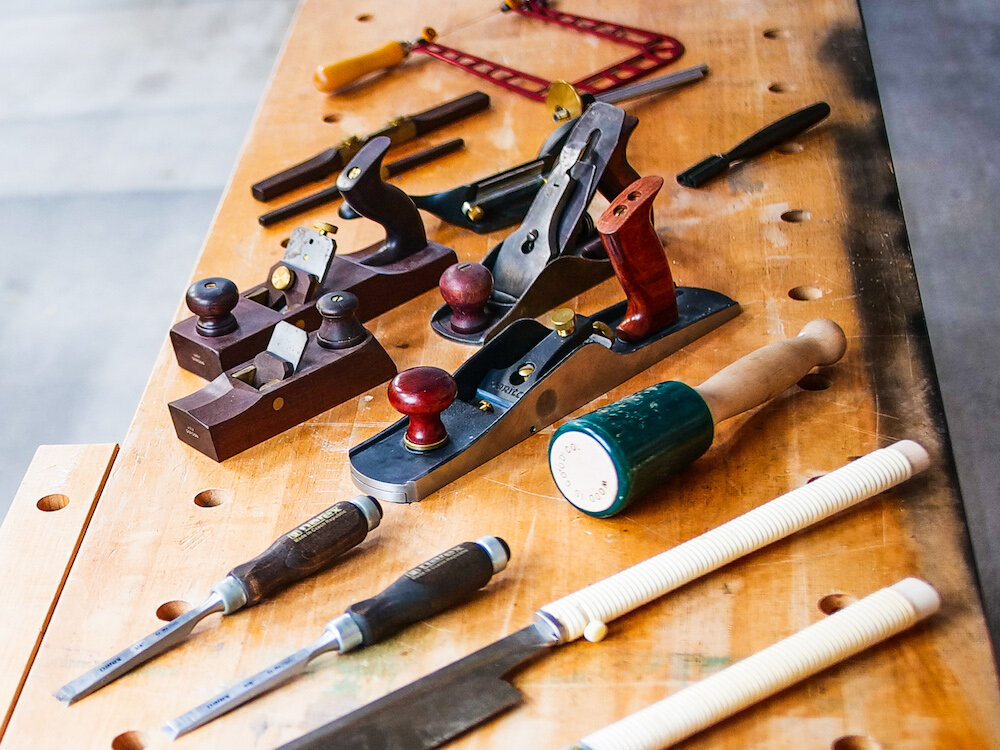
Measuring and Marking Tools
Good woodworking begins before the first cut. Small errors in measuring can grow into large gaps, twisted joints, or uneven parts. That is why measuring and marking tools belong at the top of any list of must have woodworking hand tools.
Tape Measure
A 12-foot or 16-foot tape measure works well for most shop projects. Look for a clear blade, a strong hook, and easy-to-read numbers.
A tape measure is useful for rough dimensions, but it is not always the best choice for fine joinery. For small parts, a rule or combination square gives better control.
Combination Square
A combination square checks 90-degree and 45-degree angles. It can also mark lines, measure short distances, and test the depth of a groove.
Choose a model with a solid head and a blade that locks firmly. A loose square can create errors that are hard to spot until assembly.
Marking Knife
A marking knife makes a fine line that shows exactly where a cut or chisel should go. The blade also severs wood fibers, which helps prevent tear-out.
I use a marking knife for dovetails, mortises, and shoulder lines. It changed my work more than I expected because pencil lines often become too wide for precise joinery.
Marking Gauge
A marking gauge scores a line parallel to an edge. It is ideal for setting out tenons, rabbets, grooves, and board widths.
A cutting gauge works in a similar way but uses a knife wheel. For softwood, a sharp pin may work well. For hardwood, a knife-style gauge usually leaves a cleaner line.
Pencil and Mechanical Pencil
A simple pencil still has a place in every shop. Use it for rough layout, cut marks, and notes.
Keep a sharp mechanical pencil nearby for narrow lines. Just remember that a pencil mark shows where to cut, while a knife line can guide the tool itself.
Hand Saws for Accurate Cuts
Hand saws are among the must have woodworking hand tools because they cut wood without noise, dust, or complex setup. They also help beginners understand grain direction and cutting pressure.
Backsaw
A backsaw has a stiffened spine that keeps the blade straight. It is useful for joinery cuts such as:
• Dovetails
• Tenons
• Small miters
• Rabbets
• Box joints
A dovetail saw has fine teeth and a narrow blade. A tenon saw is often larger and stronger for deeper cuts.
Panel Saw
A panel saw handles longer cuts across or with the grain. Choose a crosscut pattern for cutting across grain and a rip pattern for cutting along grain.
Modern saws often use teeth designed for both tasks. Even so, a dedicated rip saw or crosscut saw can give cleaner results once you gain experience.
Coping Saw
A coping saw has a thin blade held in a U-shaped frame. It cuts curves, inside corners, and waste from dovetail work.
The blade can turn in the frame, which makes it easier to follow a curved line. Keep the blade tight, but do not over-tighten it.
Japanese Pull Saw
A Japanese pull saw cuts on the pull stroke. Its thin blade can make very clean cuts with little effort.
These saws are excellent for flush cutting dowels and trimming small joints. Their blades are often replaceable, but they can bend if you twist them during a cut.
In my early projects, I pushed too hard with a pull saw and bent the blade. The lesson was simple: let the teeth work, use light pressure, and keep the blade aligned.

Chisels for Joinery and Detail Work
A chisel removes wood where a saw cannot reach. It also cleans joints, pares end grain, and creates crisp corners.
Bench Chisels
A set of bench chisels from about 1/4 inch to 1 inch covers most furniture tasks. A 1/2-inch chisel is a useful first choice because it handles many common joints.
A good chisel should have:
• A durable steel blade
• A flat back
• A comfortable handle
• A secure blade-to-handle fit
• A bevel that is easy to sharpen
Bevel-edge chisels are popular because their narrow sides fit into tight corners. They work well for dovetails and small mortises.
Mortise Chisels
Mortise chisels are thicker than bench chisels. Their strong blades can handle mallet strikes and remove waste from deep mortises.
You do not need a full set at the start. One 1/4-inch or 3/8-inch mortise chisel can handle many small furniture projects.
Chisel Mallet
A wooden or urethane mallet delivers controlled force without damaging a chisel handle. Avoid using a metal claw hammer unless the chisel is designed for it.
Tap lightly at first. Heavy blows remove more wood, but they also increase the chance of splitting the workpiece or cutting too deep.
Chisel Care
Keep the back flat and the bevel polished. A dull chisel needs more force, slips more easily, and produces rough work.
For safety, place chisels in a rack or sheath with the cutting edge protected. A sharp tool is safer when it is controlled, but an exposed sharp edge is still a hazard.

Planes for Smoothing and Fitting
Hand planes remove thin shavings and refine wood surfaces. They are among the most satisfying must have woodworking hand tools because you can feel a rough board become smooth under the blade.
Block Plane
A block plane is small and easy to control. It trims end grain, eases sharp edges, and fits well in one hand.
A low-angle block plane is especially useful for end grain. It is often the first plane I suggest to a new woodworker.
Bench Plane
A No. 4 smoothing plane can create a fine finish on prepared boards. A No. 5 jack plane is more flexible and can flatten, straighten, and smooth with the right blade setup.
If you can buy only one full-size plane, a jack plane often offers the best range. You can change the blade depth and camber to suit rough or fine work.
Shoulder Plane
A shoulder plane trims the shoulders of tenons and other joints. It is not essential for every beginner, but it becomes valuable when you build tables, doors, or cabinets.
Spokeshave
A spokeshave shapes curves, chair parts, handles, and rounded edges. It takes practice because the blade must stay at the right angle to the grain.
Plane irons should be sharp and set for a light cut. When a plane tears the wood instead of slicing it, check the grain direction, blade sharpness, and cutting depth.
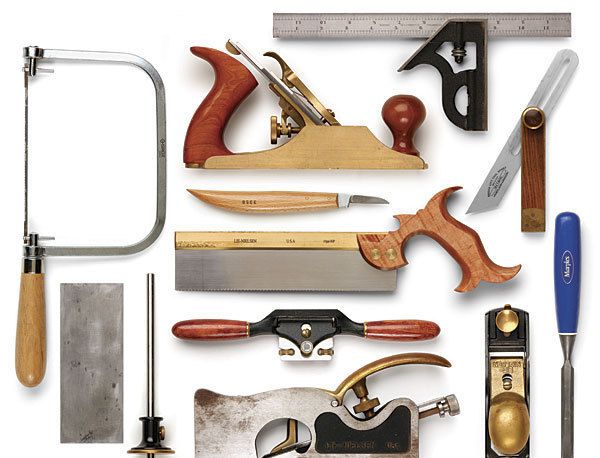
Files, Rasps, and Abrasive Tools
Files and rasps remove material in a controlled way. They are useful when a saw cuts too much and a chisel feels too aggressive.
Rasps
A rasp has coarse teeth that shape wood quickly. Use it for curves, handles, chair legs, and rough fitting.
A cabinet rasp removes less material and leaves a smoother surface than a coarse wood rasp. Both types have a place in a well-planned hand tool kit.
Files
A file refines edges after a rasp or saw. A half-round file works on both flat and curved surfaces.
Keep files clean with a file card. Packed wood dust reduces cutting action and can make the file skid.
Sandpaper and Sanding Blocks
Sandpaper is not a replacement for a sharp plane or chisel. It is best for removing small marks, blending surfaces, and preparing finishes.
Use a firm sanding block on flat surfaces. Sanding with loose paper alone can create dips and rounded edges.
A common progression is 80 or 100 grit for heavy marks, 120 or 150 grit for general smoothing, and 180 to 220 grit before many finishes. The best grit depends on the wood and finish.
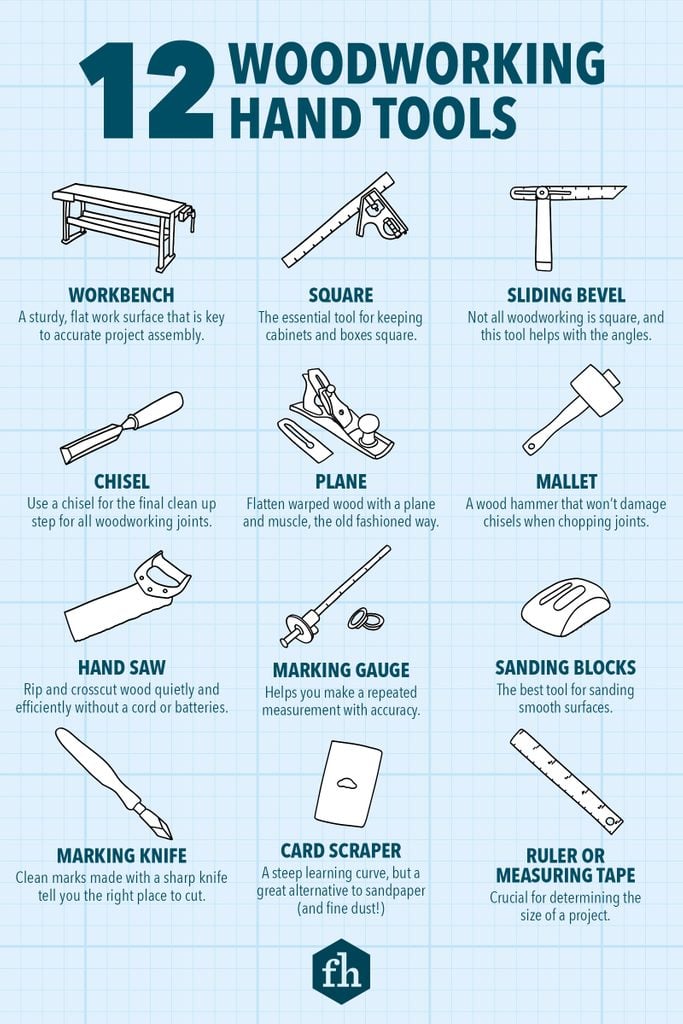
Clamps and Work-Holding Tools
Even the best must have woodworking hand tools cannot perform well if the workpiece moves. Strong, stable work holding improves both safety and accuracy.
Bar Clamps
Bar clamps apply strong pressure across wide assemblies. They are useful for tabletops, cabinets, panels, and large boxes.
Use several clamps rather than forcing one clamp to do all the work. Place pressure pads between the clamp and the wood to prevent dents.
Quick-Release Clamps
Quick-release clamps are fast for temporary holding. They work well during layout, drilling, and dry assembly.
They usually provide less pressure than heavy bar clamps. Treat them as helpful extra hands, not as a complete replacement for strong assembly clamps.
Bench Vise
A woodworking vise holds boards without crushing them. It should attach firmly to a sturdy bench.
Add wooden jaw liners if the vise has bare metal jaws. Keep the liners clean and replace them when they become damaged.
Bench Dogs and Holdfasts
Bench dogs work with a row of holes in a workbench. Holdfasts can secure a board with a quick downward strike.
These tools make planing and chiseling easier because they hold the work without covering the surface. A stable bench is one of the most useful tools in the entire shop.
A Practical Starter Set
A beginner does not need to buy every tool listed here. Start with tools that cover measuring, cutting, shaping, and holding.
A practical starter kit includes:
- A 12-foot or 16-foot tape measure
- A combination square
- A marking knife or sharp pencil
- A backsaw or Japanese pull saw
- A 1/4-inch, 1/2-inch, and 3/4-inch bench chisel
- A block plane
- A rasp and a half-round file
- A set of clamps
- A bench vise or secure work-holding system
- A sharpening stone or sharpening system
This group can support shelves, small tables, boxes, cutting boards, picture frames, and basic repairs.
Buy better quality in stages. A cheap tool that cannot hold an edge may cost more in lost time than a sound mid-range tool.
When I started, I bought a large set of low-cost chisels. Only two stayed useful after a year. Now I prefer buying one good chisel, flattening its back, and learning to sharpen it properly.
How to Choose Quality Hand Tools
Tool quality depends on the task, the material, and your skill level. A premium tool is not always necessary, but poor design can make learning frustrating.
Look for these signs of a reliable tool:
• Straight blades and backs
• Handles that feel secure and balanced
• Blades made from known tool steel
• Parts that can be adjusted or replaced
• Clear size markings
• A warranty or dependable replacement support
For saws, inspect the blade for straightness and even teeth. For squares, check that the blade meets the stock at a true 90-degree angle.
You can test a square by drawing a line, flipping the square, and drawing another line against the first. If the lines do not match, the square may be inaccurate.
Avoid buying tools based only on appearance. A polished handle is nice, but edge retention, fit, and adjustment matter more.
Sharpening and Tool Maintenance
Sharp must have woodworking hand tools are easier to control and more pleasant to use. Maintenance also protects your investment.
A simple sharpening routine may include:
- Flatten the back of a new chisel or plane iron.
- Set the primary bevel at the maker’s recommended angle.
- Add a small secondary bevel for easier honing.
- Hone on a fine stone or abrasive system.
- Remove the burr from the back.
- Test the edge on scrap wood.
Many bench chisels use a primary bevel near 25 degrees with a small honing bevel near 30 degrees. These are common starting points, not strict rules. Hard use, wood species, and tool design may call for another angle.
Wipe steel tools after use. A thin coat of suitable rust protection helps in damp shops. Store tools away from bare concrete, wet rags, and rapid temperature changes.
Wood dust can hide damage and clog moving parts. Clean your tools after each project, even if the cleanup takes only five minutes.
Safety Rules for Hand Woodworking
Hand tools can cause serious injuries when used carelessly. Safe habits should become part of your process, not an afterthought.
Follow these basic rules:
• Cut away from your body whenever possible.
• Keep both hands behind the cutting edge.
• Clamp small work instead of holding it in your hand.
• Wear eye protection during cutting, chiseling, and striking.
• Keep blades sharp and handles secure.
• Do not use a cracked handle or mushroomed metal head.
• Keep the floor clear of cords, scraps, and spills.
• Use a push stick or other aid when a hand tool does not provide enough clearance.
The Occupational Safety and Health Administration stresses eye protection, proper tool condition, and safe work practices in woodworking environments. Home workshops need the same care as professional shops.
Do not rush a difficult cut. Stop, reset the work, and check the grain. A short pause can prevent a long recovery.
Common Mistakes to Avoid
New woodworkers often focus on buying tools and overlook setup. Good results come from the full system: tool, workpiece, technique, and patience.
Avoid these common mistakes:
• Buying a large kit before learning basic skills
• Using a dull blade because sharpening feels difficult
• Skipping layout and measuring by eye
• Cutting directly on a finished bench
• Forcing a plane against the grain
• Using clamps without protecting the wood
• Sanding away errors instead of correcting them
• Storing tools where moisture can cause rust
One mistake I made often was marking every board from a different reference edge. The parts looked close, but the joints did not line up. Now I mark a clear face side and reference edge on each part before cutting.
That small habit improved my accuracy more than buying another saw.
Best Woodworking Hand Tools by Skill Level
Your tool needs change as your skills grow. The must have woodworking hand tools for a beginner are not always the same as those needed by an advanced furniture maker.
Beginner
Start with measuring tools, a backsaw, a few bench chisels, a block plane, clamps, and a sharpening method. These tools teach core skills without creating a large financial burden.
Intermediate
Add a jack plane, marking gauge, dovetail saw, mortise chisel, shoulder plane, and better work-holding tools. At this stage, joinery becomes more precise and complex.
Advanced
Consider specialized planes, router planes, dedicated saws, cabinet scrapers, carving tools, and high-quality layout tools. Buy these tools for real needs, not because they look impressive in a catalog.
A skilled woodworker can complete many projects with basic tools. Experience often improves results more than tool count.
Frequently Asked Questions About Must Have Woodworking Hand Tools
What are the most important woodworking hand tools for beginners?
Start with a combination square, marking knife, handsaw, three bench chisels, block plane, clamps, and a sharpening tool. This set covers measuring, cutting, shaping, joining, and basic finishing.
Do I need expensive woodworking hand tools?
No. You need tools that are straight, safe, adjustable, and able to hold an edge. Mid-range tools often provide excellent value, especially when you learn how to tune and maintain them.
Which hand saw should I buy first?
A backsaw or Japanese pull saw is a strong first choice for small projects and joinery. Add a panel saw later if you plan to cut large boards by hand.
How often should I sharpen woodworking tools?
Sharpen whenever a tool begins to require extra force or leaves a rough cut. Light honing may be needed during a project, while full sharpening depends on the wood, tool, and amount of use.
Is a hand plane necessary for woodworking?
A hand plane is not required for every project, but it is extremely useful for smoothing edges, fitting joints, and correcting small surface errors. A block plane is a practical first option.
What is the safest way to use a chisel?
Keep the work clamped, hold the chisel with both hands when paring, and keep the cutting path away from your body. Use a wooden or urethane mallet for controlled strikes.
How should I store woodworking hand tools?
Store them in a dry place with cutting edges protected. Keep steel surfaces clean, apply light rust protection when needed, and avoid leaving tools on damp benches or concrete floors.
Conclusion
The must have woodworking hand tools are not about having the biggest collection. A reliable square, sharp saw, useful chisels, capable plane, strong clamps, and safe work-holding system can handle a surprising range of projects.
Choose tools that match your current work. Learn to sharpen them, store them well, and use them with patience. Start with a small core set, build one project at a time, and let each new challenge guide your next purchase. Explore more woodworking guides, share your favorite tools, and keep making.
