

Woodworking hand tools become easier to use when you choose the right tool, secure the wood, and let the sharp edge do the work.
Learning how to use woodworking hand tools is less about force and more about control, grain direction, and steady practice. After years of working with chisels, planes, saws, and marking tools, I have found that safe setup and sharp edges make nearly every task simpler. This guide explains the process from tool selection to finishing cuts, so you can work with confidence and avoid common mistakes.
What Are Woodworking Hand Tools?
Woodworking hand tools are tools powered by your hands rather than an electric motor. They help you measure, mark, cut, shape, join, and smooth wood with excellent control.
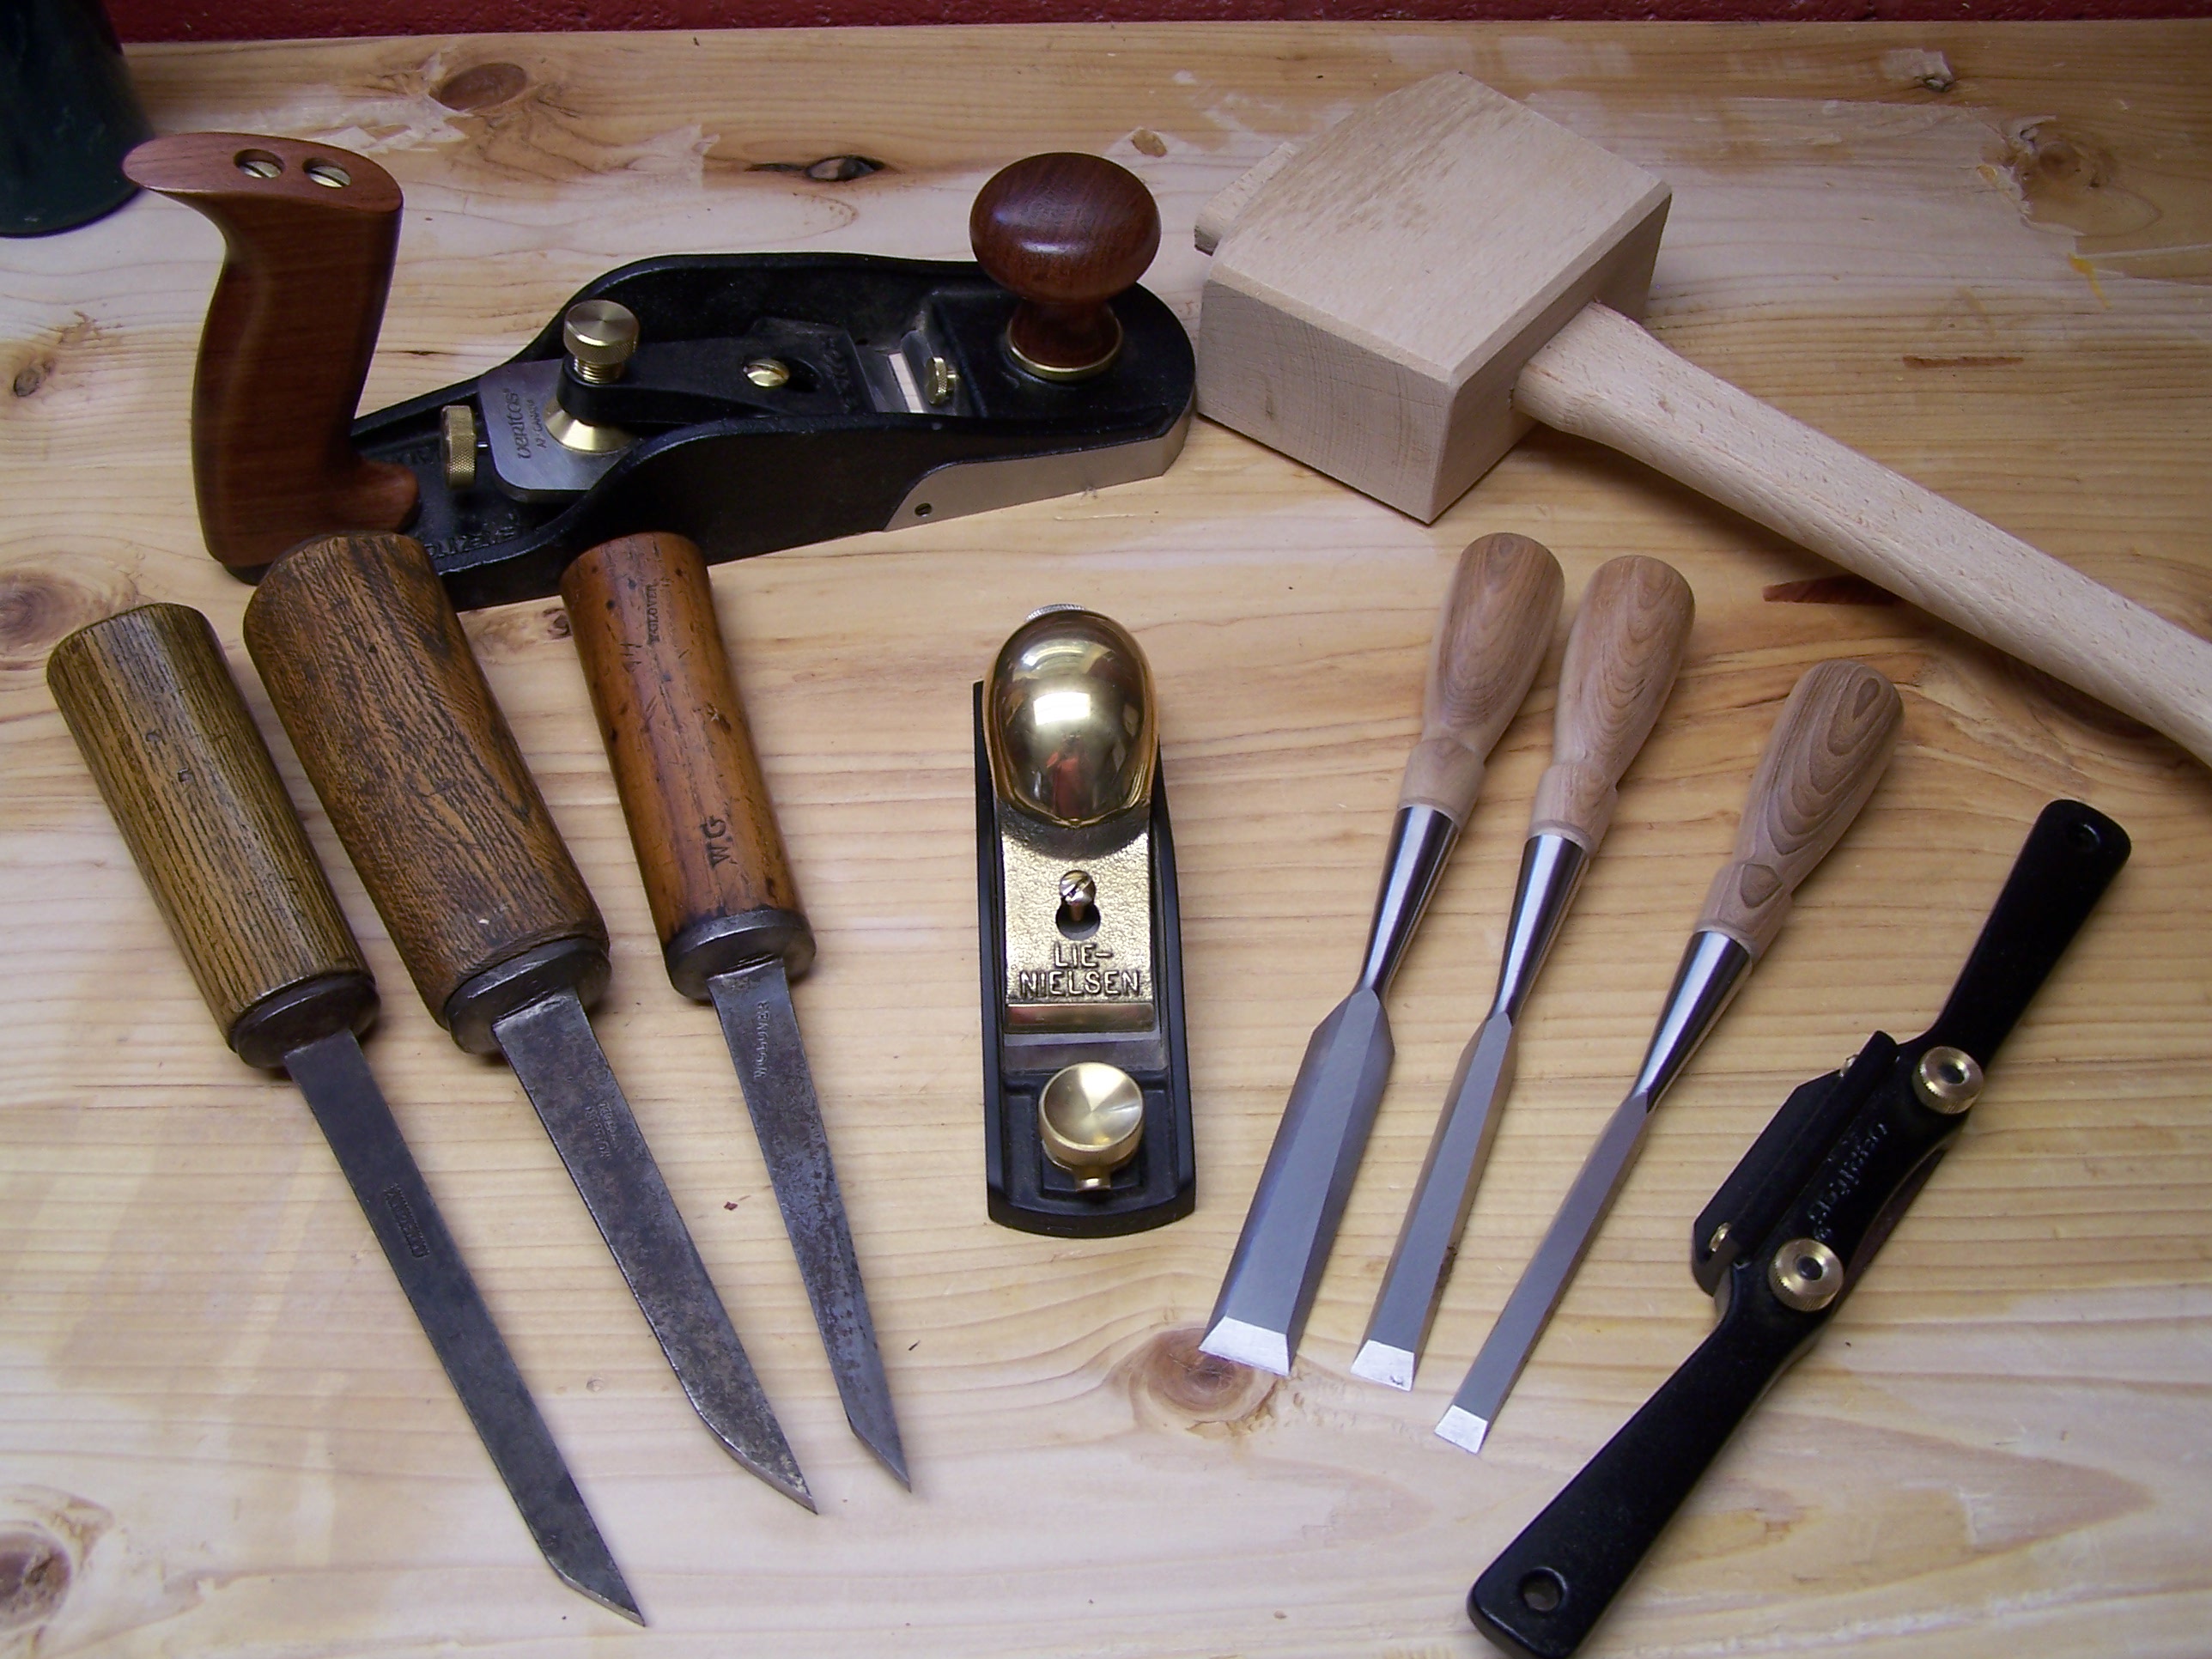
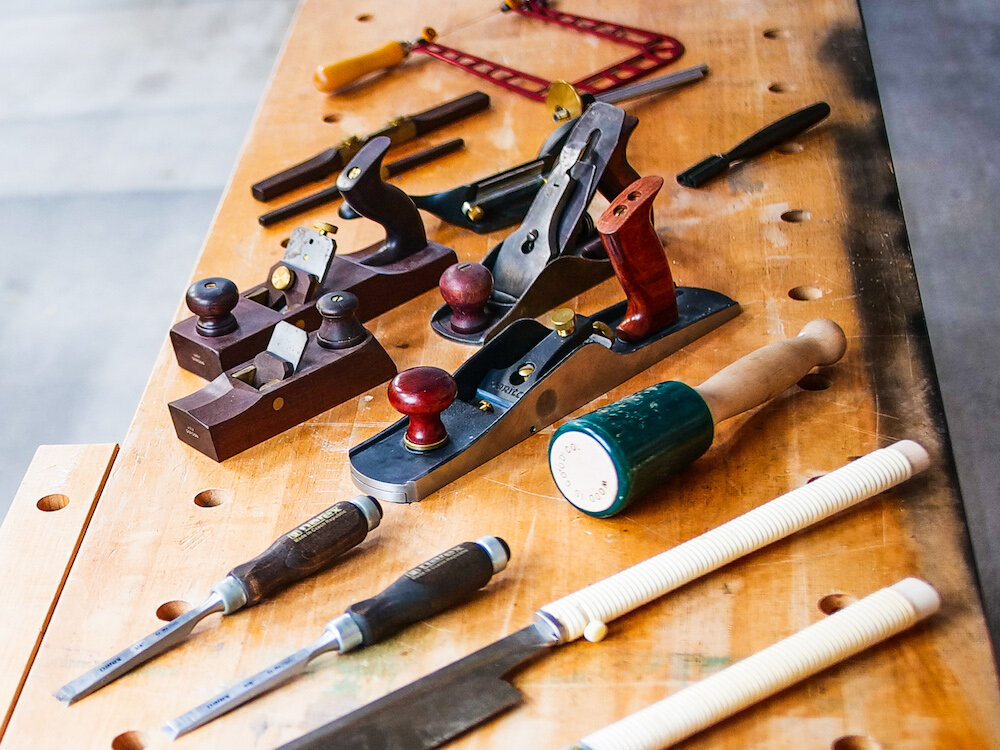
Common woodworking hand tools include:
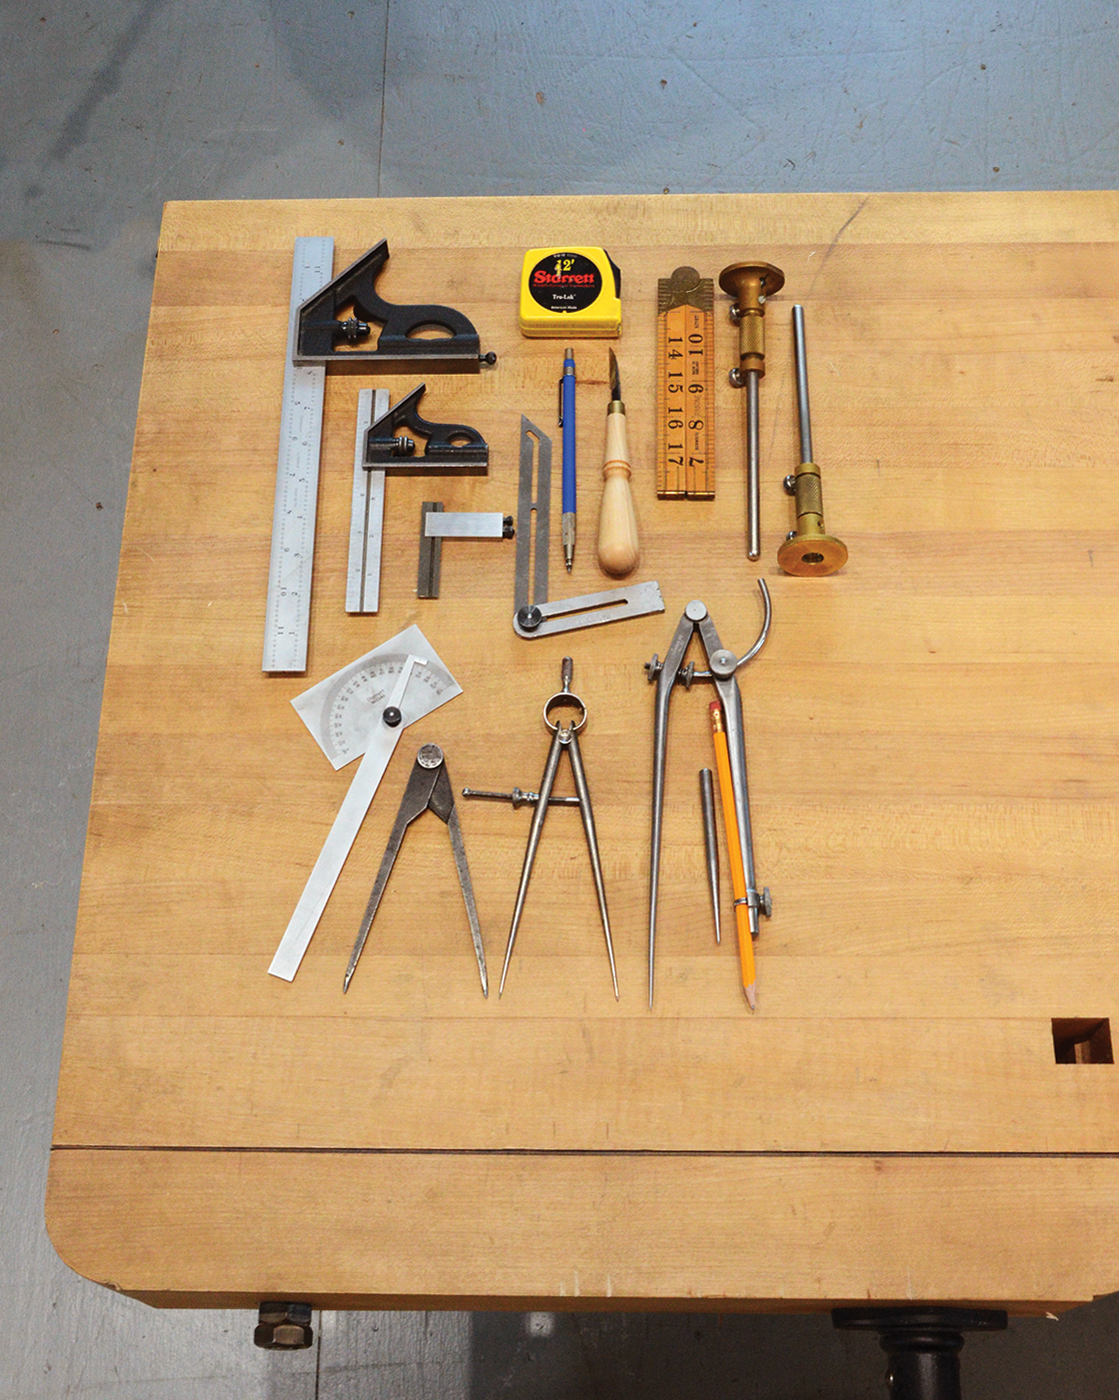
- Measuring tools, such as tape measures, combination squares, and marking gauges
- Marking tools, such as pencils, marking knives, and awls
- Cutting tools, such as handsaws, coping saws, and chisels
- Shaping tools, such as hand planes, spokeshaves, and rasps
- Holding tools, such as bench vises, clamps, and holdfasts
- Striking tools, such as wooden mallets and hammers
- Finishing tools, such as scrapers and sanding blocks
The best way to understand how to use woodworking hand tools is to view them as a system. A square helps you mark a true line. A saw follows that line. A chisel cleans the joint, and a plane brings the surface level.
Hand tools also have important limits. They are slower than power tools for large projects, and poor technique can still cause injury. However, they offer quiet operation, fine control, low setup cost, and a direct feel that many woodworkers value.

Start With a Safe and Stable Work Area
Before learning how to use woodworking hand tools, prepare your work area. A stable bench is one of the most useful tools in a woodshop because it keeps the workpiece still while your hands guide the tool.
Follow these basic safety steps:
- Keep the bench clear of loose tools and scraps.
- Use a vise, clamp, or bench hook to hold the wood.
- Keep sharp tools in a rack or protective sheath when not in use.
- Wear safety glasses when striking, cutting, or removing chips.
- Keep both hands behind the cutting edge whenever possible.
- Make sure the floor is dry and free of trip hazards.
- Use good lighting so your layout lines and cutting edge are easy to see.
A secure workpiece should not move when you apply light hand pressure. If it shifts, stop and improve the hold. Many poor cuts happen because the wood moves, not because the worker lacks skill.
I once tried to trim a small board while holding it by hand. The board slipped, the saw wandered, and I damaged both the cut and the bench edge. A simple bench hook would have prevented the problem. That lesson still guides how I use woodworking hand tools today.

Learn the Basic Workflow
Most hand tool projects follow a simple sequence. The order matters because each step supports the next one.
- Inspect the wood and identify the grain direction.
- Measure the needed dimensions.
- Mark the cut or joint with a sharp line.
- Secure the workpiece.
- Make the cut or remove waste.
- Check the result with a square, rule, or straightedge.
- Refine the surface with a plane, chisel, scraper, or sandpaper.
- Test the fit before applying glue or finish.
Work slowly at the beginning of a cut. Once the tool enters the correct path, you can increase your pace. This approach is central to how to use woodworking hand tools because accuracy starts before the tool touches the wood.
Always remove less material than you think you need. You can take another shaving or cut, but you cannot easily put wood back. This rule is especially important when fitting doors, drawers, and joinery.
How to Use a Hand Saw
A hand saw cuts wood through a row of teeth. Different saws serve different jobs, but the basic technique remains similar.
Use a hand saw with these steps:
- Mark the cut line clearly on the face and edge of the board.
- Support the wood close to the cut without blocking the saw.
- Place the saw on the waste side of the line.
- Start with short, light strokes to create a kerf.
- Lower the saw gradually after the cut begins.
- Use long, smooth strokes that use most of the blade.
- Let the teeth cut the wood instead of forcing the saw.
- Support the waste piece near the end to prevent tear-out.
A crosscut saw cuts across wood fibers. A rip saw cuts along the grain. A backsaw, such as a tenon saw, has a stiffened back that helps produce straight, controlled cuts.
One common mistake is pressing down too hard. Pressure can bend the blade and make the cut wander. The better method for how to use woodworking hand tools is to maintain a relaxed grip and allow the sharp teeth to remove the wood.

How to Use a Chisel
A chisel removes wood, cuts joints, cleans corners, and creates small recesses. Its performance depends on a sharp bevel and a flat back.
To use a chisel safely:
- Hold the handle with your dominant hand.
- Guide the blade with your other hand when making light paring cuts.
- Keep the flat back against the reference surface.
- Cut with the grain when possible.
- Remove thin layers instead of taking deep bites.
- Use a wooden mallet for controlled striking.
- Keep the cutting path pointed away from your body.
For a mortise, remove waste in stages. First, make shallow cuts near the center. Then work toward the layout lines. Do not try to reach the final wall in one heavy blow.
A chisel is not a screwdriver, pry bar, or paint scraper. Using it for those jobs can damage the edge and cause the tool to slip. Understanding how to use woodworking hand tools also means knowing when not to use them.

How to Use a Hand Plane
A hand plane removes thin shavings and can flatten, smooth, or square wood. The blade, called an iron, should be sharp and set for a fine cut when you are learning.
Use a hand plane as follows:
- Check the sole for dirt and the iron for sharpness.
- Set the blade for a shallow cut.
- Place the front of the plane on the wood.
- Start the stroke with pressure on the front.
- Shift pressure toward the rear as the plane passes over the board.
- Keep the plane moving in line with the grain.
- Check the surface often with a straightedge.
The direction of the grain matters. If the grain rises toward the direction of travel, the plane may lift fibers and cause tear-out. Plane in the opposite direction or reduce the cut depth.
For end grain, use a sharp blade and lighter pressure. A small block plane works well for chamfers and end grain, but it needs a fine setting. In my shop, a dull plane iron causes more frustration than almost any other problem. Sharpening often solves the issue faster than changing technique.
-1000.jpg)
How to Measure and Mark Accurately
Accurate layout is the foundation of how to use woodworking hand tools. A perfect cut in the wrong place is still a mistake.
Use these layout habits:
- Measure from the same reference edge whenever possible.
- Use a marking knife for crisp joinery lines.
- Check a square against the edge before marking.
- Extend important lines across more than one face.
- Mark the waste side with a small “X.”
- Confirm measurements before cutting.
- Use a story stick when several parts need the same length.
A pencil line is useful for rough work, but a knife line gives a chisel or saw a physical path to follow. For fine joinery, score the line lightly first, then deepen it only as needed.
Do not trust every factory edge. Some boards have edges that are not square, and some tape measures have small gaps in their hooks. Check your tools and establish a reliable reference edge before you begin.
How to Sharpen Woodworking Hand Tools
Sharp tools are safer and easier to control than dull tools. A dull edge needs more force, and extra force increases the chance of slipping.
A basic sharpening system may include:
- A coarse stone for repairing damage
- A medium stone for shaping the edge
- A fine stone for polishing
- Honing oil or water, depending on the stone
- A honing guide for consistent bevel angles
- A leather strop for removing a fine burr
Most bench chisels and plane irons work well with a primary bevel near 25 degrees and a small secondary bevel near 30 degrees. Exact angles vary by tool and use, so follow the tool maker’s guidance when available.
To sharpen an edge:
- Flatten or check the back of the blade.
- Grind only if the edge has damage or the bevel needs major repair.
- Hone the bevel with even strokes.
- Remove the burr from the back.
- Polish the edge until it reflects a clean, narrow line.
- Test the edge on end grain or a thin shaving.
You do not need an expensive sharpening system to begin. A good medium stone, a simple guide, and regular practice can produce excellent results. Sharpening is one of the most important parts of how to use woodworking hand tools well.
How to Read Wood Grain
Wood grain is the direction of the fibers. It affects cutting, planing, drilling, splitting, and surface quality.
Look at the long lines on the board. Then inspect the edge and end grain to see how the fibers rise and fall. Try to cut in the direction that supports the fibers instead of lifting them.
Grain can change direction around knots, curves, and interlocked areas. These regions may tear even when your tool is sharp. Reduce the cut depth, change the cutting direction, or use a scraper for a cleaner surface.
Wood species also behave differently. Pine is soft and easy to cut, but it can crush under a dull tool. Oak is strong and durable, but its open grain can challenge a plane. Hard maple cuts cleanly when sharp tools are used, but it quickly exposes poor technique.
Common Mistakes to Avoid
Beginners often believe that more force creates better results. In practice, control, sharpness, and good support matter much more.
Avoid these common errors:
- Cutting without marking the waste side
- Using a dull saw or chisel
- Holding the board instead of securing it
- Taking deep cuts with a plane
- Ignoring grain direction
- Measuring each part from a different edge
- Striking a chisel with a metal hammer
- Rushing the first few strokes of a cut
- Skipping test cuts on scrap wood
- Removing too much material at once
One of my early mistakes was fitting a joint before checking the reference edge. The joint looked fine, but the entire part was slightly out of square. Now I check the edge, face, and layout before every major cut. This simple pause saves time and materials.
How to Practice With Hand Tools
The fastest way to learn how to use woodworking hand tools is to practice small, repeatable tasks. You do not need a large project or costly wood.
Try these exercises:
- Saw straight lines across scrap boards.
- Plane one face until it is flat.
- Plane one edge square to that face.
- Chisel a shallow recess within marked lines.
- Cut a simple half-lap joint.
- Make a small chamfer with a block plane.
- Use a card scraper to smooth a board.
- Build a bench hook or small shooting board.
Use inexpensive softwood for early practice, but move to hardwood when you want to test edge quality. Keep notes about blade settings, grain direction, and the result. Small records help you see progress.
A useful practice rule is to focus on one skill at a time. Spend one session on sawing, another on sharpening, and another on planing. This focused approach makes how to use woodworking hand tools feel less overwhelming.
How to Maintain Hand Tools
Good maintenance protects both performance and safety. Clean tools after each session and store them where moisture will not reach the metal.
Follow a simple care routine:
- Brush away wood chips and dust.
- Wipe steel surfaces with a clean cloth.
- Apply a light rust-preventive oil when needed.
- Store chisels with their edges protected.
- Keep plane soles clean and dry.
- Tighten loose handles and hardware.
- Inspect saw teeth for damage.
- Sharpen before the edge becomes completely dull.
Do not leave wet tools on a workbench. Even small amounts of moisture can create rust, especially in humid areas. If rust appears, remove it with a suitable abrasive or rust cleaner, then protect the surface.
Maintenance also includes the workbench. A damaged bench hook or loose vise can reduce accuracy and create hazards. Every part of the setup affects how to use woodworking hand tools.
Benefits and Limitations of Hand Tools
Hand tools offer several practical benefits:
- They work without electricity.
- They produce less noise and dust.
- They allow precise control.
- They are useful in small spaces.
- They help you understand wood grain.
- Many last for decades with proper care.
- They make quiet work possible in shared homes.
They also have limitations. Hand tools may take longer for large stock removal, repeated cuts, or production work. Some tasks, such as milling many boards flat, are more efficient with power equipment.
The right choice depends on the project, your space, your budget, and your goals. A balanced workshop often uses both hand tools and power tools. Hand tools provide control and refinement, while power tools can save time on rough work.
Frequently Asked Questions About How to Use Woodworking Hand Tools
What woodworking hand tools should a beginner buy first?
Start with a combination square, marking knife or pencil, backsaw, bench chisel, block plane, mallet, and sharpening stone. Add a vise or sturdy clamps so you can hold the work securely.
How do I know if a chisel is sharp?
A sharp chisel should pare cleanly across end grain and create a smooth shaving. It should not crush fibers, skid across the surface, or require heavy pressure.
Should I push or pull a hand saw?
Most Western-style hand saws cut on the push stroke, so use light pressure as you push and release pressure as you return. Japanese saws usually cut on the pull stroke and should not be forced during the return.
Why does my hand plane tear out the wood?
Tear-out usually comes from cutting against the grain, using a dull blade, or taking too deep a shaving. Try reversing direction, sharpening the iron, and reducing the cut depth.
How can I hold small pieces safely?
Use a bench hook, vise, shooting board, or small clamps. Never place your fingers in the expected path of a saw or chisel.
Are woodworking hand tools safer than power tools?
Hand tools can reduce noise and some machine hazards, but they are not risk-free. Sharp edges, flying chips, and unstable workpieces can still cause serious injuries, so safe habits remain essential.
How often should I sharpen woodworking hand tools?
Sharpen whenever the tool needs extra force or stops leaving a clean surface. Frequent light honing is usually easier than waiting until the edge becomes badly damaged.
Conclusion
Learning how to use woodworking hand tools starts with a stable workpiece, accurate layout, sharp edges, and patient movements. Saw with control, guide chisels with care, plane in the direction of the grain, and remove small amounts of wood at a time.
Good technique grows through simple practice. Build a bench hook, flatten a scrap board, sharpen one chisel, and repeat the process until the movements feel natural. Explore trusted woodworking books, classes, and project plans, then share your progress or questions with other woodworkers.
