

Use a hand swaging tool by placing the cable and sleeve in the correct die, then making firm, measured crimps.
Learning how to use a hand swaging tool is simple when you understand cable size, sleeve placement, die selection, and crimp order. This guide explains the process step by step, including safety checks, common mistakes, tool limits, and practical tips that help create a strong wire rope termination.
What Is a Hand Swaging Tool?
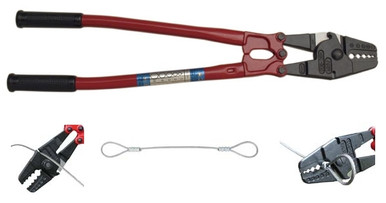
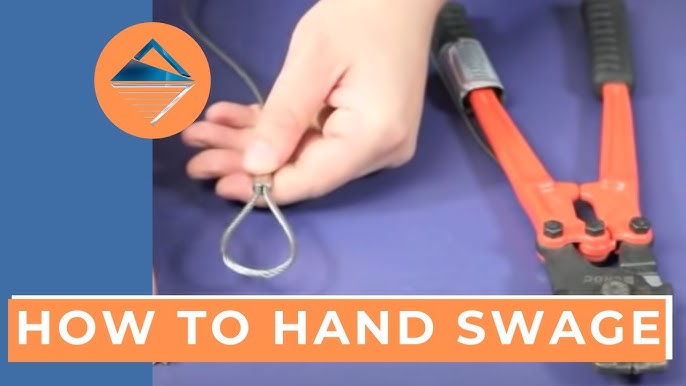
A hand swaging tool is a manual crimping device used to join wire rope, cable, and metal sleeves. The tool compresses the sleeve around the cable. This creates a mechanical connection that can hold the cable in place.
Swaging is different from cutting. A cable cutter only trims the wire rope. A hand swager forms an eye loop or secures a cable end by pressing a sleeve into a tight shape.
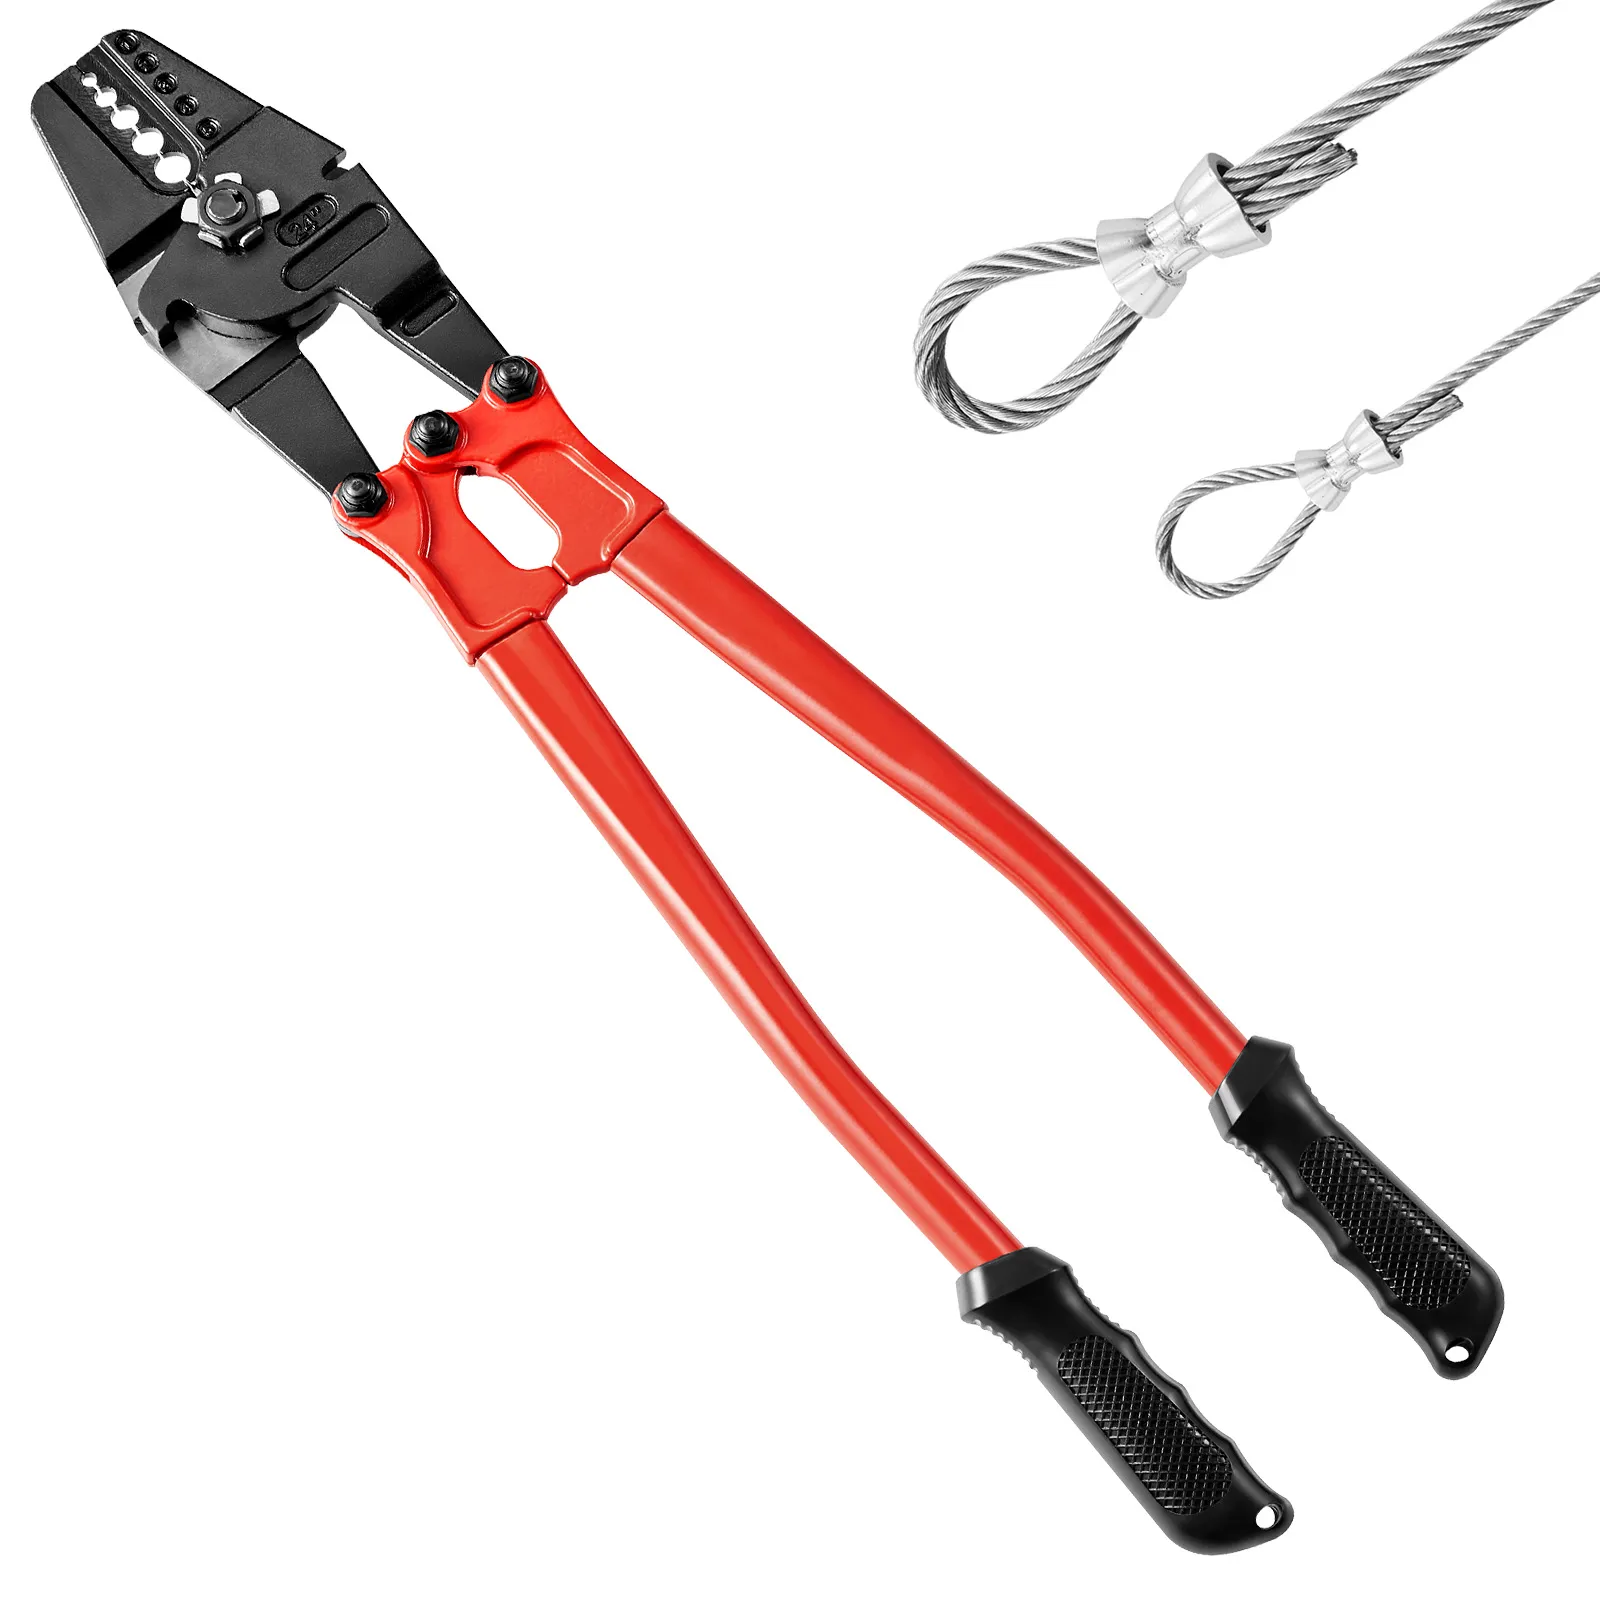
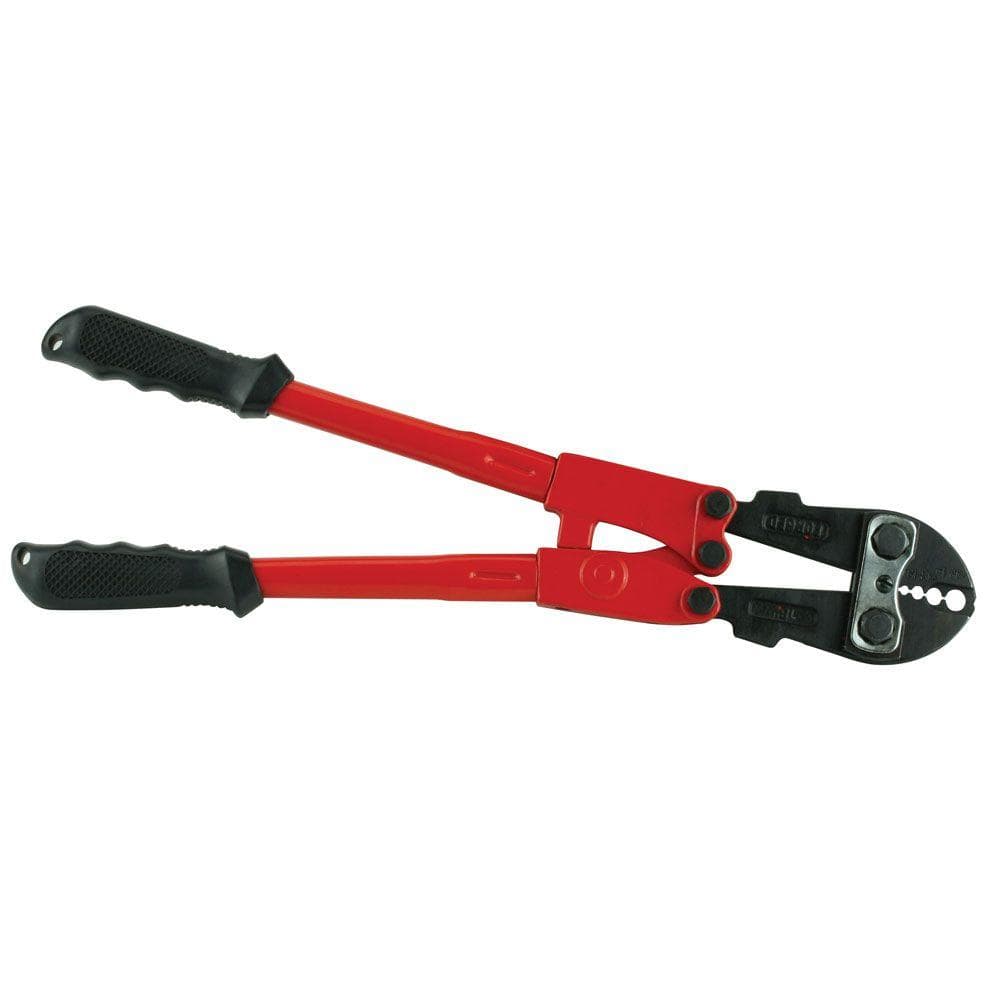
Most hand swaging tools have these parts:
• Handles that provide squeezing force
• A frame or jaw that holds the die
• Swaging dies sized for certain cable diameters
• Markings that help position the sleeve
• A locking or release feature on some models
Hand swagers are common for light-duty wire rope jobs, such as garden trellises, picture-hanging systems, small railings, marine accessories, and craft projects. They are not automatically suitable for elevators, lifting slings, fall protection, towing, or other life-safety work.
Always check the tool maker’s instructions. The safe working load depends on the cable, sleeve, swage pattern, tool, and application.
What You Need Before You Start
Good preparation makes learning how to use a hand swaging tool much easier. A poor result often begins before the first crimp.
Gather the following items:
• The correct wire rope or cable
• A compatible copper, aluminum, or steel sleeve
• A hand swaging tool rated for that sleeve and cable
• A cable cutter
• A tape measure or ruler
• A marker
• Safety glasses and work gloves
• A load rating chart, when the connection will carry weight
Do not mix random parts. A sleeve made for one cable type may not work with another. For example, a copper sleeve may be suitable for certain galvanized or stainless steel cables, but the correct choice depends on the product design and load.
Check the cable for broken wires, rust, crushed sections, kinks, or flattened areas. A swage cannot repair damaged cable. If the cable is already weak, the finished connection may fail even if the crimp looks neat.
Choose the Correct Sleeve
The sleeve must match the cable diameter. A sleeve that is too large may not compress enough. A sleeve that is too small may damage the cable or refuse to accept the required number of strands.
Common sleeve materials include:
• Copper, often used with stainless or galvanized cable in light and medium applications
• Aluminum, often used for small cable and noncritical projects
• Steel, used in some heavier applications with a compatible tool
Read the sleeve packaging and tool chart before starting. The outside appearance of a sleeve is not a reliable way to identify its correct size.
Inspect the Swager
Before learning how to use a hand swaging tool, inspect it carefully. Look for cracked handles, bent jaws, loose pins, worn dies, and damaged markings.
Move the handles through their full range. The jaws should close evenly. If one side closes first or the die surfaces do not line up, stop and repair or replace the tool.
How to Use a Hand Swaging Tool Step by Step
The following method works for many manual wire rope swaging tools. Your specific tool may use a different die shape or crimp pattern, so compare these steps with the manufacturer’s instructions.
1. Measure and Cut the Cable
Measure the cable length before forming the eye. Add enough extra cable to pass through the sleeve and return through the eye.
Use a proper cable cutter. Do not use a saw or side cutters unless the cable maker allows it. A clean cut keeps the strands together and makes threading easier.
Wrap tape around the cut end if the cable tends to spread. Remove the tape after the cable passes through the sleeve, or leave it in place only if it will not interfere with the finished connection.
2. Slide the Sleeve Onto the Cable
Push the cable through the sleeve. Then bend the cable around the thimble or fitting if the design calls for one.
For an eye termination, pass the cable end back through the sleeve. Leave a suitable tail beyond the sleeve. The tail should not be so short that it can pull through during forming.
A thimble protects the inside of the eye from sharp bends and wear. It also helps the eye keep its shape. Use a thimble when the cable will rub against a hook, ring, shackle, or other fitting.
3. Form the Eye
Set the eye around the thimble. Keep the two cable sections parallel. Avoid crossing the strands or creating a sharp twist.
Hold the assembly firmly. The sleeve should sit straight, not at an angle. A crooked sleeve can produce uneven compression.
At this stage, confirm that:
• The thimble is fully seated
• The cable tail extends beyond the sleeve
• The eye has the desired size
• The sleeve is not damaged
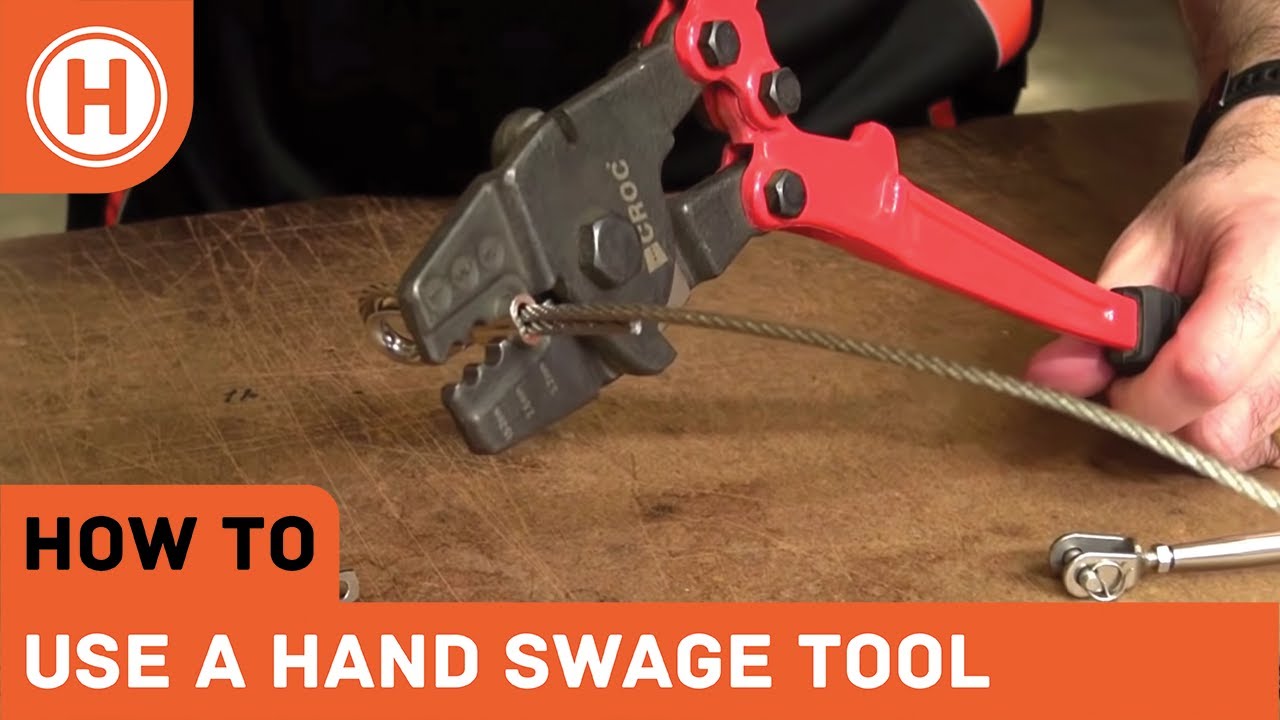
4. Select the Correct Die
Place the sleeve in the die marked for the sleeve and cable size. Some hand swagers use one die for each cable size. Others require a specific position along a multi-size jaw.
Never assume that the largest opening is correct. The die must compress the sleeve enough to hold the cable without cutting or crushing the strands.
If the tool has a crimp pattern, follow it exactly. Some sleeves need several presses along their length. Others use one central press or a series of numbered compressions.
5. Make the First Crimp
Position the sleeve squarely in the die. Keep your fingers away from the closing jaws.
Squeeze the handles firmly until the tool reaches its intended stop or the manufacturer’s stated position. Do not rock the tool from side to side while crimping.
Release the handles and inspect the sleeve. The crimp should be even. It should not have deep cuts, sharp cracks, or a loose section.
6. Make the Remaining Crimps
Move the sleeve to the next required position. Leave the spacing shown in the tool instructions. Do not place every crimp in the same spot.
Work from one end of the sleeve toward the other. This helps spread compression and reduces the chance of pushing the cable out of alignment.
For many hand swaging tools, the correct pattern is more important than using maximum force. More pressure does not always mean more strength. Excess force can flatten the sleeve, cut strands, or damage the tool.
7. Inspect the Finished Connection
After learning how to use a hand swaging tool, inspection should become a routine habit. Look at the sleeve from every side.
Check for:
• Full compression across the sleeve
• No visible cracks or sharp splits
• No loose cable strands
• A secure thimble, if used
• A cable tail that remains visible
• A straight, stable eye
• No cable movement inside the sleeve
Do not rely only on appearance. Pull the cable by hand to check for obvious movement. For noncritical work, a careful proof test with a gradually increasing load may help reveal a weak connection. Never stand in line with a tensioned cable, and never test a connection beyond its rated capacity.

How Many Crimps Should You Make?
The required number of crimps depends on the sleeve, cable size, tool, and design. There is no universal number that applies to every hand swaging tool.
Some sleeves require two compressions. Others require three or more. The correct spacing may also vary. Always follow the crimp chart supplied with the tool or sleeve.
A useful rule is simple: the tool instructions control the process. If the instructions are missing, contact the manufacturer rather than guessing.
For a basic light-duty project, a sleeve may show several separate compressed areas along its length. The finished sleeve should have a consistent pattern. Random dents are not a reliable substitute for a tested swage pattern.
Common Mistakes to Avoid
Many failed cable terminations come from small errors. These problems are easy to prevent when you know what to watch for.
Using the Wrong Die
A mismatched die may leave the sleeve loose or damage the cable. Confirm the cable diameter and sleeve size before closing the tool.
Crimping the Sleeve in One Spot
One deep crimp in the center may not hold the cable correctly. Use the required sequence and spacing for the sleeve.
Leaving Too Little Cable Tail
A very short tail can pull back into the sleeve. Leave the amount recommended by the product instructions.
Skipping the Thimble
A bare cable eye can wear against a fitting. The metal strands may bend too sharply or rub through over time.
Overloading the Connection
A neat-looking swage is not proof that it can carry a heavy load. The weakest part of the system controls safety. This may be the sleeve, cable, fitting, tool, or anchor point.
Reusing a Swaged Sleeve
Do not reuse a sleeve that has already been compressed. The metal has changed shape and may not form a dependable second connection.
Using a Damaged Tool
Worn jaws can create uneven pressure. Replace damaged tools or have them inspected by a qualified repair service.
Pulling at an Unsafe Angle
Wire rope connections can fail suddenly under tension. Keep people away from the load path and never place your hands near a cable while someone else is pulling it tight.
Safety Tips for Hand Swaging
Safety matters even with small cable. A short cable under tension can store surprising energy.
Follow these practices:
• Wear eye protection during cutting and swaging
• Wear gloves to protect against sharp cable strands
• Keep hands clear of the dies
• Cut away from your body
• Secure the cable before pressing the handles
• Keep bystanders away from tensioned cable
• Never use a hand swager for a job above its rated capacity
• Do not use a hand swage for fall protection or lifting unless the complete system is approved for that purpose
• Replace cable with broken, rusty, crushed, or badly kinked strands
• Inspect the finished connection before every important use
Stand to the side of a tensioned cable, not directly in line with it. If a connection breaks, the cable may recoil or whip back. This is especially important with fencing, marine rigging, winch lines, and overhead installations.
Industry safety rules treat wire rope terminations as a complete system. The cable, fitting, termination method, and anchor must all work together. A strong sleeve cannot make a weak anchor safe.

Testing and Maintaining the Finished Swage
A hand swaged connection should be checked after installation and during use. Vibration, corrosion, bending, and repeated loading can change its condition.
For a small, noncritical project, apply a light hand load first. Watch for cable movement, sleeve distortion, or a spreading eye. Increase the load slowly only when the setup is stable and the application allows testing.
Do not perform an improvised load test for life-safety equipment. Use approved components and a qualified inspector for those applications.
Keep the hand swaging tool clean and dry. Wipe away metal dust and dirt after use. Apply lubricant to moving pins if the manufacturer recommends it, but keep lubricant away from the cable and sleeve.
Store the tool with the handles closed or locked as directed. Avoid dropping it, since even a small bend in the jaw can affect crimp alignment.

Hand Swaging Tool vs. Hydraulic Swager
A hand swaging tool works well for small cable and occasional jobs. It is portable, quiet, and does not need electricity or a pump.
A hydraulic swager uses fluid pressure to create much higher force. It is better for larger cable, repeated work, and applications that require controlled compression.
Choose a hand swager when:
• The cable is small enough for the tool
• The job is light duty
• You need a simple portable tool
• You are making only a few terminations
Choose a hydraulic tool when:
• The cable diameter is large
• The sleeve requires high compression force
• You are making many identical connections
• The application has strict inspection or load requirements
The tool should match the job, much like a small wrench should not replace a heavy impact tool. Using the wrong tool can waste time and create a connection that only looks secure.

Practical Tips for Better Results
A few habits can improve both speed and quality when learning how to use a hand swaging tool.
• Make a sample connection first when using an unfamiliar sleeve
• Mark the sleeve with a pen to show each crimp location
• Keep the cable straight while closing the tool
• Use a thimble for eyes that attach to metal hardware
• Compare the finished crimp with a known good sample
• Record the cable size, sleeve type, and crimp pattern for future work
• Replace any sleeve that becomes bent before crimping
• Use a stable workbench for better control
One lesson many people learn through practice is that alignment matters more than brute strength. If the sleeve and cable sit straight, the tool can do its job. If the parts shift during the crimp, even a strong squeeze may create a poor termination.
For repeated work, make a simple inspection checklist. Note the cable diameter, sleeve material, die size, number of crimps, and final inspection result. This small step improves consistency.
Frequently Asked Questions About How to Use a Hand Swaging Tool
Can I use any sleeve with a hand swaging tool?
No. The sleeve must match the cable diameter, cable material, and tool design. Using an incompatible sleeve can produce a weak or damaged termination.
How do I know if a hand swage is secure?
Check that the sleeve is evenly compressed, free from cracks, and firmly attached to the cable. The cable should not slide inside the sleeve, and the crimp pattern should match the manufacturer’s instructions.
Can I use a hand swager on stainless steel cable?
Often, yes, but the tool and sleeve must be rated for stainless steel cable. Stainless cable may require a specific sleeve material and crimp pattern, so check the product specifications first.
Can I reuse a swaged sleeve?
No. A compressed sleeve should not be removed and crimped again. Replace it with a new sleeve, then form a fresh termination.
Is a hand swaged cable safe for lifting?
Not automatically. Lifting requires approved cable, sleeves, tools, termination methods, inspection, and rated hardware. Do not use an ordinary hand swage for lifting unless the complete system is specifically approved for that use.
Why does my sleeve crack during crimping?
The sleeve may be too small, the die may be incorrect, or the tool may be applying pressure in the wrong place. Stop using the connection and check the cable, sleeve, die, and tool instructions.
Do I need a thimble when making a cable loop?
A thimble is strongly recommended when the loop will connect to a hook, ring, shackle, or other hardware. It reduces bending and wear at the eye.
Conclusion
Learning how to use a hand swaging tool comes down to four basics: match the cable and sleeve, use the correct die, follow the proper crimp pattern, and inspect the finished connection. Work slowly, keep your hands clear, and never guess when the application involves serious loads or personal safety.
Start with a small practice project and compare your result with the tool maker’s instructions. With careful preparation, a steady grip, and regular inspection, you can create clean and dependable cable terminations. Explore the manufacturer’s load charts and share your own swaging tips in the comments.
