

Clean hand tools by removing debris, washing them, applying the right disinfectant, rinsing when needed, and drying them fully.
Learning how to sanitize hand tools is simple, but doing it well takes more than a quick wipe. The correct method depends on the tool’s material, use, and level of contamination. This guide explains safe, practical steps for home workshops, garages, gardens, salons, and job sites.

Why You Should Sanitize Hand Tools
Hand tools can collect dirt, oil, bacteria, fungi, plant sap, and other contaminants. Tools that touch skin, wounds, food areas, or diseased plants can spread germs from one surface to another.
Sanitizing hand tools also helps prevent rust and extends tool life. A clean wrench, pruner, chisel, or screwdriver works better and is easier to inspect for damage.
Sanitizing and disinfecting are not the same thing. Cleaning removes visible dirt and organic matter. Sanitizing lowers the number of germs to a safer level. Disinfecting uses a product designed to kill many germs on a hard, nonporous surface.
Use these terms as a simple guide:
• Cleaning comes first because dirt can block a disinfectant.
• Sanitizing reduces germs but may not kill every type of microorganism.
• Disinfecting kills or inactivates specific germs when used as directed.
• Sterilizing removes or destroys all forms of microbial life and is not usually needed for normal household hand tools.
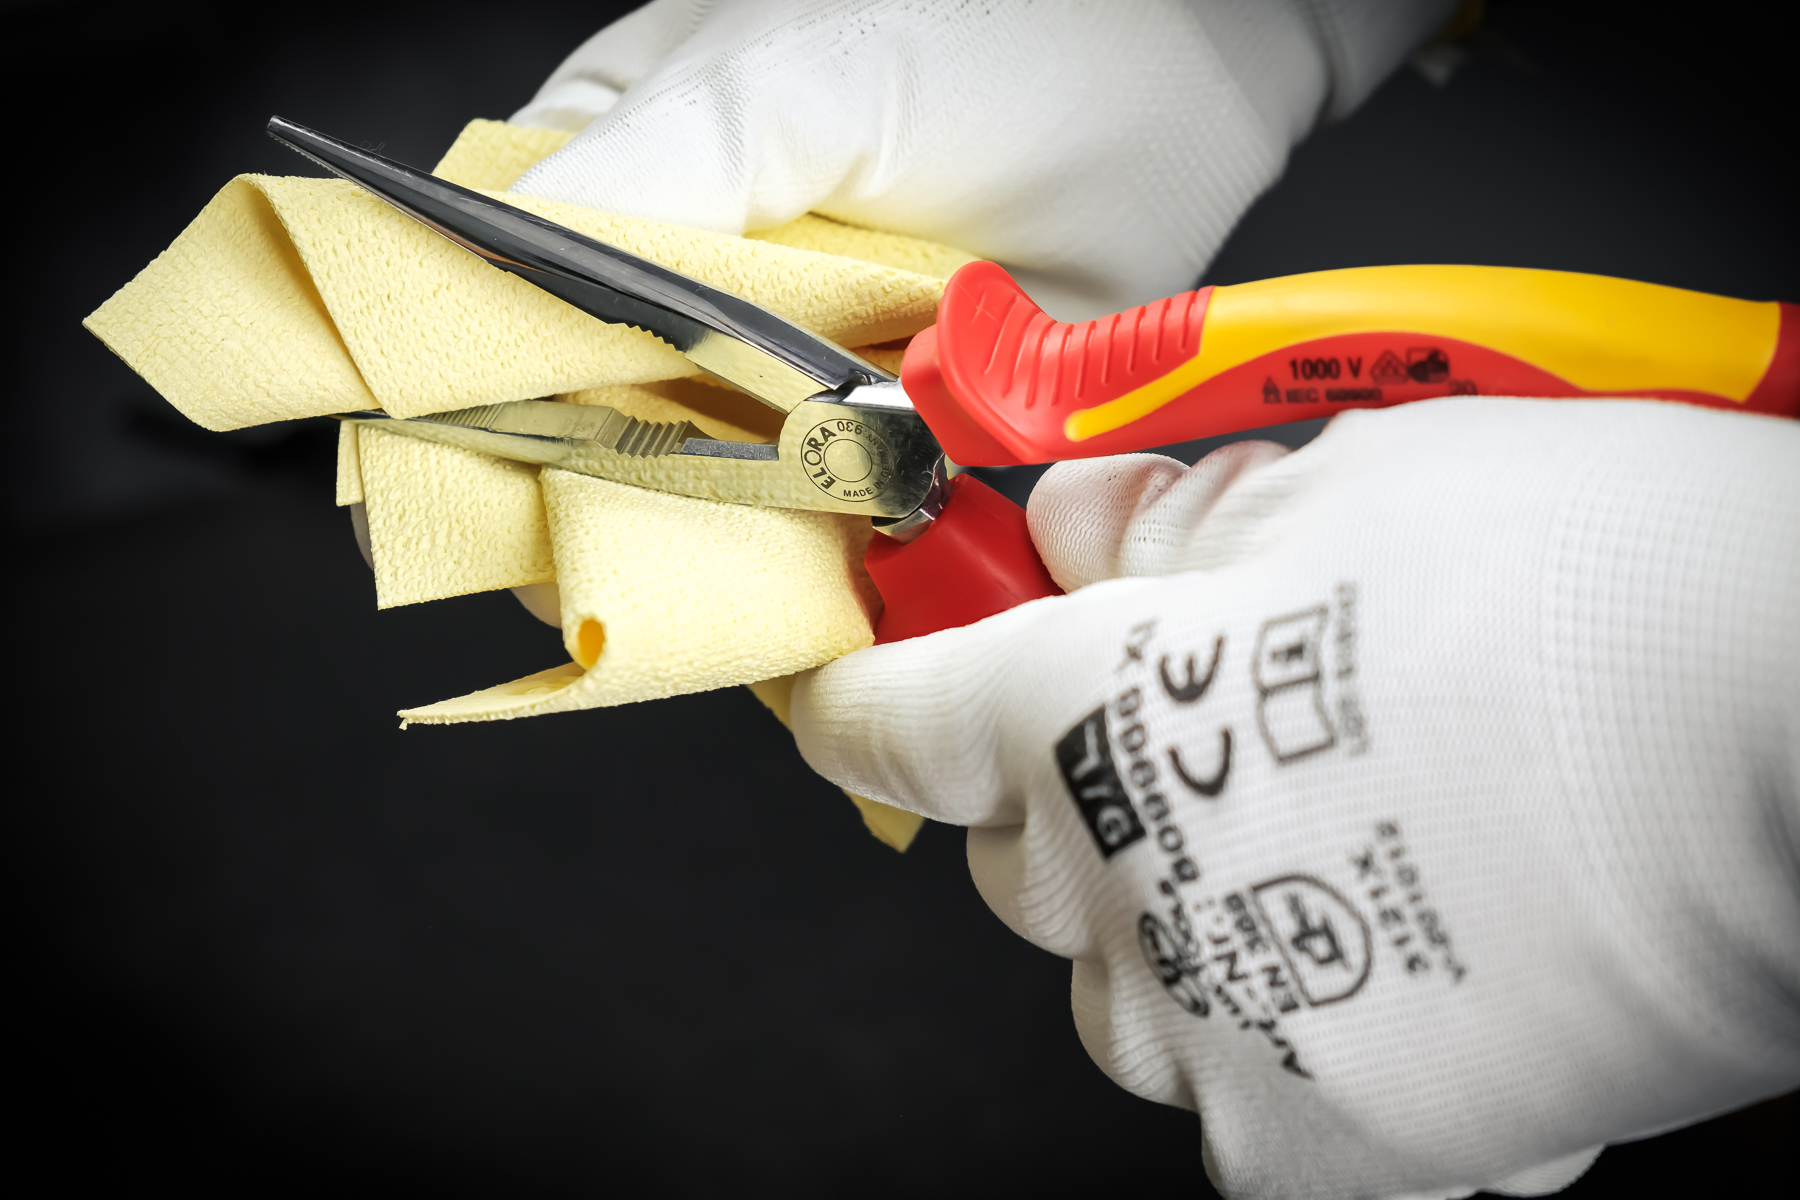
What You Need to Sanitize Hand Tools
Gather your supplies before you begin. This keeps the process smooth and prevents you from touching clean tools with dirty gloves or hands.
Basic supplies include:
• Clean water
• Dish soap or a mild detergent
• A stiff nylon brush or old toothbrush
• Disposable or washable gloves
• Clean towels
• A suitable disinfectant
• A small bucket or tray
• Light machine oil or tool oil
• A clean, dry storage area
For garden tools, keep a separate brush and container if possible. Soil and plant residue can carry organisms that you do not want to move into your home or onto healthy plants.
Choose a disinfectant based on the tool and the contamination. Follow the product label for dilution, contact time, ventilation, and rinsing instructions. The label is the most reliable guide because formulas vary.
Common options include:
• Household disinfectants approved for hard, nonporous surfaces
• Isopropyl alcohol, usually 70%, for small metal surfaces
• Freshly diluted bleach solutions for certain nonporous tools
• Soap and water for routine cleaning when disinfection is not required
Never mix bleach with ammonia, acids, vinegar, or other cleaners. Dangerous gases can form. Use ventilation and wear eye protection when the product label calls for it.

How to Sanitize Hand Tools Step by Step
The safest way to sanitize hand tools is to follow the same basic sequence every time. Think of it as washing a car: remove the heavy dirt first, then clean the surface, then protect it.
1. Inspect the Tool
Check the tool before cleaning it. Look for cracks, loose handles, sharp edges, damaged cords, and signs of rust.
Do not sanitize a powered tool while it is connected to electricity. Unplug it first, remove the battery when possible, and follow the manufacturer’s safety instructions.
Set aside tools that need repair. Cleaning a damaged tool does not make it safe to use.
2. Remove Loose Dirt and Debris
Brush away soil, sawdust, grass, metal filings, and other loose material. Use a wooden stick or plastic scraper for packed debris around hinges and joints.
Avoid using your bare hand to remove sharp fragments. A wire brush may work for heavy rust, but it can scratch some finishes and leave metal bristles behind.
3. Wash With Soap and Water
Fill a basin with warm water and a small amount of mild dish soap. Scrub the tool from the handle to the working end.
Pay close attention to:
• Hinges and pivot points
• Grooves and teeth
• Blade edges
• Screw heads
• Textured grips
• Areas where the handle meets the metal
Do not soak tools with wood handles for long periods. Water can swell wood, loosen the handle, and create cracks. Wipe these tools with a damp, soapy cloth instead.
4. Rinse Carefully
Rinse away soap and loosened grime with clean water. Avoid spraying water into motors, switches, bearings, sealed electronics, or battery compartments.
For tools that cannot be rinsed, wipe them several times with a clean damp cloth. Soap residue can interfere with some disinfectants.
5. Apply the Disinfectant
Apply a disinfectant that is compatible with the tool. Use enough product to keep the surface visibly wet for the full contact time listed on the label.
Contact time matters. Wiping the product off after a few seconds may not provide the stated level of germ control.
For small metal tools, 70% isopropyl alcohol can be useful when the surface is already clean. Apply it to a cloth or use a suitable spray, then allow the surface to remain wet as directed.
For bleach, use only the dilution and contact time on the product label. Bleach can corrode metal, fade materials, and damage finishes, so it is not the best choice for every tool.
6. Rinse When the Label Requires It
Some disinfectants can remain on a surface. Others must be rinsed, especially when the tool may touch skin, food, plants, or animals.
Never assume that more disinfectant is better. Residue can irritate skin and damage metal. Read the label before rinsing or leaving the product in place.
7. Dry the Tool Completely
Dry each tool with a clean towel. Then let it air-dry in a well-ventilated area.
Moisture trapped in a hinge or seam can cause rust. Open scissors, pruners, and pliers while they dry so air can reach the joint.
8. Protect the Metal
Apply a thin coat of tool oil to clean metal surfaces. Wipe away extra oil so the tool is protected but not slippery.
Do not oil surfaces that must stay dry for a special use. Also, avoid oil on tools that will touch food unless the oil is approved for food-contact equipment.
9. Store Tools Properly
Store sanitized tools in a dry place. Hang them when possible, and avoid leaving them in damp boxes, soil, or grass.
Keep clean tools separate from dirty tools. This one habit prevents many cases of recontamination.

How to Sanitize Different Types of Hand Tools
Different tools need different care. A metal wrench can handle more moisture than a wooden-handled chisel or an electronic tester.
Metal Tools
Metal tools are usually the easiest to clean. Wash them, rinse them, disinfect them, and dry them at once.
Inspect carbon steel for rust after cleaning. Stainless steel resists rust, but it is not rust-proof. Salt, bleach, and trapped moisture can still damage it.
Garden Tools
Garden pruners, shears, shovels, and trowels can carry plant diseases. Remove all soil and plant sap before applying a disinfectant.
Pruners need special care because sap can build up around the blade and pivot. Clean the blade, disinfect it, dry it, and add a small amount of oil to the pivot.
If you move from a diseased plant to a healthy one, sanitize the cutting tool between plants. This is especially important when pruning tomatoes, roses, fruit trees, and other plants that can spread disease through cuts.
Tools With Wooden Handles
Do not immerse wooden handles in water or disinfectant. Wipe them with a damp cloth, then use a compatible disinfectant on the metal section.
Dry the wood quickly and inspect it for splinters or cracks. A light coat of suitable wood conditioner can help protect an unfinished handle, but avoid making the grip oily.
Tools With Rubber or Plastic Grips
Rubber and plastic may tolerate soap and water, but some solvents can cause swelling, cracking, or discoloration.
Test the disinfectant on a small hidden area first. If the grip becomes sticky, faded, or soft, stop using that product on the tool.
Electrical and Battery-Powered Tools
Never immerse electrical tools, chargers, batteries, or power switches. Disconnect the tool from power and wipe it with a slightly damp cloth.
Use a manufacturer-approved cleaner on the outer housing. Keep liquid away from vents, ports, controls, and seams. Let the tool dry fully before reconnecting it.
Tools Used Around Food
Tools used for food preparation or food-contact surfaces need extra care. Use products labeled for that purpose and follow the required rinse instructions.
A workshop cleaner may leave unsafe residue. When in doubt, use a cleaner and sanitizer approved for food-contact equipment.

How to Sanitize Hand Tools After Special Contamination
Some situations require more care than routine dirt removal. The right response depends on what touched the tool.
After Contact With Blood or Body Fluids
Wear disposable gloves and keep other people away from the area. Absorb visible material with disposable towels, then clean the tool with detergent and water.
After cleaning, use an appropriate disinfectant according to its label. Dispose of contaminated materials safely, wash your hands, and seek professional guidance if the exposure involved a serious injury or known infection.
For medical, tattoo, piercing, or professional grooming tools, household cleaning may not be enough. Follow the rules that apply to your industry.
After Mold or Fungal Exposure
Brush off loose material outdoors when safe. Wash the tool, disinfect it with a compatible product, and dry it completely.
Porous materials, such as unfinished wood, may be impossible to disinfect fully. Replace the handle or tool if contamination remains or the material has absorbed moisture.
After Working With Chemicals
Read the chemical’s safety data sheet before cleaning the tool. Some residues react with water, bleach, or other cleaners.
Wear the protective equipment listed for that chemical. If you are unsure, contact the product manufacturer or a hazardous-material professional rather than experimenting.
After Working With Diseased Plants
Remove soil and plant tissue first. Then disinfect the cutting surface and let it stay wet for the required contact time.
Clean the tool before putting it away. Leaving plant sap on a blade can allow germs to survive and can also make the next cleaning job harder.

Common Mistakes to Avoid
Many tool-cleaning problems come from rushing. A few extra minutes can prevent rust, damage, and the spread of germs.
Avoid these mistakes:
• Spraying disinfectant over visible dirt
• Using the wrong dilution
• Wiping off disinfectant too soon
• Mixing cleaning chemicals
• Soaking tools with wood handles
• Getting liquid inside electrical tools
• Leaving tools wet overnight
• Using bleach on metal without checking compatibility
• Returning clean tools to a dirty toolbox
• Skipping the tool manufacturer’s instructions
One mistake I have seen often is cleaning only the blade of a pair of pruners. Sap and microbes can remain around the hinge, spring, and handle. A tool may look clean but still carry contamination in its hidden joints.
Another common mistake is using a strong cleaner when mild soap would work. Strong chemicals do not always mean better results. They may shorten the life of coatings, grips, and metal parts.
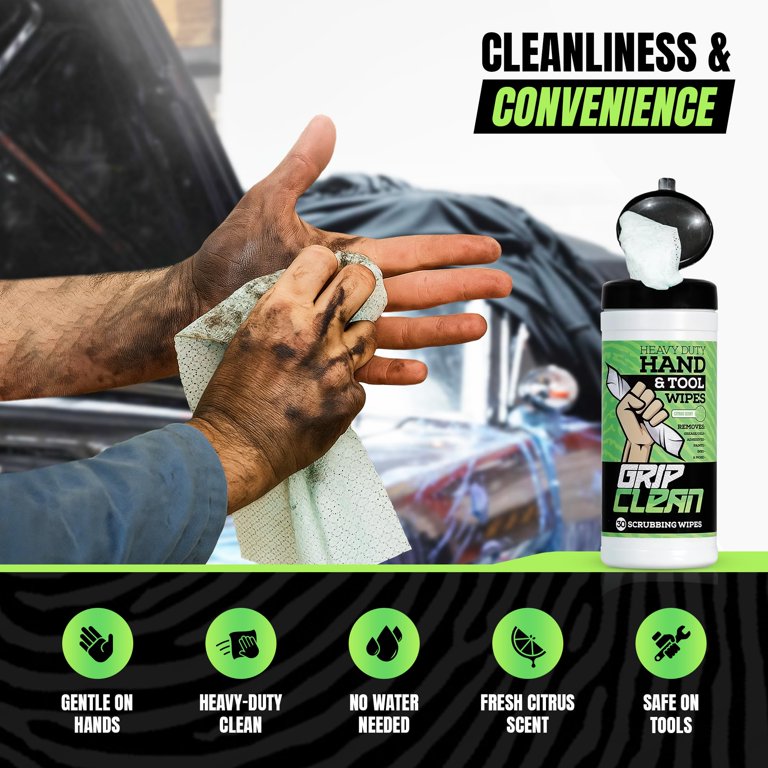
How Often Should You Sanitize Hand Tools?
The right schedule depends on use and risk. A tool used for ordinary home repairs may need cleaning after use and disinfection only when it contacts a high-risk contaminant.
Use this simple schedule:
• Clean tools after each use when they collect dirt, oil, sap, or debris.
• Disinfect garden cutting tools between diseased and healthy plants.
• Disinfect tools shared by many people on a regular schedule.
• Sanitize tools that contact skin, wounds, food, animals, or body fluids after every use.
• Clean and disinfect tools before long-term storage.
• Inspect and oil metal tools after wet cleaning.
Shared tools deserve special attention. In a busy workshop, wipe high-touch handles and grips between users. Keep a small cleaning station near the tool storage area so the safe choice is also the easy choice.
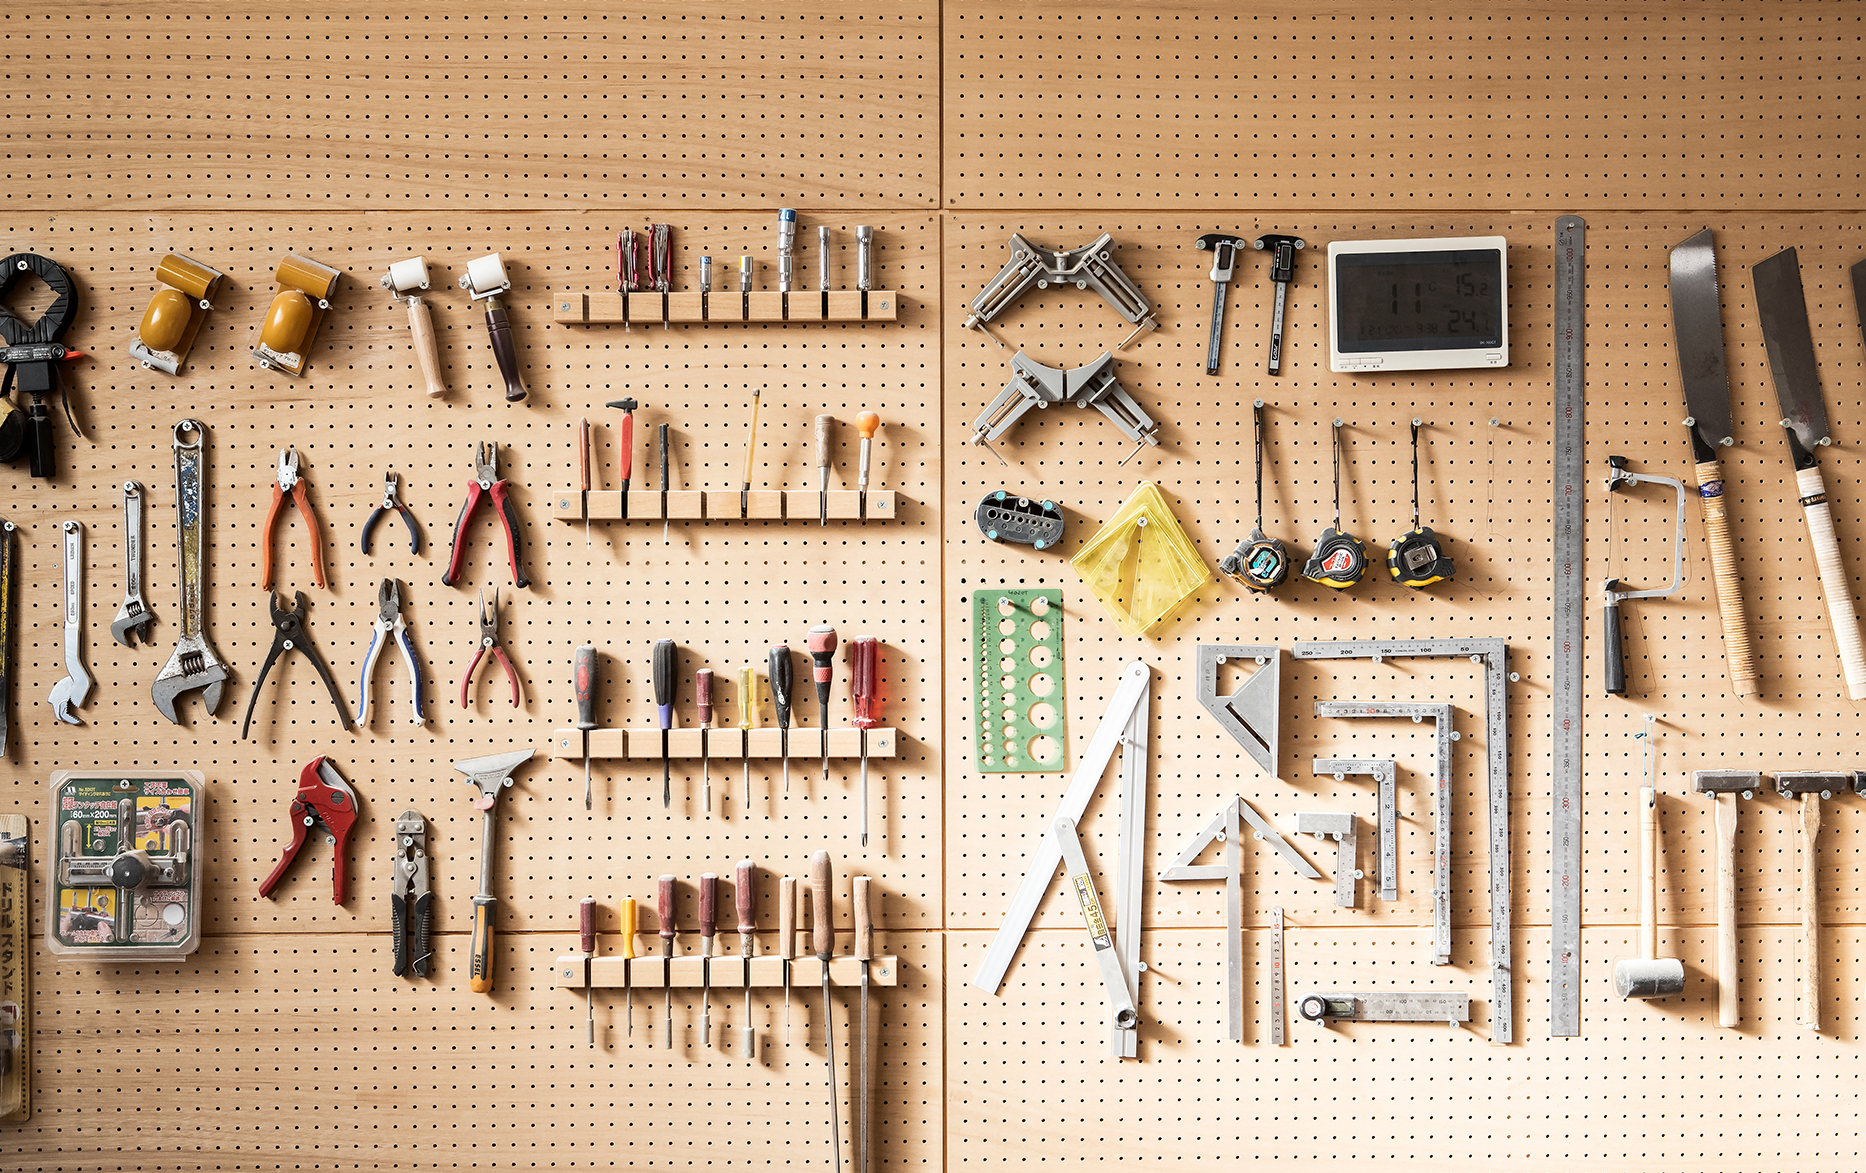
Benefits and Limitations of Tool Sanitizing
Proper sanitation offers several benefits:
• It reduces the spread of germs.
• It helps control plant diseases.
• It removes substances that cause corrosion.
• It improves tool performance.
• It protects users from avoidable contamination.
• It makes damage easier to spot.
However, sanitation has limits. It cannot repair a cracked handle, remove every contaminant from porous wood, or make a tool sterile unless specialized equipment and procedures are used.
Disinfectants also work only under the conditions listed on the label. The surface must usually be clean, the product must be correctly diluted, and the contact time must be long enough. Temperature, organic matter, and surface type can affect performance.
For high-risk workplaces, use written procedures and approved products. Household advice is not a substitute for professional infection-control rules.
A Simple Hand Tool Sanitation Checklist
Use this checklist after each cleaning session:
Unplug the tool or remove its battery if needed.
Inspect the tool for damage.
Brush away loose dirt.
Wash with mild soap and water.
Rinse or wipe away soap residue.
Apply a compatible disinfectant.
Keep the surface wet for the label’s contact time.
Rinse if required.
Dry every part completely.
Add a thin coat of oil to suitable metal surfaces.
Store the tool in a clean, dry location.
This process may take only a few minutes for a screwdriver or garden pruner. That small investment can prevent rust, bad odors, damaged finishes, and unwanted germ transfer.
Frequently Asked Questions About How to Sanitize Hand Tools
Can I use rubbing alcohol to sanitize hand tools?
Yes, 70% isopropyl alcohol can work on clean, nonporous metal surfaces. Keep the surface wet for the required time, use good ventilation, and keep alcohol away from flames and heat.
Is bleach safe for all hand tools?
No. Bleach can corrode metal and damage rubber, wood, paint, and coatings. Use it only when the label and tool manufacturer allow it, and never mix it with other cleaners.
Should I wash tools before disinfecting them?
Yes. Cleaning removes dirt, oil, and plant residue that can reduce the effect of a disinfectant. Always clean first unless the product label specifically states that it cleans and disinfects in one step.
How do I sanitize garden pruners?
Remove soil and sap, wash the blades and hinge, apply a suitable disinfectant, and keep the surface wet for the label’s contact time. Dry the pruners fully and oil the pivot before storage.
Can I soak hand tools in disinfectant?
Only if the tool and disinfectant label allow soaking. Avoid soaking wooden-handled tools, tools with sealed bearings, and electrical or battery-powered tools.
How can I prevent sanitized tools from rusting?
Dry them at once, allow hidden joints to air-dry, and apply a thin film of tool oil to suitable metal surfaces. Store tools away from damp floors, wet soil, and humid containers.
Are soap and water enough to sanitize hand tools?
Soap and water are enough for routine cleaning when there is no special contamination risk. Use a suitable disinfectant when tools touch wounds, body fluids, diseased plants, food-contact surfaces, or many shared users.
Conclusion
Knowing how to sanitize hand tools helps you protect people, plants, equipment, and your budget. Start by removing dirt, wash the tool, use a compatible disinfectant, respect contact time, dry every part, and store it in a clean place.
Do not rush the process or rely on a strong chemical alone. Choose the safest method for the tool’s material and its intended use. Put this routine into practice today, then explore more tool-care guides or share your best sanitation tip in the comments.
