

Use a cultivator hand tool to loosen soil, remove shallow weeds, mix compost, and prepare garden beds with gentle strokes.
Learning how to use a cultivator hand tool is simple, but good results depend on timing, pressure, and technique. This small garden tool can improve soil texture and control weeds without the noise, fuel, or damage linked to larger equipment. With the right method, you can work around vegetables, flowers, and roots with much greater control.

What Is a Cultivator Hand Tool?
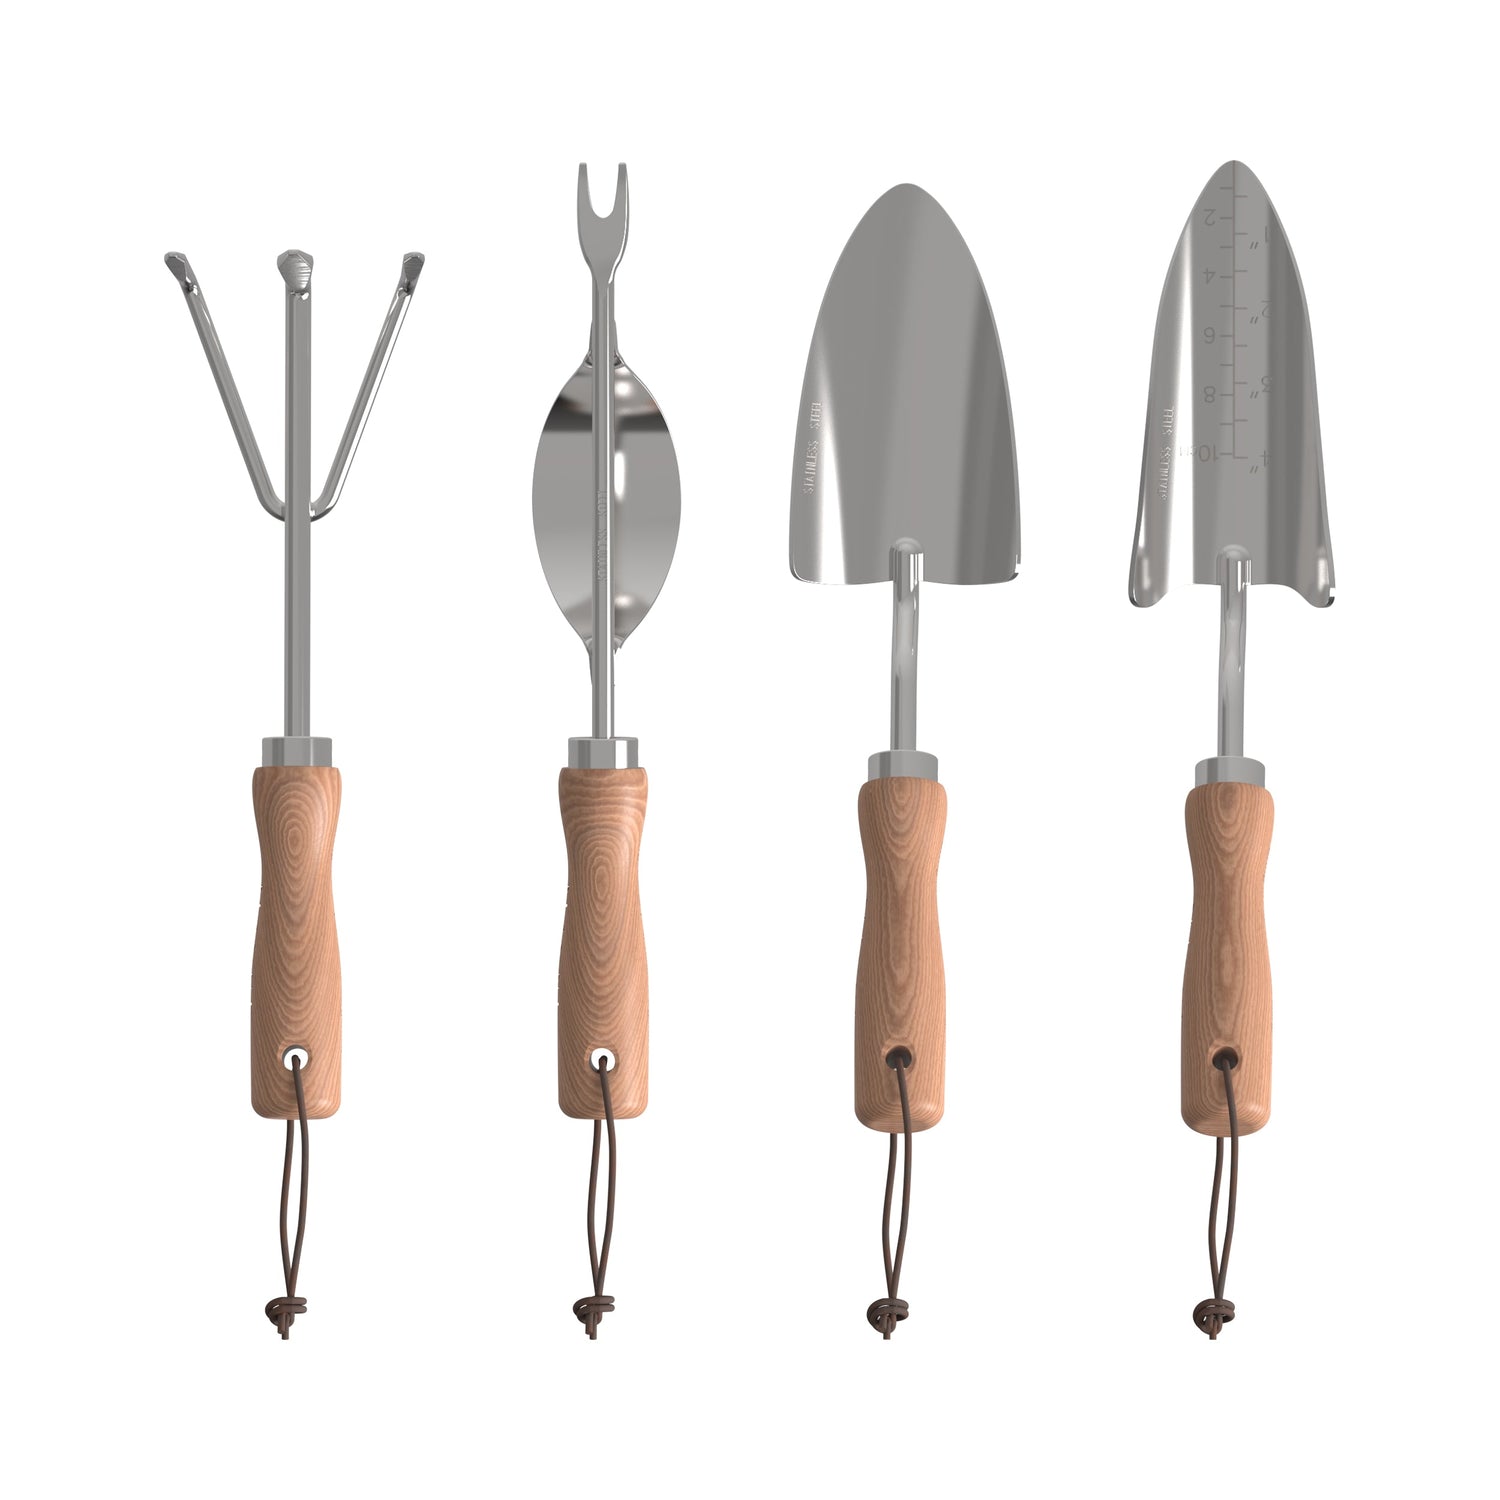
A cultivator hand tool is a small garden tool with three or more pointed tines. The tines may be straight, curved, or slightly twisted. They break up the top layer of soil, pull out young weeds, and blend organic matter into a planting bed.
Most hand cultivators have a short handle. This design lets you work close to plants and in narrow spaces where a hoe or tiller may be too large. Some models are made from steel, stainless steel, aluminum, or reinforced plastic.
A cultivator is not the same as a hand rake or a garden fork.
• A hand rake gathers leaves and smooths loose soil.
• A garden fork moves larger amounts of soil and digs deeper.
• A cultivator loosens and mixes the shallow soil surface.
The tool is best for working within the top 2 to 4 inches of soil. Digging much deeper can disturb roots, expose weed seeds, and damage helpful soil layers.

When to Use a Cultivator Hand Tool
Knowing when to use a cultivator hand tool is just as important as knowing how to hold it. The best time depends on your soil, weather, and gardening task.
Use a hand cultivator when:
• The soil surface has become hard or crusted.
• Small weeds are growing around garden plants.
• You need to mix compost or slow-release fertilizer into the topsoil.
• You are preparing a small bed for seeds or transplants.
• Water is running off instead of soaking into the soil.
• You want to improve air movement in shallow soil.
Work when the soil is slightly damp, not wet. Wet soil sticks to the tines and can form hard clumps. Very dry soil is difficult to break and may create dust.
A simple test works well. Take a small amount of soil and squeeze it in your hand. If it forms a loose ball that breaks apart with a light touch, the moisture level is usually suitable. If water drips out, wait. If the soil falls apart like powder, water lightly and wait before cultivating.
Avoid cultivating right after heavy rain. The Natural Resources Conservation Service warns that working wet soil can reduce its structure and create compaction. Healthy soil needs air spaces, and those spaces are easy to crush when the ground is saturated.

How to Use a Cultivator Hand Tool Step by Step
The following method explains how to use a cultivator hand tool safely and effectively in beds, borders, containers, and raised gardens.
1. Check the area first
Look over the soil before you begin. Remove large stones, plant labels, thick stems, and other objects that could catch between the tines.
Identify the location of plant stems and shallow roots. Young vegetables can be easy to miss beneath leaves. Mark rows or use your fingers to locate the base of each plant before you start.
Wear gloves with a good grip. Eye protection is useful when the soil is dry or full of small stones.
2. Hold the tool correctly
Grip the handle firmly but do not squeeze it too hard. Keep your wrist in a natural position, with the tines pointing down toward the soil.
Use your stronger hand near the end of the handle. Place your other hand lower if the handle is long enough. This gives you better control and reduces wrist strain.
Your hand should guide the tool rather than force it. Think of the cultivator as a small comb moving through soil, not a pickaxe.
3. Set the right depth
Place the tines about 1 to 2 inches deep for weed control near plants. Use up to 3 or 4 inches when loosening an open bed or mixing compost.
Do not push down until the entire tool disappears. Deep digging can cut roots and bring buried weed seeds to the surface.
If the soil resists, do not twist the tool sharply. Pull it back, loosen a smaller area, or wait until the soil has the right moisture.
4. Pull the tines through the soil
Drag the cultivator toward you in short, controlled strokes. Lift the tool at the end of each stroke, then place it back into the soil.
Use overlapping passes. This prevents hard strips from remaining between each stroke.
For a small planting bed, work in rows from one side to the other. For a container, move in a circle around the edge and finish near the center.
5. Remove loosened weeds
After cultivating, pick out the weeds by hand. Shake excess soil from the roots and place the weeds in a suitable compost pile only if they have not developed seeds.
Young weeds are easiest to remove when they are small. Once a weed has a thick taproot or spreads by runners, a cultivator may break the top while leaving the root alive.
6. Mix in compost or amendments
Spread a thin layer of finished compost over the soil. Then use the cultivator to blend it into the top few inches.
Avoid burying large amounts of fresh manure or unfinished compost near plant roots. These materials can harm plants, attract pests, or compete for available nitrogen as they decompose.
Follow the label when using fertilizer or soil amendments. More is not always better. A soil test can show whether your garden needs lime, sulfur, phosphorus, or other nutrients.
7. Smooth the surface
Finish by lightly dragging the back or tines of the tool across the surface. The goal is a loose, even layer, not a fine powder.
A slightly rough surface helps reduce runoff. If you are planting seeds, follow the seed packet for the correct soil texture and planting depth.

The Best Technique for Different Garden Tasks
How to use a cultivator hand tool changes slightly based on the job. A gentle movement works best near plants, while a firmer stroke may be useful in an empty bed.
Removing small weeds
Place the tines just below the weed crown. Pull toward you with a shallow stroke. Try to disturb only the top layer of soil.
This method cuts young weed roots and exposes them to drying air. It also reduces the chance of bringing new weed seeds to the surface.
Cultivate after watering or light rain, when the soil is soft but not muddy. Weeds often slide out more easily at this time.
Breaking a soil crust
A soil crust can form after heavy rain, overhead watering, or strong drying. It may stop water and air from reaching young roots.
Use very shallow strokes across the crust. Do not press hard. Once the surface opens, water slowly so the soil can absorb moisture.
Preparing a seedbed
Remove old plant debris and large clumps first. Then cultivate the top few inches until the bed is loose and level.
Do not make the soil too fluffy. Fine, powdery soil can pack down after watering and may form a hard layer. A crumbly texture is usually better than a dust-like texture.
Mixing compost
Spread compost evenly before using the tool. Work in several directions, but keep the depth shallow.
If the compost forms large clumps, break them apart by hand. Good compost should smell earthy and look dark and crumbly.
Working in containers
Use a smaller cultivator in pots and window boxes. Keep the tines away from the container wall, where roots may be pressed tightly against the inside.
Cultivate only the top 1 to 2 inches. Container plants often have less soil and fewer places for roots to escape damage.
Working around established plants
Start several inches away from the stem. Move closer only when you can clearly see where the roots are likely to be.
Never use the tool to pry against a plant stem. For delicate herbs, lettuce, and shallow-rooted flowers, hand weeding may be safer.

Common Mistakes to Avoid
Many gardening problems come from using too much force or cultivating at the wrong time. Avoid these mistakes when learning how to use a cultivator hand tool.
Cultivating wet soil
Wet soil sticks to metal tines and loses its natural air spaces. It can also dry into dense clods that are hard to break later.
Wait until the soil passes the squeeze test. This small delay can protect soil structure for the entire growing season.
Digging too deeply
Deep cultivation can cut feeder roots. These fine roots absorb water and nutrients close to the soil surface.
Keep the tool shallow unless you are preparing an empty area. Around established plants, stay near the surface.
Pulling too hard
A cultivator is not designed to remove large rocks or deep roots. Excess force can bend the tines, snap the handle, or strain your wrist.
If the tool stops suddenly, lift it and inspect the obstruction. Use a hand fork or digging tool for larger objects.
Cultivating too close to stems
Scraping the soil against a stem can cause wounds. Damaged stems are more open to disease and pests.
Leave a small safety zone around each plant. Remove weeds in that zone by hand.
Using a damaged tool
Loose handles, cracked grips, and bent tines reduce control. Repair or replace the tool before the next use.
A sharp, clean tool often works better than a heavy tool used with force.
Relying on cultivation alone
Cultivation controls small weeds, but it does not solve every weed problem. Perennial weeds, deep roots, and weeds with runners may return.
Use mulch, crop spacing, hand removal, and timely watering as part of a broader weed management plan.

Safety Tips for Using a Hand Cultivator
Hand cultivators look simple, but their pointed tines can cause cuts and punctures. Safe habits protect your hands, eyes, and back.
• Wear sturdy gardening gloves with a non-slip grip.
• Use safety glasses when working in dry, rocky, or compacted soil.
• Keep your free hand away from the tines.
• Do not swing the tool toward your body or another person.
• Work with a straight back and bend your knees when reaching low.
• Take breaks if your wrist, shoulder, or back becomes tired.
• Keep children and pets away from the work area.
• Clean the tool before storing it.
If you have reduced hand strength or joint pain, choose a model with a padded, ergonomic handle. A shorter tool may offer control, while a longer handle may reduce bending. The best choice depends on your body and the size of the space.

How to Choose the Right Cultivator Hand Tool
The right cultivator makes the work easier and helps prevent damage to plants. Consider the tool’s design before buying.
Tine shape
Straight tines are useful for breaking surface crusts and loosening open soil. Curved tines can gather weeds and move through loose soil more smoothly.
Three tines offer good control for general garden work. Four or five tines cover more ground but may feel crowded in tight spaces.
Handle design
Choose a handle that feels secure in your palm. Soft, textured grips can reduce slipping and pressure points.
The handle should match the size of your garden. A compact handle works well in pots and raised beds. A longer handle can help people who have trouble kneeling or bending.
Material
Stainless steel resists rust and is easy to clean. Carbon steel is strong but needs more care. Aluminum is light, though it may bend under heavy force.
Avoid choosing a tool based only on weight. A light tool with strong tines may be more useful than a heavy tool that causes fatigue.
Connection quality
Check how the handle joins the metal head. A tight connection is essential. Avoid tools that flex, wobble, or show gaps at the joint.
For frequent use, a forged or securely riveted head may last longer than a thin, loosely attached head.

Cleaning and Storing Your Cultivator
Good care extends the life of a cultivator hand tool. Cleaning also helps prevent the spread of plant diseases and weed seeds.
After each use:
Knock loose soil from the tines.
Rinse the tool if soil remains stuck.
Dry the metal fully with a cloth.
Apply a thin coat of protective oil if the tool is carbon steel.
Store it in a dry shed, garage, or covered area.
Do not leave the tool outdoors in wet grass. Repeated moisture can cause rust, weaken the handle connection, and dull the metal.
If rust appears, scrub it with a wire brush or abrasive pad. Wipe the surface clean, dry it, and apply protective oil. Replace a handle that is cracked or splintered.
How a Cultivator Supports Soil Health
Used correctly, a cultivator can help maintain a productive garden. It loosens a thin surface layer, improves contact between soil and compost, and removes young weeds that compete for water and light.
However, frequent deep cultivation can harm soil life. Earthworms, fungal threads, and other organisms live in different soil layers. Turning the ground again and again can disturb these communities and break down soil structure.
A balanced approach works best:
• Cultivate only when the soil needs it.
• Keep the working depth shallow.
• Add compost rather than relying on constant digging.
• Use mulch to reduce new weed growth.
• Avoid walking on garden beds.
• Keep living roots in the soil when possible.
No single tool can replace good soil management. The cultivator is most useful as part of a careful routine.
Practical Lessons From Regular Garden Use
One of the most useful lessons is to slow down near plants. When I first learned how to use a cultivator hand tool, the natural urge was to pull hard and cover more ground. That approach loosened soil quickly, but it also broke stems and left larger weeds rooted below the surface.
Short strokes work better than long rakes. They give you time to see roots, irrigation lines, and small seedlings. This is especially important in crowded beds where plants do not grow in perfect rows.
Another lesson is to cultivate before weeds flower. Small weeds usually need little effort. Waiting several weeks turns a quick task into a difficult job and gives weeds time to produce more seeds.
A final tip is to keep the tool clean and close at hand. A five-minute pass after watering is easier than an hour of heavy work at the end of the month. Gardening rewards small, regular actions.
Frequently Asked Questions About How to Use a Cultivator Hand Tool
How deep should you use a hand cultivator?
Use a cultivator about 1 to 2 inches deep near established plants. You can work up to 3 or 4 inches in an empty bed, but deeper cultivation may damage roots and disturb buried weed seeds.
Can you use a hand cultivator to remove weeds?
Yes, a hand cultivator works well for young, shallow-rooted weeds. Pull the tines just below the weed crown, then remove the loosened plant by hand so it cannot regrow.
Should soil be wet or dry when cultivating?
Soil should be slightly damp and crumbly. Avoid cultivating saturated soil because it can compact easily, and avoid bone-dry soil because it is hard to loosen and may create dust.
Can a cultivator replace a hoe?
A cultivator can handle small beds and shallow weeds, but it does not fully replace a hoe. A hoe covers more ground and is often better for cutting weeds between wider rows.
Can you use a cultivator around vegetable plants?
Yes, but work carefully and stay away from stems and visible roots. Use shallow strokes, especially around lettuce, herbs, beans, and other plants with delicate or shallow root systems.
How often should you use a hand cultivator?
Use it when the soil crusts or small weeds appear, rather than on a fixed daily schedule. Overcultivating can disturb soil structure and harm beneficial organisms.
How do you clean a hand cultivator?
Remove soil, rinse the tines if needed, and dry the tool completely. For carbon steel, apply a thin layer of protective oil before storing it in a dry place.
Conclusion
Learning how to use a cultivator hand tool comes down to shallow work, steady control, and good timing. Use it to loosen surface soil, remove young weeds, mix compost, and prepare small planting areas without disturbing plant roots.
Choose a tool that fits your hand, work only when the soil is ready, and use short strokes near plants. Start with one small bed and practice the technique until the tool feels like an extension of your hand. For more practical gardening tips, explore related guides and share your own cultivator lessons in the comments.
