

Sharp garden hand tools cut cleanly, reduce strain, and help plants heal with less damage.
I have sharpened pruners, loppers, shears, hoes, and digging tools through many seasons of garden work. The key is simple: clean the tool, choose the right file or stone, match the original bevel, and finish with light, even strokes. This guide explains how to sharpen garden hand tools safely, avoid common mistakes, and keep each tool working like new.
Why Sharp Garden Tools Matter
Sharp tools do more than make gardening feel easier. A clean edge cuts plant stems with less crushing, which can reduce torn tissue and help the plant recover. Sharp digging tools also enter soil more easily, so you use less force and place less stress on your wrists, shoulders, and back.
Dull tools often create extra problems:
• Pruners crush stems instead of making a clean cut.
• Hedge shears tear leaves and small branches.
• Hoes slide over weeds rather than slicing them.
• Shovels struggle to enter hard soil.
• Knives and grafting tools become unsafe because you must push harder.
A sharp edge is not always razor-thin. Each garden tool needs an edge that matches its job. A pruner needs a clean, precise bevel. A hoe needs a durable working edge that can handle soil and roots. A shovel needs a sharp enough edge to cut through soil without becoming fragile.

Tools and Supplies You Will Need
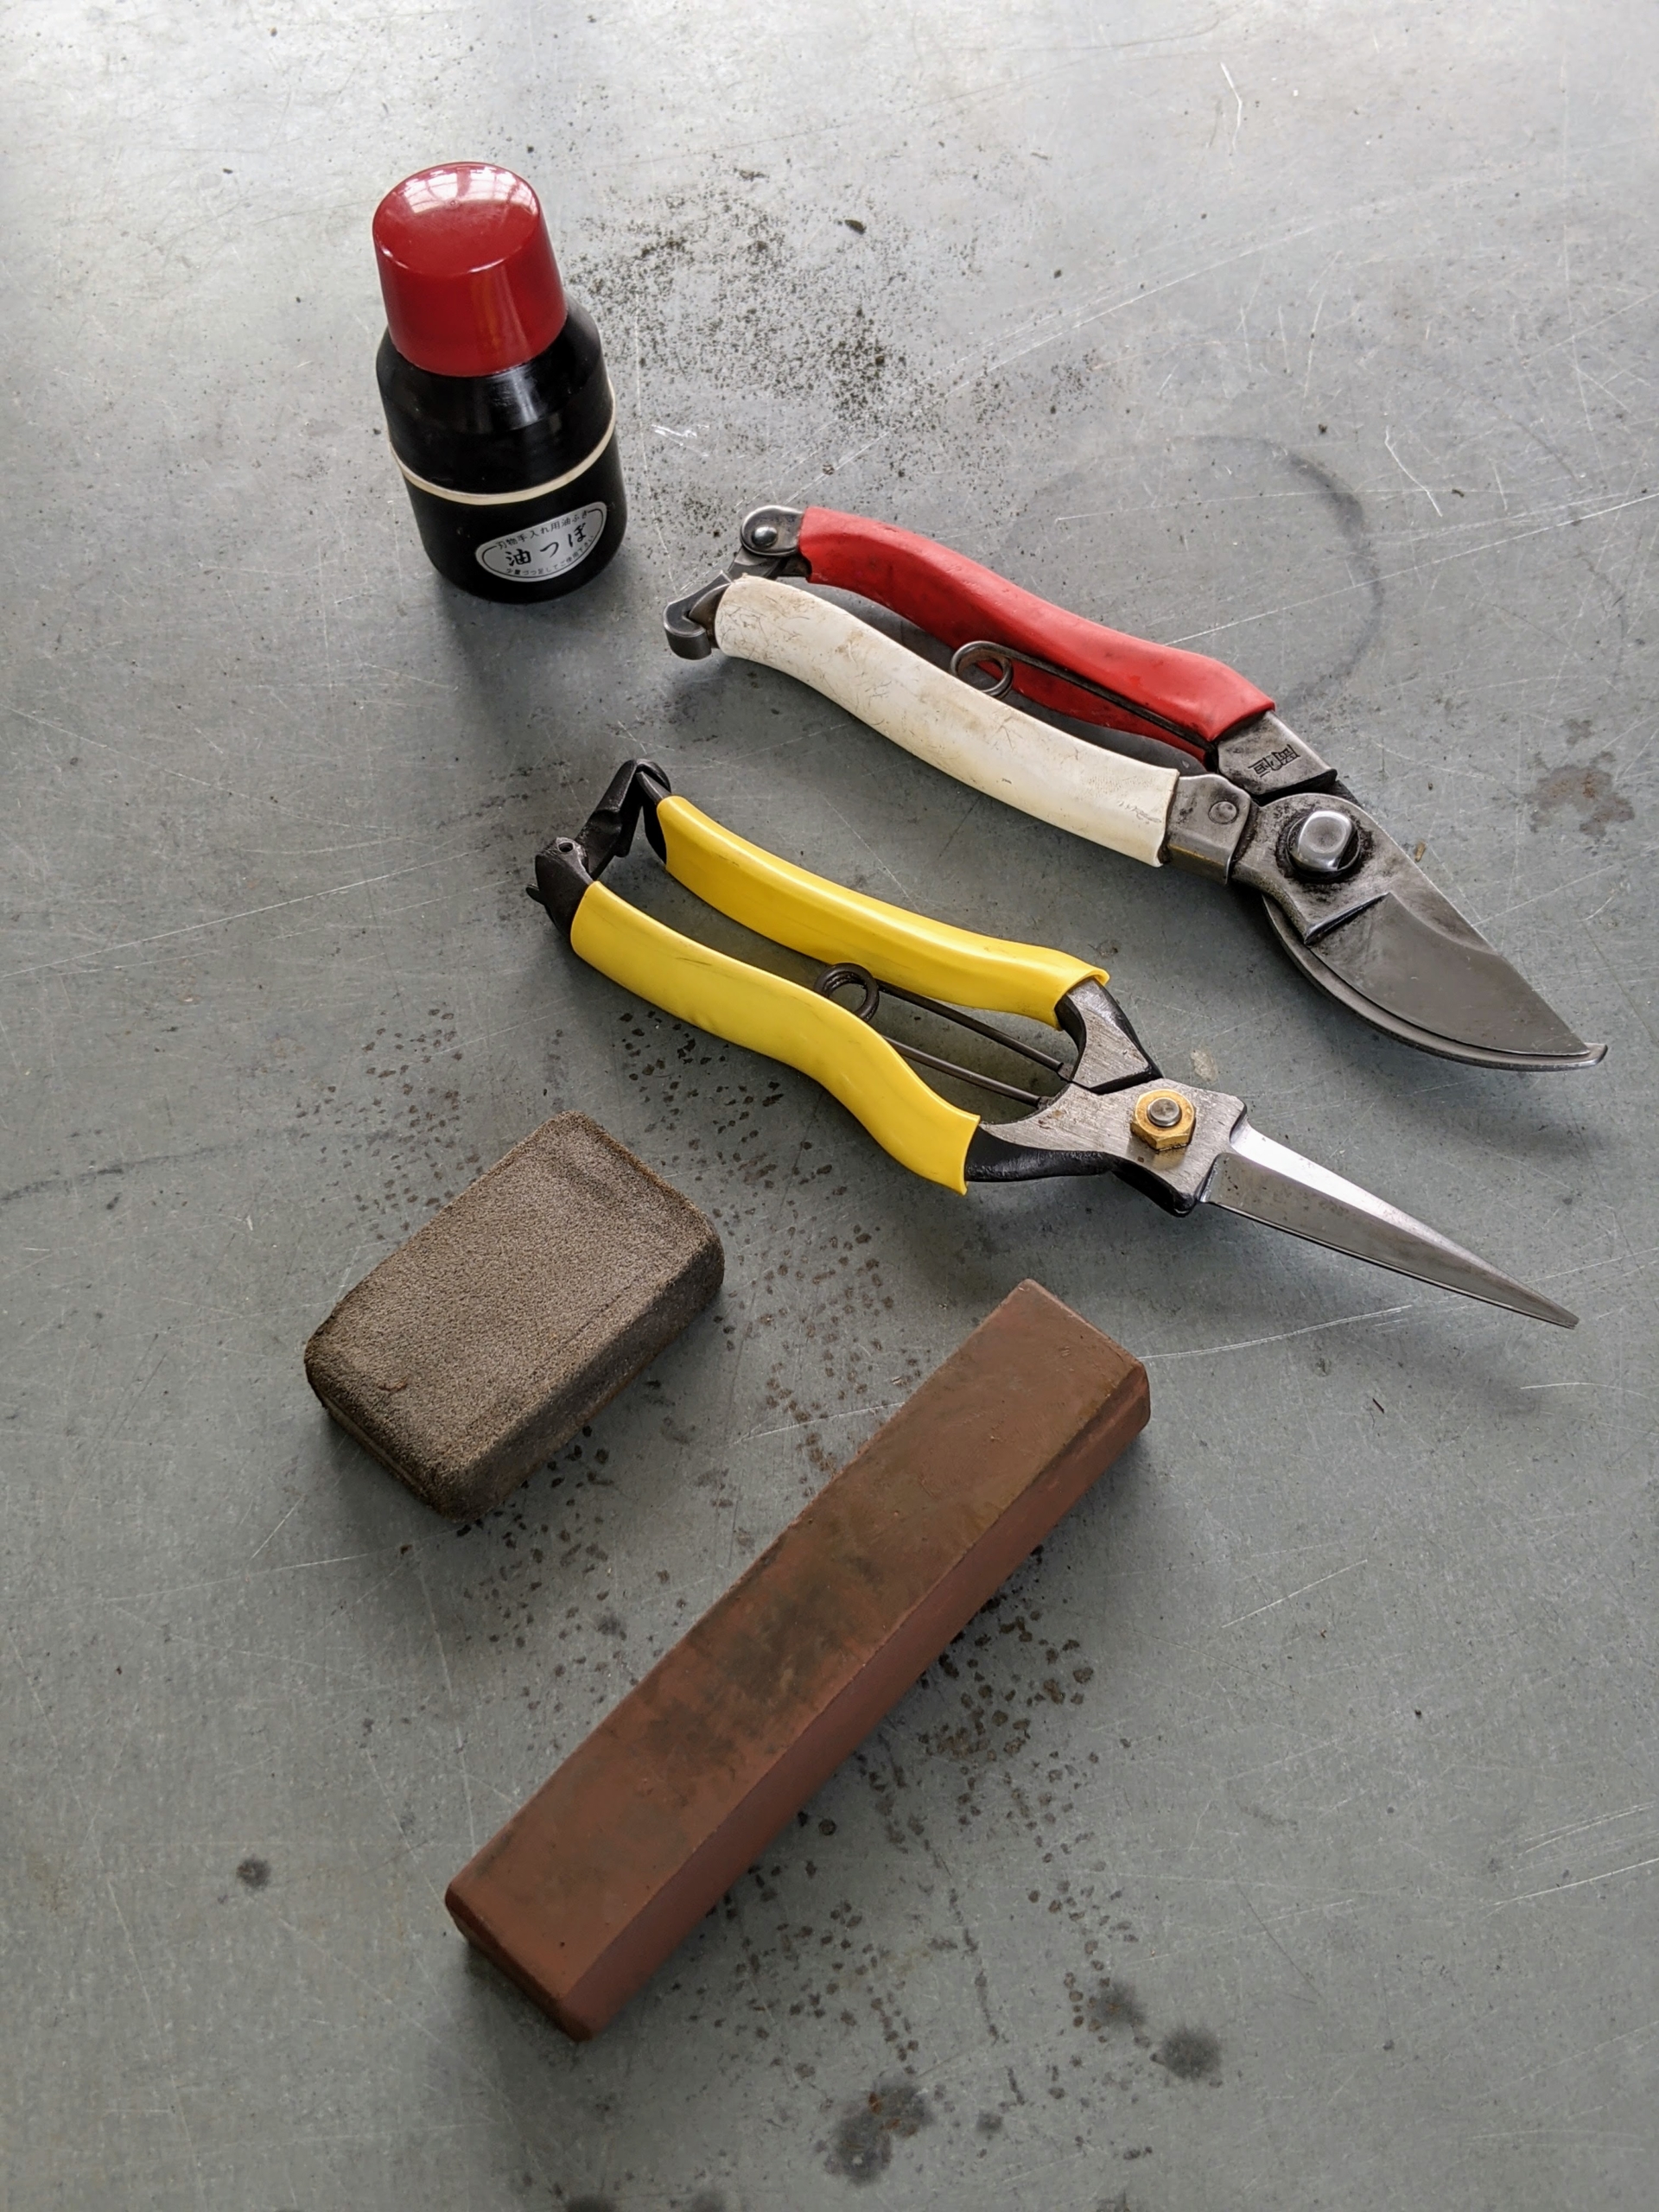
The best sharpening tool depends on the garden tool and the type of edge it has. You do not need an expensive workshop setup. A few basic items can handle most home garden tasks.
Gather these supplies before you begin:
• A work glove for the hand that holds the tool
• Safety glasses
• A stiff brush or old toothbrush
• Warm water and mild dish soap
• A clean rag or paper towel
• A mill file for hoes, shovels, and other large edges
• A diamond file for pruners, shears, and small blades
• A sharpening stone for fine finishing
• Light machine oil or tool oil
• A vise or clamp for holding larger tools
• A small wire brush for rust
A mill file removes metal quickly and works well on thick steel. A diamond file is useful for small blades because it is easy to control. A whetstone can create a very smooth edge, but it takes more practice and often needs water or oil, based on the maker’s instructions.
Avoid using a bench grinder unless you have experience. High heat can remove the tool’s temper. Once the steel loses its temper, the edge may become soft and dull much faster.

Clean and Inspect the Tool First
Cleaning comes before sharpening. Soil, sap, rust, and plant residue can hide damage and clog a file or stone. Wash the tool with mild soap and water, then dry it fully to prevent new rust.
Inspect the blade in good light. Look for chips, bends, cracks, deep rust, and loose joints. A small nick can usually be removed with careful filing, but a cracked blade should be replaced. Do not sharpen a tool that is unsafe to hold or has a damaged handle.
For bypass pruners, check how the two blades meet. The cutting blade should pass the thicker counter blade in a smooth, scissor-like motion. If the blades rub side by side, the pivot may need cleaning, tightening, or replacement.
For shovels and hoes, check the entire edge. A rounded edge needs more work than a lightly dull edge. Remove only enough metal to restore the bevel. Excess filing shortens tool life.

How to Sharpen Garden Hand Tools Safely
Safety matters because even a dull blade can cause a serious cut. Wear safety glasses when filing or brushing off rust. Keep your free hand behind the file and away from the cutting edge.
Secure large tools in a vise when possible. A stable tool lets you use controlled strokes instead of wrestling with the blade. If you cannot use a vise, place the tool on a firm surface and keep the edge pointed away from your body.
Follow these basic safety rules:
• Keep both hands under control at all times.
• Push the file away from your body.
• Do not test sharpness with your finger.
• Wipe metal dust away with a cloth, not your bare hand.
• Keep children and pets away from the work area.
• Use the correct file for the tool.
• Stop if the blade moves, cracks, or feels unsafe.
When learning how to sharpen garden hand tools, slow work is safer and usually produces a better edge. Sharpening is not a race. It is more like teaching the steel to remember its original shape.
How to Sharpen Pruners and Loppers
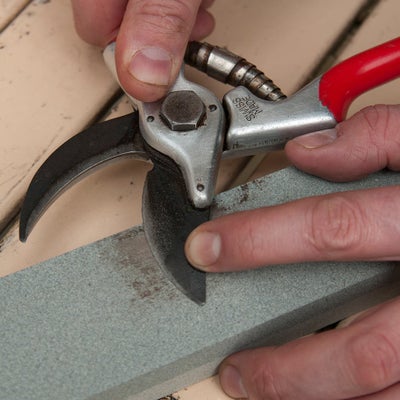
Bypass pruners and loppers usually have one main beveled cutting edge. The opposite side is often flat or nearly flat. Sharpen only the beveled side unless the manufacturer gives different instructions.
Open the pruner and secure it in a vise if you have one. Place a diamond file against the existing bevel. Most bypass pruners use an angle near 20 to 30 degrees, but matching the visible factory bevel is more important than following a fixed number.
Move the file from the thick part of the blade toward the tip. Use smooth strokes in one direction. Keep the file flat against the bevel and use light pressure. After several strokes, inspect the edge rather than guessing.
Use this process:
Brush dirt and sap from the blade.
Tighten or secure the tool.
Find the original bevel.
File from the base toward the tip.
Use the same number of strokes on each damaged area.
Remove the small burr from the flat side with one or two very light strokes.
Add a thin coat of oil to the blade and pivot.
Do not file both sides of a bypass pruner as if it were a kitchen knife. Filing the flat side too much can change how the blades pass each other. For anvil pruners, sharpen the cutting blade and inspect the anvil for grooves or damage. A badly worn anvil may need replacement.
I once over-filed a favorite pair of pruners because I chased a tiny shiny spot near the tip. The tool still cut, but the blade no longer met the anvil correctly. The lesson was clear: restore the edge, not the entire blade.

How to Sharpen Garden Shears
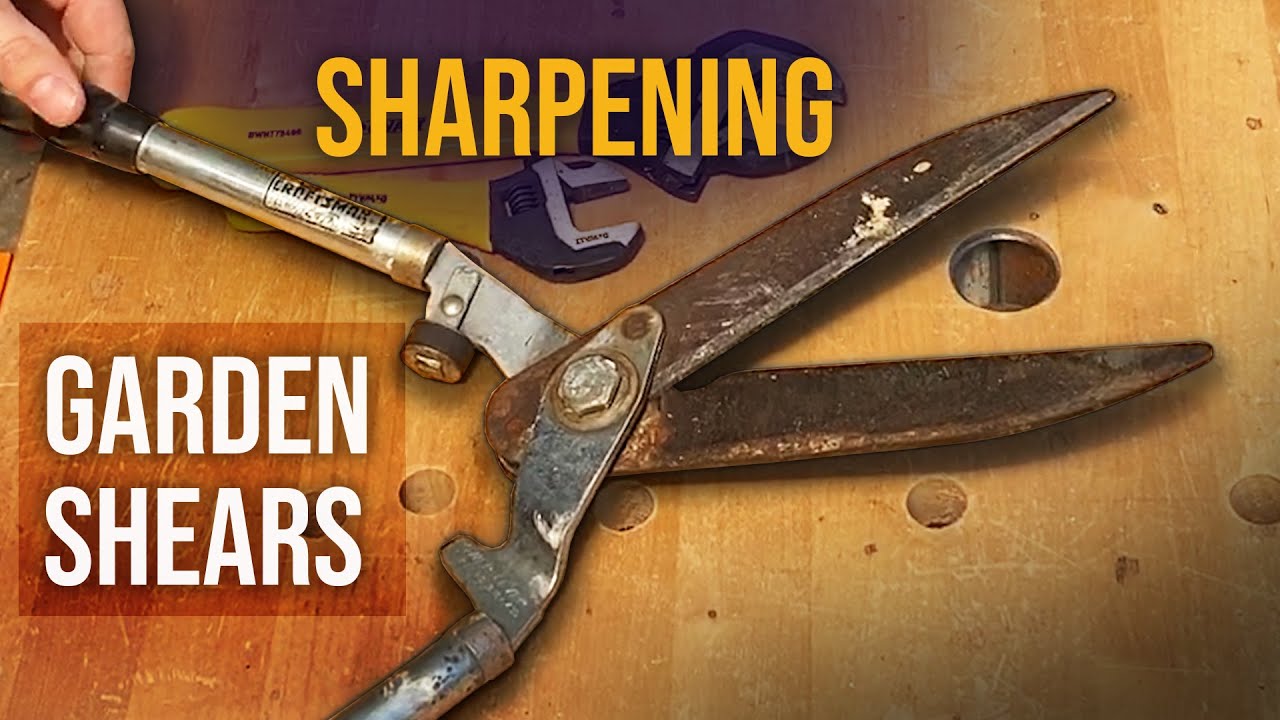
Garden shears, grass shears, and hedge shears need a clean edge along the blade length. Many shears have a bevel on one side and a flatter surface on the other. Check the original shape before filing.
Open the shears and clean the pivot. If the blades are removable, separating them can make sharpening easier. Hold the file at the existing bevel and make long, steady strokes from the pivot toward the tip.
Keep the file moving in the same direction. Short, random strokes can create a wavy edge. Do not press too hard. A few controlled passes are better than heavy filing.
After sharpening, close the blades slowly. They should meet smoothly without a large gap. Add a drop of oil to the pivot, then open and close the shears several times. Wipe away excess oil so it does not collect dust.
Do not try to make hedge shears as sharp as a razor. Their edge needs enough strength to cut leaves and thin stems without chipping. A smooth, durable edge is more useful than extreme sharpness.

How to Sharpen a Hoe
A hoe works best with a firm, slightly beveled edge. The goal is to slice weeds at or just below the soil surface. A hoe that is too blunt skips over weeds, while one that is too thin may chip when it strikes stones.
Secure the hoe head in a vise. Use a flat mill file and hold it at the existing bevel, often around 20 to 30 degrees. File from the top of the edge toward the cutting side. Use steady strokes across the full width.
Check the edge often. You should see a clean, even line. Do not create a thin wire edge like the one used on a fine knife. A garden hoe needs strength because it works against soil, roots, and occasional gravel.
After filing, smooth rough burrs with a few lighter strokes. Wipe the metal clean and apply a thin layer of oil. Store the hoe in a dry place, preferably with the head off the ground.
How to sharpen garden hand tools becomes easier when you think about the task each tool performs. A hoe is a soil tool, not a shaving tool. Its edge should be tough and practical.
How to Sharpen a Shovel
A sharp shovel edge can cut roots, slice through compact soil, and enter the ground with less effort. Start by washing away soil and removing rust with a wire brush or abrasive pad.
Clamp the shovel so the blade cannot move. Use a flat file and work along the front edge. Most shovels need a bevel on the upper or front side, depending on their design. Follow the existing bevel instead of forcing a new shape.
File in one direction from one side to the other. Keep the edge even across the blade. Remove dents and rough spots, but do not file deeply into the shovel. A shovel edge should remain strong enough for hard ground.
Finish with a few light strokes to remove burrs. Wipe the blade clean and apply a thin rust-preventive oil. If the shovel has a wooden handle, inspect it for cracks and rub a suitable wood oil into it when needed.
A common mistake is sharpening only the center of the shovel. The sides also need a consistent edge, especially when you use the shovel to cut through roots or open planting holes.
How to Sharpen a Garden Knife
Garden knives, hori hori knives, and grafting knives require more care because their edges are thin and easy to damage. Clean the blade first, then identify whether it has one bevel or two.
Hold a small diamond file or sharpening stone at the original angle. Use light strokes and work from the heel toward the tip. Keep your fingers behind the edge and secure the knife whenever possible.
For a double-beveled knife, sharpen both sides with an equal number of strokes. For a single-beveled grafting knife, sharpen the beveled side and lightly remove the burr from the flat side.
Finish with a fine stone if the tool design allows it. Clean the blade, dry it, and apply a small amount of oil. Never use a garden knife for prying, chopping wood, or cutting wire. Those tasks can bend or chip the edge.

How to Sharpen Garden Hand Tools With a Whetstone
A whetstone can produce a smooth, clean edge, but it requires steady pressure and the correct setup. Some stones use water, while others use honing oil. Follow the stone maker’s care instructions because using the wrong liquid can damage the stone.
Soak water stones only when their instructions call for soaking. Place the stone on a stable surface. Hold the tool at its existing bevel and slide the edge across the stone in a controlled motion.
Work one section at a time. A consistent angle matters more than speed. You may feel a small burr form on the opposite side. That burr shows that the bevel has reached the edge, but it should be removed with gentle finishing strokes.
A stone is most useful for pruners, knives, and other blades that benefit from a smooth edge. A file is usually faster for shovels and hoes. Using a fine stone on a rough shovel edge can take much longer than needed.
How to Test the Edge Without Cutting Yourself
Never drag a finger across a blade to test sharpness. That old habit is unsafe and gives little useful information. Instead, inspect the edge under a bright light.
A dull or damaged section often reflects light as a bright line. A refined edge reflects less light. You can also test pruners on a small fresh twig of the type you normally cut.
A sharp pruner should cut the twig cleanly without crushing it or requiring excessive force. Test shears on a few blades of grass or a thin stem. Test a hoe or shovel by pressing the edge lightly into scrap soil, not by striking hard ground.
If the tool binds, tears, or slips, stop and inspect the bevel. The issue may be poor alignment, a loose pivot, or a damaged blade rather than simple dullness.
Common Sharpening Mistakes to Avoid
Many sharpening problems come from rushing. The most common error is changing the factory bevel instead of following it. A new angle may look sharp but can prevent the blades from meeting correctly.
Avoid these mistakes:
• Removing too much steel.
• Using a grinder that overheats the blade.
• Filing in both directions with heavy pressure.
• Sharpening a dirty or rusty edge.
• Ignoring a loose pruner pivot.
• Creating a fragile, razor-thin edge on a hoe.
• Leaving burrs on the cutting edge.
• Storing tools while they are wet.
• Using the wrong file size.
• Testing sharpness with a finger.
Another mistake is sharpening a tool that needs repair. A bent blade, cracked handle, worn anvil, or loose rivet can make a sharp tool unsafe. Repair or replace damaged parts before sharpening.
In my own early work, I used a large file on a small pruner. It removed metal quickly but gave poor control near the tip. A smaller diamond file solved the problem. The right tool makes careful work much easier.
Tool Maintenance After Sharpening
Sharpening is only one part of tool care. Clean tools after each use, especially after cutting plants with sticky sap. Dry them before storage and wipe exposed steel with a thin coat of oil.
Store pruners closed and locked when possible. Keep blades away from loose metal parts that can nick the edge. Hang shovels, hoes, and shears rather than leaving them on damp soil or concrete.
A simple maintenance routine can extend the time between sharpening sessions:
• Brush off soil after every use.
• Wash sap from cutting tools.
• Dry all metal surfaces.
• Oil pivots and exposed steel.
• Tighten loose fasteners.
• Inspect handles for cracks.
• Touch up small dull spots before they become major damage.
Light touch-ups are easier than complete edge repairs. How to sharpen garden hand tools is not just a seasonal task. A few minutes of care after use can protect the edge and reduce future work.
When to Sharpen or Replace a Tool
Sharpen a tool when the edge is dull, rounded, or lightly nicked. Replace or repair it when the steel is cracked, badly bent, deeply pitted, or too thin from repeated filing.
A pruner may need a replacement blade if the edge has large chips. An anvil pruner may need a new anvil if it has a deep groove. A shovel with a badly split socket or cracked handle can fail under force, even if its blade is sharp.
The cost of a replacement part is often lower than the cost of an injury or a ruined plant. When in doubt, compare the repair cost with the tool’s age, quality, and safety. Good tools deserve repair, but unsafe tools do not deserve loyalty.
How Often Should You Sharpen Garden Tools?
There is no single schedule for every gardener. Soil type, plant species, tool quality, and use all affect how fast an edge dulls. A home gardener may touch up pruners several times during the growing season and sharpen digging tools once or twice a year.
Sharpen tools when performance changes. If you need more force, see crushed stems, or notice the tool slipping across soil, inspect the edge. Do not wait until the blade is badly damaged.
Before winter storage, clean, sharpen, oil, and inspect each tool. Starting the next season with ready tools saves time and prevents the frustration of reaching for a dull pruner on the first warm day.
Frequently Asked Questions About How to Sharpen Garden Hand Tools
What is the best tool for sharpening garden pruners?
A small diamond file is often the easiest choice for garden pruners. It gives good control and works well on the beveled cutting edge without removing too much metal.
What angle should I use when sharpening garden tools?
Match the original bevel whenever possible. Many garden cutting edges fall near 20 to 30 degrees, but the correct angle varies by tool and manufacturer.
Should I sharpen both sides of a pruner blade?
Most bypass pruners have one beveled cutting side and one mostly flat side. Sharpen the bevel and use only a few light strokes on the flat side to remove the burr.
Can I use a knife sharpener on garden tools?
A knife sharpener may work for some small, double-beveled garden knives, but it is often unsuitable for pruners, hoes, and shovels. The tool’s bevel, thickness, and shape should guide your choice.
How do I know when a garden tool is sharp?
Inspect the edge under bright light and test the tool on its normal material. A sharp pruner should cut a suitable twig cleanly without crushing or excessive force.
Is a grinder safe for sharpening garden tools?
A grinder can remove steel quickly, but it may overheat and weaken the edge. Files and stones are safer for most home gardeners because they offer better control.
How can I stop garden tools from rusting after sharpening?
Dry the tool fully, then apply a thin coat of light oil to exposed steel. Store it in a dry place and keep it off damp soil, grass, and concrete.
Conclusion
Sharp garden hand tools make cutting, digging, and weeding easier and safer. Clean the tool first, inspect for damage, match the original bevel, and use light, controlled strokes. Files work well for hoes and shovels, while diamond files and stones offer better control for pruners, shears, and knives.
Start with one tool today and practice slowly. Once you learn how to sharpen garden hand tools, regular touch-ups become a simple part of garden care. Try these steps during your next maintenance session, and share your best sharpening tip with fellow gardeners.
