

Remove rust from hand tools with vinegar, baking soda, a wire brush, or a rust remover, then dry and oil them.
Rust can make a good wrench, chisel, or plier look ready for the trash. In most cases, though, surface rust is only a crust on top of sound steel. I have restored many neglected hand tools, and the best results came from matching the cleaning method to the rust, protecting the metal during the process, and preventing moisture from returning. This guide explains how to remove rust from hand tools safely, with simple steps for light rust, heavy corrosion, and valuable older tools.

What causes rust on hand tools?
Rust forms when iron or steel meets water and oxygen. Salt, humidity, dirt, and acidic liquids speed up this reaction. The reddish-brown layer is iron oxide, and it slowly weakens the metal if you leave it untreated.
Tools rust more quickly when they are stored in damp garages, basements, sheds, or outdoor boxes. Fingerprints can also leave salt and moisture on bare steel. A tool used near the ocean may corrode faster because salt acts as an electrolyte.
Common signs of rust include:
• Orange or reddish dust on the surface
• Brown stains on the jaws or cutting edges
• Rough, flaky patches
• Pitted holes in the metal
• A handle or joint that no longer moves smoothly
• Rust-colored marks on wood or other materials
Light surface rust is usually easy to remove. Deep pitting is more serious because rust has already removed some of the steel. Cleaning can improve the tool, but it cannot restore metal that has disappeared.
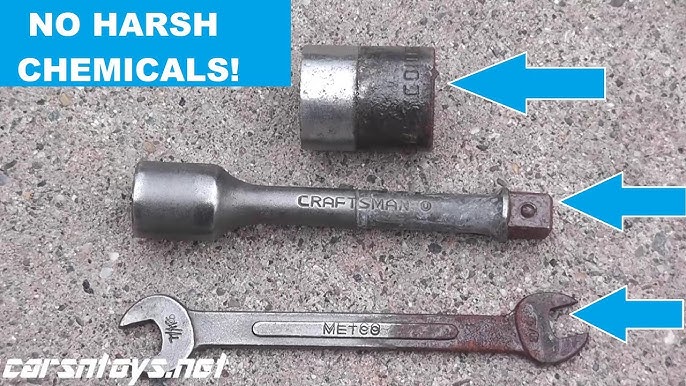
Safety precautions before removing rust
Rust removal often involves sharp edges, dust, acids, power tools, and strong chemicals. Take a few simple precautions before you begin. Good safety habits protect your hands, eyes, lungs, and work surface.
Wear the following protective equipment:
• Safety glasses or sealed goggles
• Chemical-resistant gloves when using acids or commercial rust removers
• A dust mask or respirator when brushing or sanding rust
• Long sleeves and closed-toe shoes
• An apron when using liquid rust treatments
Work in a well-ventilated area. Never mix vinegar, bleach, ammonia, commercial rust removers, or other cleaners. These combinations can create dangerous fumes or harmful reactions.
Read the product label before using a chemical rust remover. Some products can damage paint, plated surfaces, aluminum, rubber, or skin. Keep the solution away from children, pets, food, and open flames.
If a tool has a sharp cutting edge, cover it with cardboard or remove the blade before scrubbing. Secure small tools in a vise, but protect the jaws with soft cloth or wood blocks.
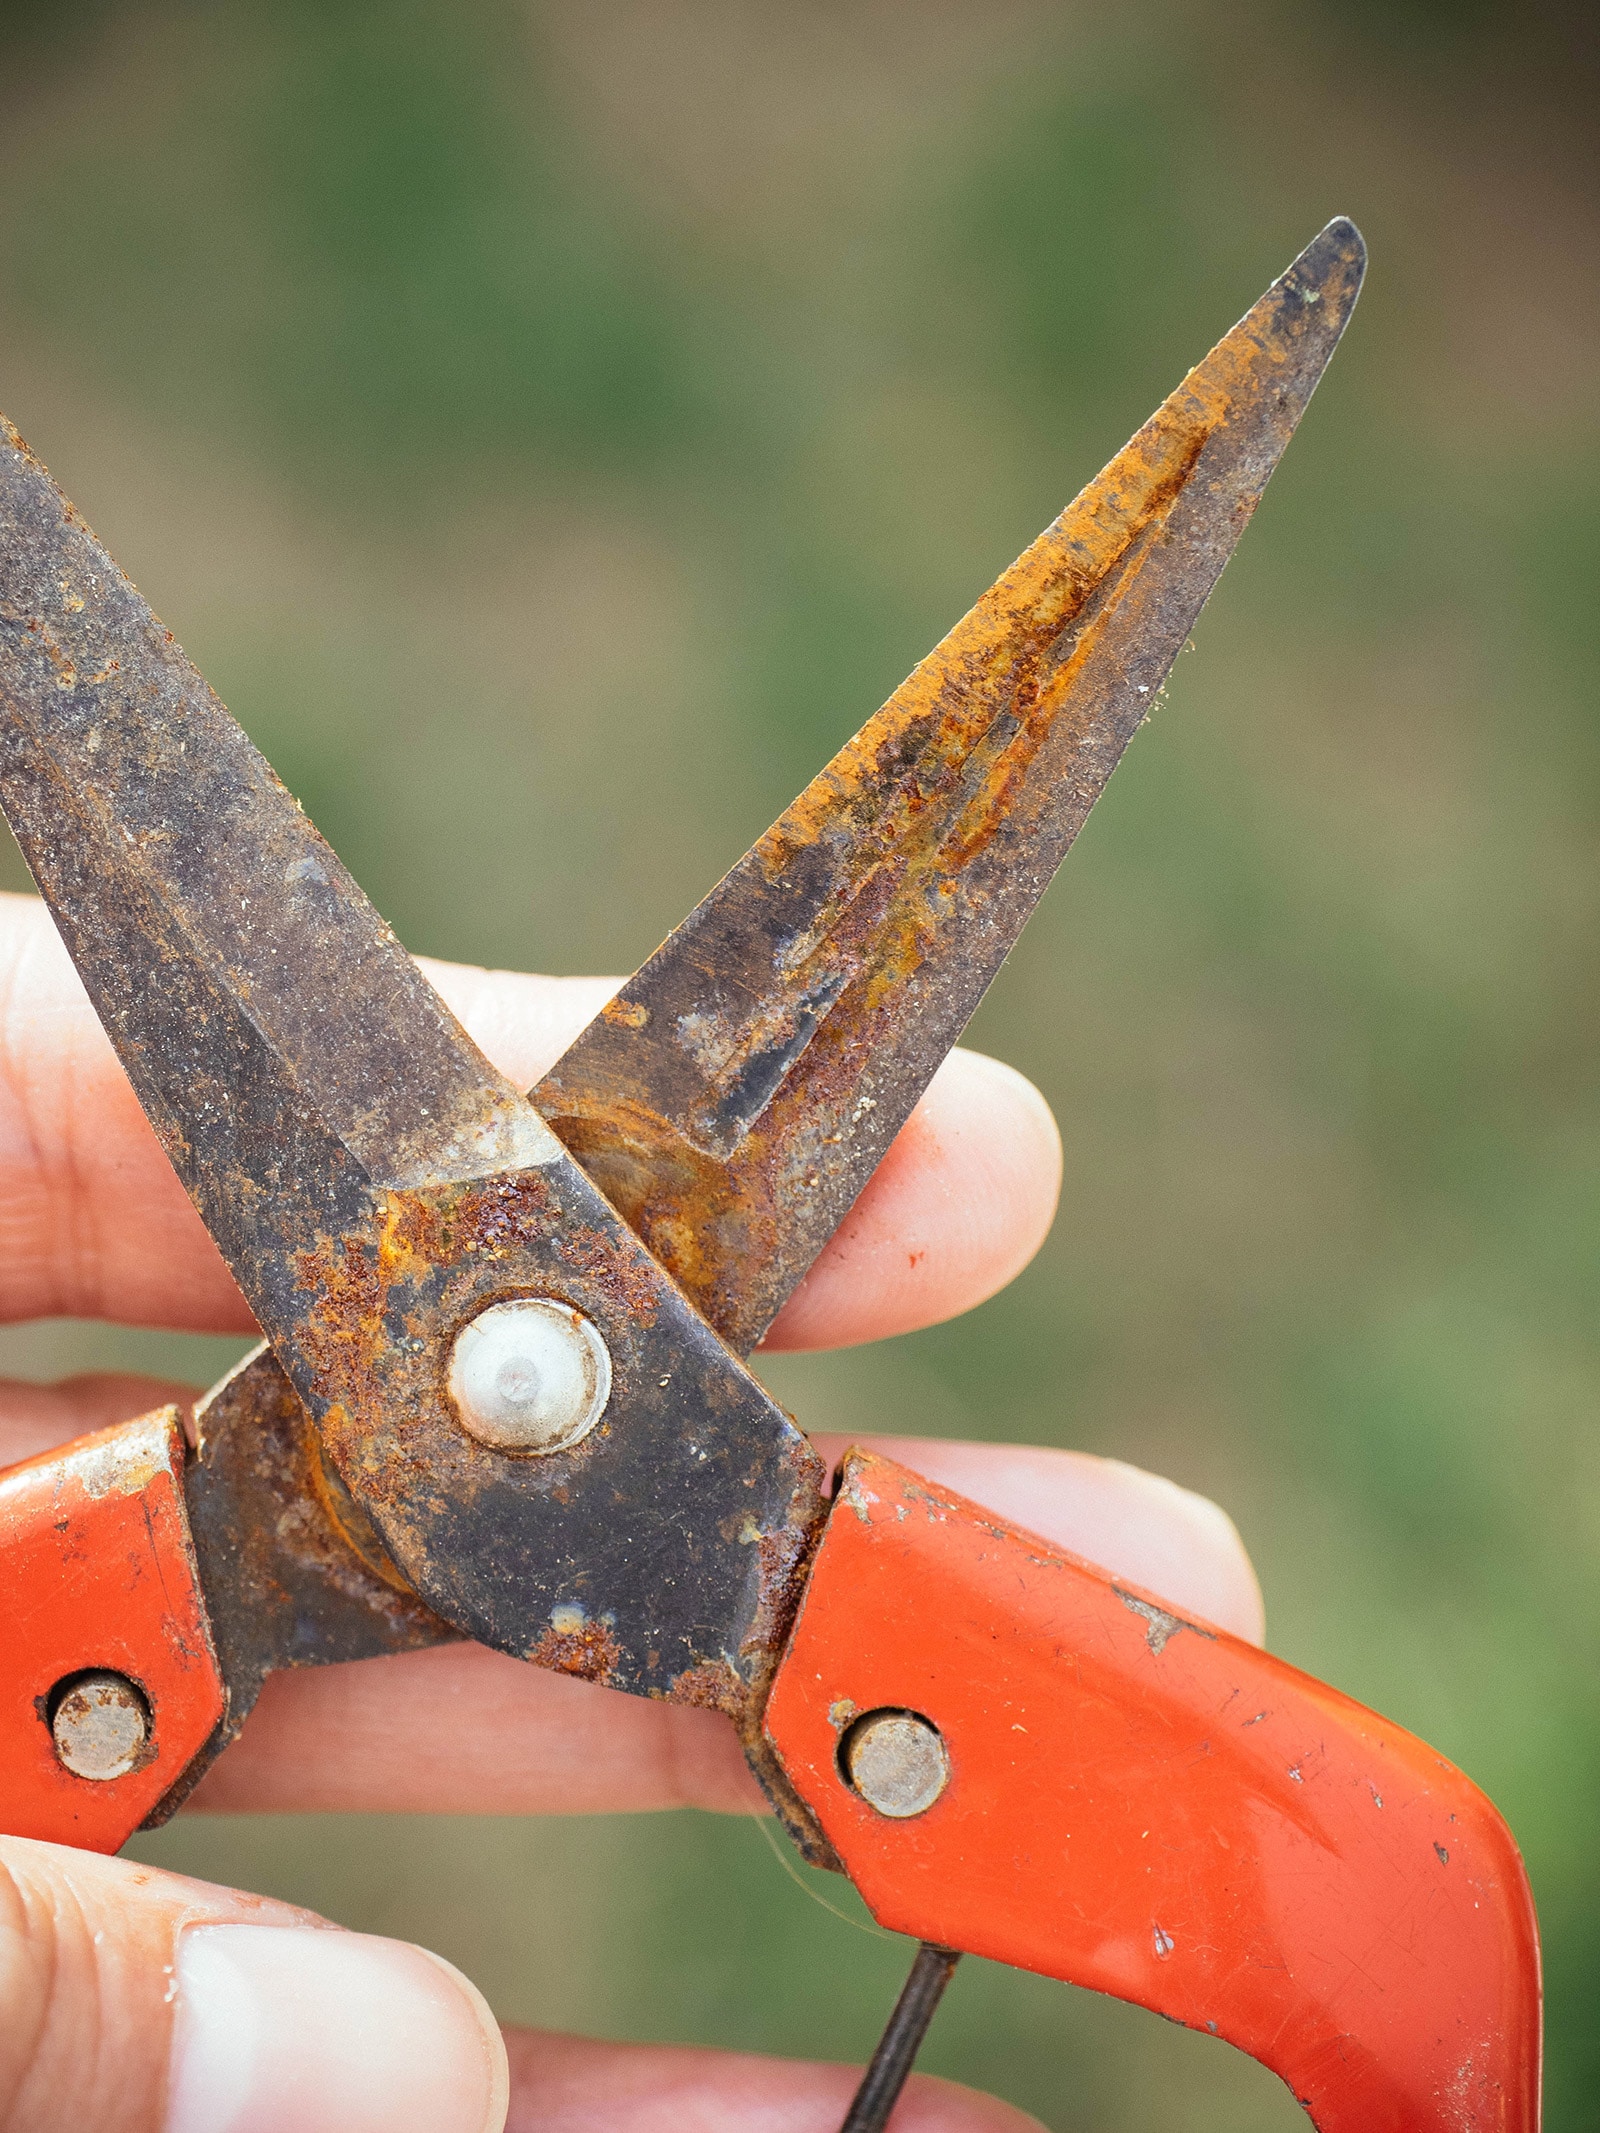
Inspect and clean the tool first
Before you learn how to remove rust from hand tools, inspect the tool closely. Check whether the rust is only on the surface or whether it has caused deep pitting, cracks, or weakened metal.
Ask these questions:
• Is the tool still straight?
• Are the jaws, teeth, or cutting edges intact?
• Do moving parts work without excessive play?
• Is the handle cracked or loose?
• Does the rust cover the whole tool or only a small area?
• Is the tool plated, painted, polished, or made from carbon steel?
Remove dirt and grease before treating the rust. Rust removers work better when grime does not block the metal. Use warm water, dish soap, and a nylon brush for normal dirt. Dry the tool right away with a clean towel.
For oily tools, use a small amount of mineral spirits in a ventilated area. Keep mineral spirits away from sparks and flames. Do not pour used solvent down a drain. Follow local disposal rules.
This inspection also helps you choose the right method. A wire brush may suit a rusty shovel, while a mild vinegar soak may be better for a small vintage screwdriver.

How to remove light rust from hand tools
Light rust looks like a thin orange film or small brown spots. You can often remove it without soaking the tool or using a strong chemical.
Use oil and an abrasive pad
Apply penetrating oil or light machine oil to the rusty area. Let it sit for 10 to 20 minutes. Then rub the metal with a fine abrasive pad, brass brush, or very fine steel wool.
Move with the shape of the tool. Use light pressure at first. Wipe away the residue and check your progress often.
This method works well for:
• Screwdrivers
• Pliers
• Wrenches
• Adjustable spanners
• Small clamps
• Tool surfaces with light rust dust
Avoid aggressive sanding on a marked or plated tool. You may remove the original finish along with the rust.
Try a nylon or brass brush
A nylon brush is gentle and useful for loose rust on painted or plated tools. A brass brush offers more cleaning power but is softer than steel, so it can reduce scratching on many surfaces.
Brush in short strokes. Clean the brush as rust flakes build up. Finish by wiping the tool with a dry cloth and applying a thin coat of oil.
In my workshop, this is often the fastest way to remove rust from hand tools that only show a few orange spots. It takes less time than a full soak and keeps the original surface in better shape.
/how-to-clean-rusty-tools-75033830-hero-02-3311f09a4fe649608830ba4b8e7ca633.jpg)
How to remove rust from hand tools with vinegar
White vinegar contains acetic acid, which can dissolve rust over time. It is inexpensive and works well for small steel tools with moderate surface rust.
Step-by-step vinegar method
- Place the clean tool in a plastic or glass container.
- Add enough white vinegar to cover the rusty areas.
- Let the tool soak for 2 to 24 hours.
- Check the tool every few hours.
- Remove it when the rust softens.
- Scrub the surface with a brush or abrasive pad.
- Rinse the tool with clean water.
- Neutralize leftover acid with a baking soda and water rinse.
- Dry the tool completely.
- Apply a thin coat of oil.
Do not leave valuable tools in vinegar longer than needed. Acid can dull polished steel, loosen some finishes, and create a dark surface stain. Vinegar may also attack certain soft metals, so avoid soaking aluminum, zinc, or mixed-metal tools unless the manufacturer approves it.
Never seal a wet tool in a box or drawer. Even a small amount of water can restart corrosion. Use a hair dryer on a low setting, compressed air, or sunlight to remove moisture from joints and holes.
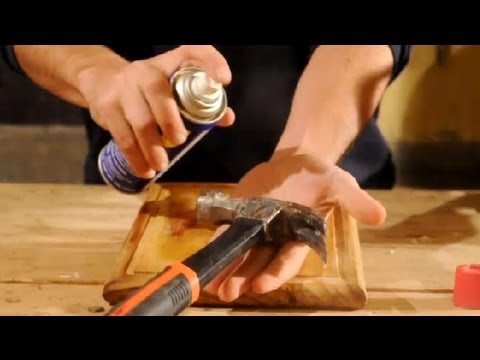
How to remove rust from hand tools with baking soda
Baking soda is a mild abrasive and a useful option for light rust. It is less aggressive than many chemical products, but it may require more scrubbing.
Baking soda paste method
Mix baking soda with a small amount of water until it forms a thick paste. Spread the paste over the rust and let it sit for 30 to 60 minutes. Scrub the tool with a toothbrush, nylon brush, or fine abrasive pad.
Rinse the tool well after scrubbing. Baking soda residue can hold moisture against the steel if you leave it behind. Dry the surface fully and protect it with oil or a rust-prevention spray.
For extra cleaning power, use baking soda with a small amount of dish soap. Do not mix baking soda with strong acids in a closed container. The reaction creates carbon dioxide gas and can cause pressure to build.
Baking soda works best on:
• Light surface rust
• Small hand tools
• Rust around grooves and threads
• Tools that should not receive a strong acid treatment
• Household repairs where simple materials are available
It is not the best choice for thick scale or deep corrosion. A wire wheel, electrolysis, or commercial rust remover may work better in those cases.

How to remove heavy rust from hand tools
Heavy rust may form thick flakes, hard scale, or deep pits. Start with mechanical cleaning before using a chemical treatment.
Use a wire brush or wire wheel
A hand wire brush gives you control and produces less dust than a powered wheel. Use it first to remove loose flakes. Brush over the tool until the thick rust has broken away.
A wire wheel on a bench grinder or drill can save time, but it can also damage the tool. Keep the speed moderate and use light pressure. Do not hold one spot against the wheel for too long because friction can heat the steel and change the temper of cutting tools.
Always wear eye protection with a wire wheel. Small wires can break free at high speed. Keep loose clothing, hair, and fingers away from the rotating wheel.
Use a commercial rust remover
Commercial rust removers often contain chelating agents, acids, or other compounds that loosen iron oxide. Chelating products can remove rust while causing less damage to sound steel, but the results vary by product.
Follow the label for:
• Soak time
• Dilution
• Suitable metals
• Ventilation
• Gloves and eye protection
• Rinsing and disposal
Never assume that a product safe for steel is safe for aluminum, chrome, nickel, paint, or plastic. Test it on a hidden area when possible.
Consider electrolysis for valuable steel tools
Electrolysis can remove rust from iron and steel with a low-voltage direct-current power source, water, and washing soda. It is useful for heavily rusted tools with complex shapes, but it requires careful setup and supervision.
Use only a suitable low-voltage DC supply. Keep electrical connections above the water, provide ventilation, and never use stainless steel as the sacrificial anode because it can produce harmful compounds. If you are unsure about the setup, choose a manual or commercial method instead.

How to remove rust from specific hand tools
Different tools need different levels of care. A rough shovel can handle stronger abrasion than a precision measuring tool.
Wrenches and sockets
Soak rusty wrenches or sockets in vinegar if they are plain steel. Scrub them with a brass brush after the rust softens. Pay close attention to the drive opening and corners where moisture can remain.
Do not remove the size markings with aggressive sanding. If the markings are painted or stamped, clean around them with a small brush.
Pliers and adjustable tools
Apply penetrating oil to the joint before cleaning. Open and close the tool several times to work the oil into the pivot. Remove rust from the jaws with a brass brush or abrasive pad.
After cleaning, add one drop of oil to the pivot. Wipe away the excess so the tool does not attract dust.
Screwdrivers
Avoid soaking a screwdriver with a wooden or glued handle. Clean the steel shaft with oil and fine steel wool. If rust has damaged the tip, reshape it carefully with a file only if you have the skill to maintain the correct tip profile.
A damaged screwdriver tip can slip and injure your hand or damage a fastener. Replace the tool if the tip is badly rounded or cracked.
Chisels, planes, and cutting tools
Protect the cutting edge before brushing. Remove rust from the flat sides with a rust eraser, fine abrasive, or controlled sharpening process. Do not grind away large amounts of steel.
After cleaning, sharpen the edge according to the tool design. Apply a thin coat of camellia oil, paste wax, or another suitable rust inhibitor.
Garden tools
Shovels, hoes, pruners, and shears often collect soil and plant sap. Wash them first, dry them well, and remove rust with a wire brush or abrasive pad. Oil the blade and pivot, but keep oil away from handles that must be painted or glued.
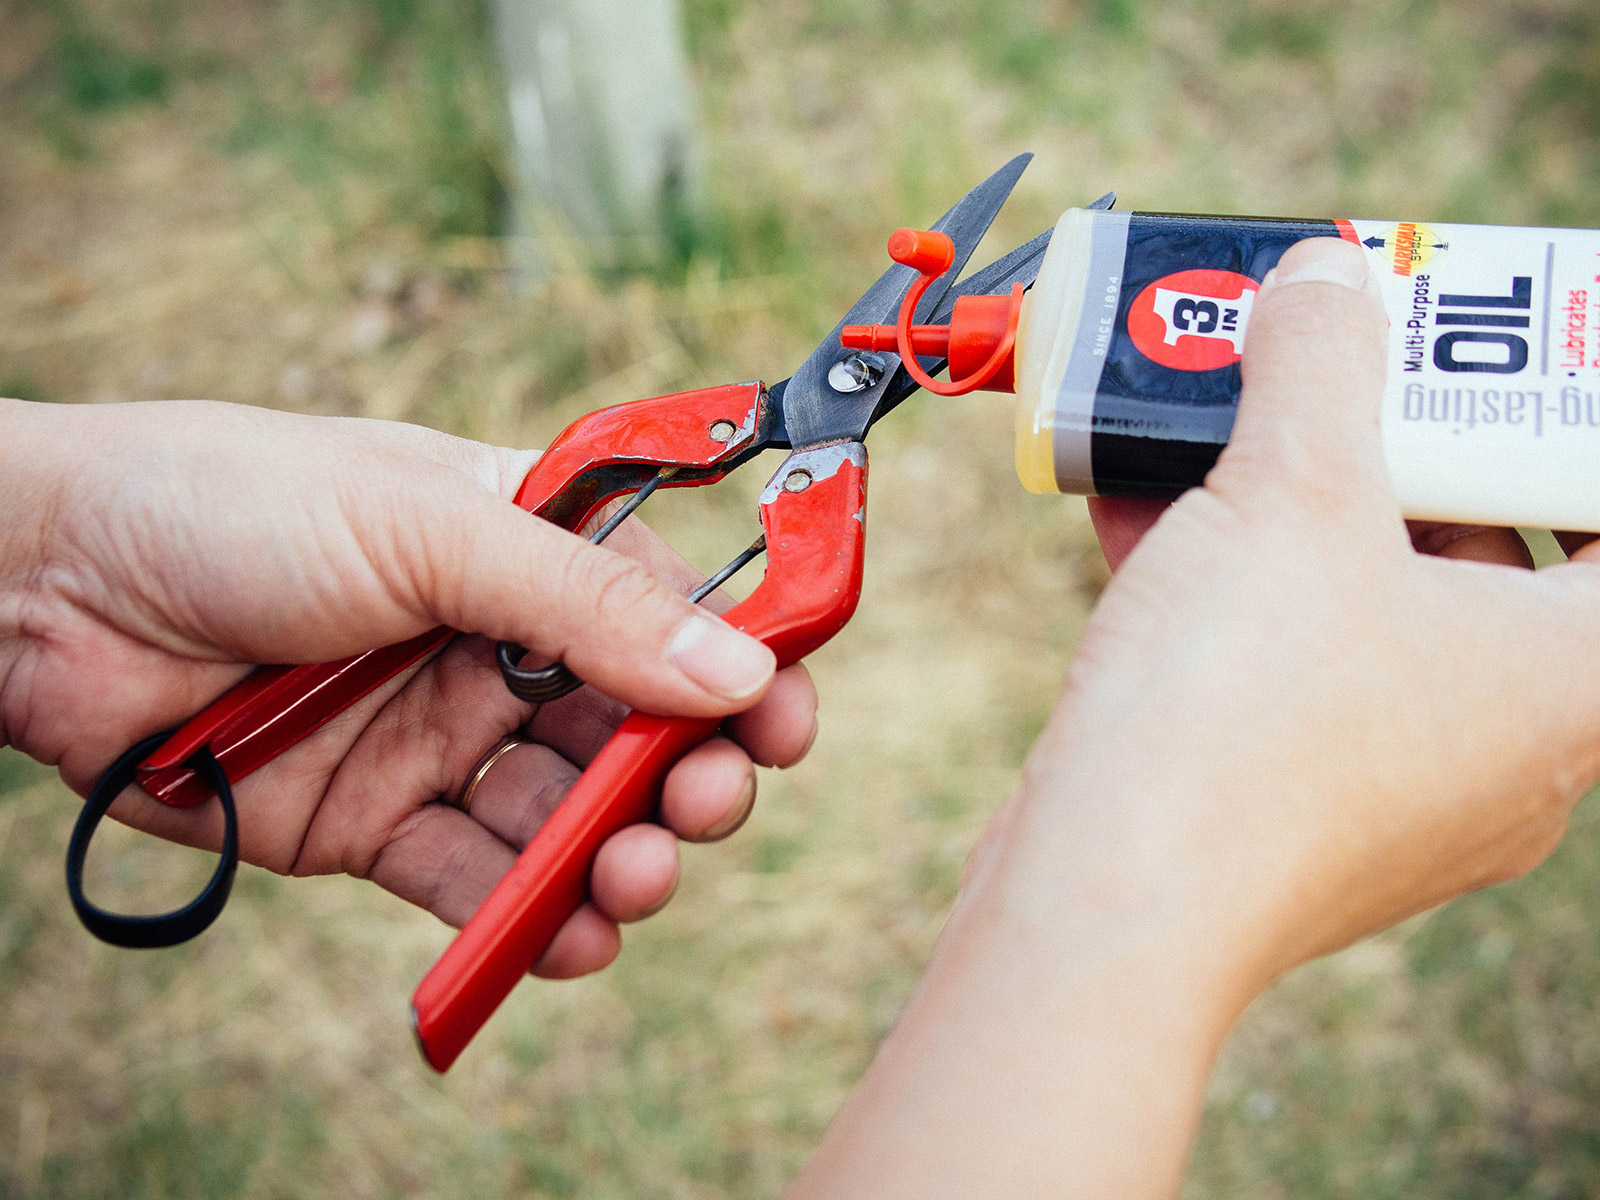
What to do after removing rust
Cleaning is only half the job. Bare steel can flash-rust within minutes when exposed to air and moisture.
After you remove rust from hand tools, follow these steps:
- Rinse away rust residue and cleaner.
- Neutralize acidic residue when the product instructions require it.
- Dry every surface, joint, thread, and hole.
- Inspect for remaining rust and deep pits.
- Apply a thin protective coating.
- Reassemble and lubricate moving parts.
- Store the tool in a dry place.
Use light machine oil for general steel tools. Paste wax can protect tool surfaces that should not feel oily. Camellia oil is popular for woodworking tools because it provides a light protective film, but always check that the product suits your use.
Do not soak tools in thick grease unless they will remain in long-term storage. Grease can collect grit and make tools unpleasant to handle.
A simple test is to wipe the tool with a clean white cloth after treatment. If orange marks remain, inspect the surface again. Some dark staining is harmless, but loose rust should not remain.
Mistakes to avoid when removing rust
The wrong method can remove useful metal, damage a finish, or create a safety problem. These are the mistakes I see most often.
Using too much force
Aggressive grinding can flatten edges and change the shape of a tool. Rust removal should uncover the original metal, not redesign it.
Leaving tools wet
This is one of the most common causes of flash rust. Dry the tool at once after every water rinse.
Using steel wool on delicate finishes
Steel wool can scratch chrome, nickel, paint, and polished surfaces. Start with a nylon or brass brush when the finish matters.
Soaking mixed-metal tools without testing
Some tools combine steel, aluminum, brass, rubber, and plastic. A solution that cleans one material may stain or damage another.
Ignoring deep pitting
Deep pits can weaken thin tools and create stress points. Do not use a badly damaged tool for heavy loads, lifting, striking, or safety-critical work.
Forgetting the handle
A rusty metal head with a loose, cracked, or oil-soaked handle may be unsafe. Replace damaged handles and wedges before using the tool again.
How to prevent rust from returning
The best rust treatment is prevention. Keep tools clean, dry, and protected after each use.
Use these habits:
• Wipe tools after use, especially after contact with water or soil.
• Store tools off concrete floors, which can hold and transfer moisture.
• Use a toolbox with a tight lid or a dry cabinet.
• Add silica gel or a rechargeable desiccant in enclosed storage.
• Keep a thin oil film on bare steel.
• Inspect tools every few months.
• Avoid storing wet tools in leather sheaths or closed plastic bags.
• Hang garden tools so air can move around them.
A humidity-controlled storage area is ideal. If that is not possible, a vapor corrosion inhibitor product can help protect enclosed tools. Follow the product directions and replace or recharge the product as needed.
I once left a freshly cleaned set of sockets in an unheated garage during a damp week. Orange spots appeared within days. The lesson was simple: clean steel needs protection immediately, even when it looks perfectly dry.
When should you replace a rusty hand tool?
Rust alone does not always mean a tool is unsafe. Surface rust can often be removed, while deep corrosion requires closer judgment.
Replace a tool when you find:
• Cracks in the metal
• Severe pitting on a load-bearing area
• Bent jaws or handles
• A weakened striking face
• Broken teeth or cutting edges
• A loose head that cannot be secured
• A damaged insulation layer on an electrical tool
• Excessive play in a joint or pivot
Do not use a heavily corroded wrench on a high-torque fastener. It may slip or break. Do not use a deeply pitted hammer, chisel, or pry bar for forceful work unless a qualified professional confirms it is safe.
Older tools can have value because of their history, brand, or craftsmanship. If the tool is rare, avoid aggressive cleaning until you understand its value. Removing original patina can reduce collectibility, even when it makes the tool look newer.
Frequently Asked Questions About How to Remove Rust From Hand Tools
What is the fastest way to remove rust from hand tools?
For light rust, apply penetrating oil and scrub with a brass brush or fine abrasive pad. For heavy rust, a commercial rust remover or wire wheel usually works faster than household methods.
Does vinegar really remove rust from hand tools?
Yes, white vinegar can soften and dissolve surface rust because it contains acetic acid. Soak plain steel tools for a limited time, scrub them, rinse well, dry them completely, and apply oil.
Can baking soda remove heavy rust?
Baking soda can remove light rust when used as a paste and scrubbed with an abrasive pad. It is usually too mild for thick scale or deep corrosion.
Should I use WD-40 to remove rust from hand tools?
A penetrating spray can loosen rust and help lift light corrosion, but it may not remove heavy rust by itself. After cleaning, wipe the tool dry and use a suitable protective oil or coating.
How long should rusty tools soak in vinegar?
Many tools need two to 24 hours, depending on the rust thickness. Check the tool often and remove it once the rust softens because extended exposure can stain or dull the steel.
Can I remove rust from chrome hand tools?
Yes, but use a gentle method first, such as oil and a soft cloth or nylon brush. Avoid harsh abrasives that can scratch or remove the chrome plating.
How do I stop flash rust after cleaning tools?
Rinse away all cleaner, dry the tool immediately, and apply a thin protective film of oil or wax. Store it in a dry space with moisture control.
Conclusion
Learning how to remove rust from hand tools can save money and extend the life of tools you already own. Start with gentle cleaning for light rust, use vinegar or baking soda for moderate corrosion, and reserve wire wheels or commercial products for heavier buildup. Always protect your eyes and skin, dry the tool fully, and apply oil or wax after cleaning.
Inspect every tool before putting it back to work. If corrosion has caused cracks, severe pitting, or structural damage, replacement is the safer choice. Set aside a few minutes today to restore one neglected tool, then share your results or explore more tool-care guides for a cleaner, safer workshop.
