

You can shape metal with hand tools by cutting, filing, bending, punching, and carefully hammering it.
Learning how to shape metal with hand tools gives you control without needing a large machine shop. With the right tools, sound safety habits, and a steady process, you can make brackets, panels, hooks, repair parts, and decorative pieces from common sheet metal, wire, tube, and bar stock. This guide explains the methods, tools, materials, and practical mistakes that matter most.
What It Means to Shape Metal by Hand
Metal shaping is the process of changing a metal workpiece’s size, form, edge, or surface with force from a person and a hand tool. The work may involve removing metal, moving metal, or both.
The main methods include:
• Cutting, which removes part of the material.
• Filing, which smooths edges and improves fit.
• Bending, which changes the angle or curve.
• Hammering, which moves metal into a new shape.
• Punching, which makes holes without drilling.
• Threading, which creates screw threads on rods or inside holes.
• Finishing, which removes burrs, scratches, and sharp corners.
A simple way to understand the process is to think of metal as a material with limits. It can flex, stretch, compress, and shear, but too much force can cause cracks, dents, or permanent distortion.
When learning how to shape metal with hand tools, start with the smallest force that can do the job. You can always add more force. You cannot easily remove an unwanted dent.

Tools You Need for Hand Metal Shaping
You do not need every tool at once. A small, well-chosen set is more useful than a crowded toolbox filled with poor-quality tools.
Measuring and Marking Tools
Accurate marking prevents wasted material and uneven results.
Useful tools include:
• Steel rule for straight measurements.
• Combination square for marking 90-degree and 45-degree lines.
• Scriber for fine lines on metal.
• Center punch for marking drill or punch locations.
• Calipers for checking thickness, width, and diameter.
• Dividers for marking circles and equal spaces.
Use a scriber instead of a soft pencil when working on steel or aluminum. The line stays visible during cutting and filing. Mark the waste side of the line so you know exactly where to remove material.
Cutting Tools
Choose the cutting tool based on the metal’s thickness and shape.
• Aviation snips work well on thin sheet metal.
• A hacksaw cuts sheet, rod, tube, bolts, and small bar stock.
• Jeweler’s saws handle fine cuts in thin metal.
• Hand nibblers remove small sections from sheet metal.
• Bolt cutters cut certain rods, wires, and fasteners.
• Cold chisels cut or split metal when used on a solid support.
A hacksaw works best with steady, long strokes. Keep the blade tight, and use a blade with enough teeth to keep at least three teeth in the material during the cut. This reduces snagging and rough edges.
Shaping and Bending Tools
These tools move metal without removing much material.
• Ball peen hammer for general metalwork and forming.
• Cross peen hammer for narrow lines and controlled stretching.
• Plastic or rawhide mallet for softer strikes.
• Flat-nose and round-nose pliers for small bends.
• Sheet metal folding bars for clean straight bends.
• Vise with smooth jaws for holding and bending.
• Hand seamer for sheet metal flanges and corners.
A ball peen hammer is a versatile choice, but its face must be smooth and free of deep marks. Any damage on the hammer face can transfer directly to the workpiece.
Surface and Finishing Tools
Edges often need more work than the main shape.
• Mill files remove material quickly.
• Smooth files leave a finer surface.
• Needle files reach small slots and corners.
• Deburring tools remove sharp edges around holes.
• Emery cloth smooths light scratches.
• Wire brushes clean scale and loose rust.
• Scrapers remove raised burrs and old coatings.
Always use a file with a proper handle. A bare tang can cause a serious puncture injury if the file slips.

Choose the Right Metal for the Job
The material affects every part of the process. A soft aluminum sheet bends more easily than mild steel. Stainless steel resists corrosion, but it can work-harden and become difficult to cut or drill.
Common choices include:
• Aluminum, which is light, easy to cut, and useful for brackets, covers, and craft work.
• Mild steel, which is strong, affordable, and suitable for general repairs.
• Stainless steel, which resists rust but needs sharp tools and careful control.
• Copper, which bends easily and works well for decorative parts and small tubing.
• Brass, which machines and files well but can mark easily.
• Zinc-coated steel, which resists rust but may produce irritating fumes when heated.
Check the material thickness before choosing a tool. Thin sheet may bend with hand pressure. Thick bar stock may need a vise, a longer lever, or heat. Do not assume that more force is always the answer.
The metal’s temper also matters. Annealed metal is softer and easier to shape. Hardened metal resists dents and bends but may crack if forced. If you are unsure, test a small offcut first.
Avoid heating unknown coated metal. Paint, plating, oil, and galvanized coatings can release harmful fumes. For home projects, cold shaping is often the safer choice.

How to Shape Metal with Hand Tools: A Basic Process
A clear process makes handwork safer and more accurate. The following steps work for many small projects.
1. Plan the Finished Shape
Draw the final shape on paper or cardboard first. Include bend lines, hole centers, cut lines, and finished dimensions.
Make a simple template when possible. Cardboard lets you test fit before you spend time cutting metal. This small step can prevent a large mistake.
2. Select a Suitable Workpiece
Choose material that is slightly larger than the finished part. Extra material gives you room to trim and file.
Inspect the piece for deep rust, cracks, heavy scratches, or sharp rolled edges. A damaged starting piece may fail during bending.
3. Mark Every Important Line
Measure twice before making the first cut. Mark the waste side of each cut line and use a center punch for hole locations.
Keep marks clear but light. Deep scratches can become stress points, especially in thin sheet metal.
4. Secure the Metal
Clamp the workpiece firmly in a vise or use a bench clamp. The support should be close to the cutting or bending area.
Do not hold metal in your hand while striking it with a hammer. Even a small piece can move suddenly and cause injury.
Use soft jaw covers when you need to protect a visible surface. Thin copper, aluminum, and polished steel can pick up vise marks quickly.
5. Cut Outside the Line
Make the first cut slightly outside the final line. Then bring the part to its final size with a file.
This method is slower than cutting directly to the line, but it gives you much better control. It also prevents a single inaccurate cut from ruining the part.
6. Remove Burrs
Cutting leaves sharp raised edges called burrs. Remove them with a file, deburring tool, or fine abrasive.
Run a finger near the edge only after removing the burr. Never test a fresh cut edge with your bare hand.
7. Bend or Form the Part
Place the bend line just above the vise jaw or forming block. Use gentle, even strikes or steady hand pressure.
Work from one end to the other when making a long bend. This helps prevent a twisted flange or uneven corner.
8. Check the Shape Often
Compare the piece with your template after each major step. Use a square to check angles and a ruler to check straightness.
Small corrections are easy. Large corrections often leave dents, cracks, or unwanted marks.
9. Finish the Surface
File high spots, smooth sharp corners, and clean the metal. Apply a suitable protective finish if the part will face moisture.
For steel, this may include primer and paint. For aluminum, cleaning and a compatible coating may help. Follow the coating maker’s directions.

How to Cut Metal with a Hacksaw and Snips
Cutting is often the first practical skill in hand metalworking. A clean cut saves time during filing and makes the final part look professional.
Using a Hacksaw
Install the blade with the teeth pointing forward. Most hacksaw blades cut on the forward stroke.
Hold the frame with both hands and keep the blade straight. Use long strokes that use most of the blade length. Let the teeth cut rather than forcing the frame into the metal.
Use cutting fluid when appropriate for steel. Do not use excessive fluid on materials where it may make the work slippery. Replace the blade when the teeth are dull or missing.
For thick stock, slightly angle the saw and change the contact area during the cut. This can reduce binding and help the blade stay cooler.
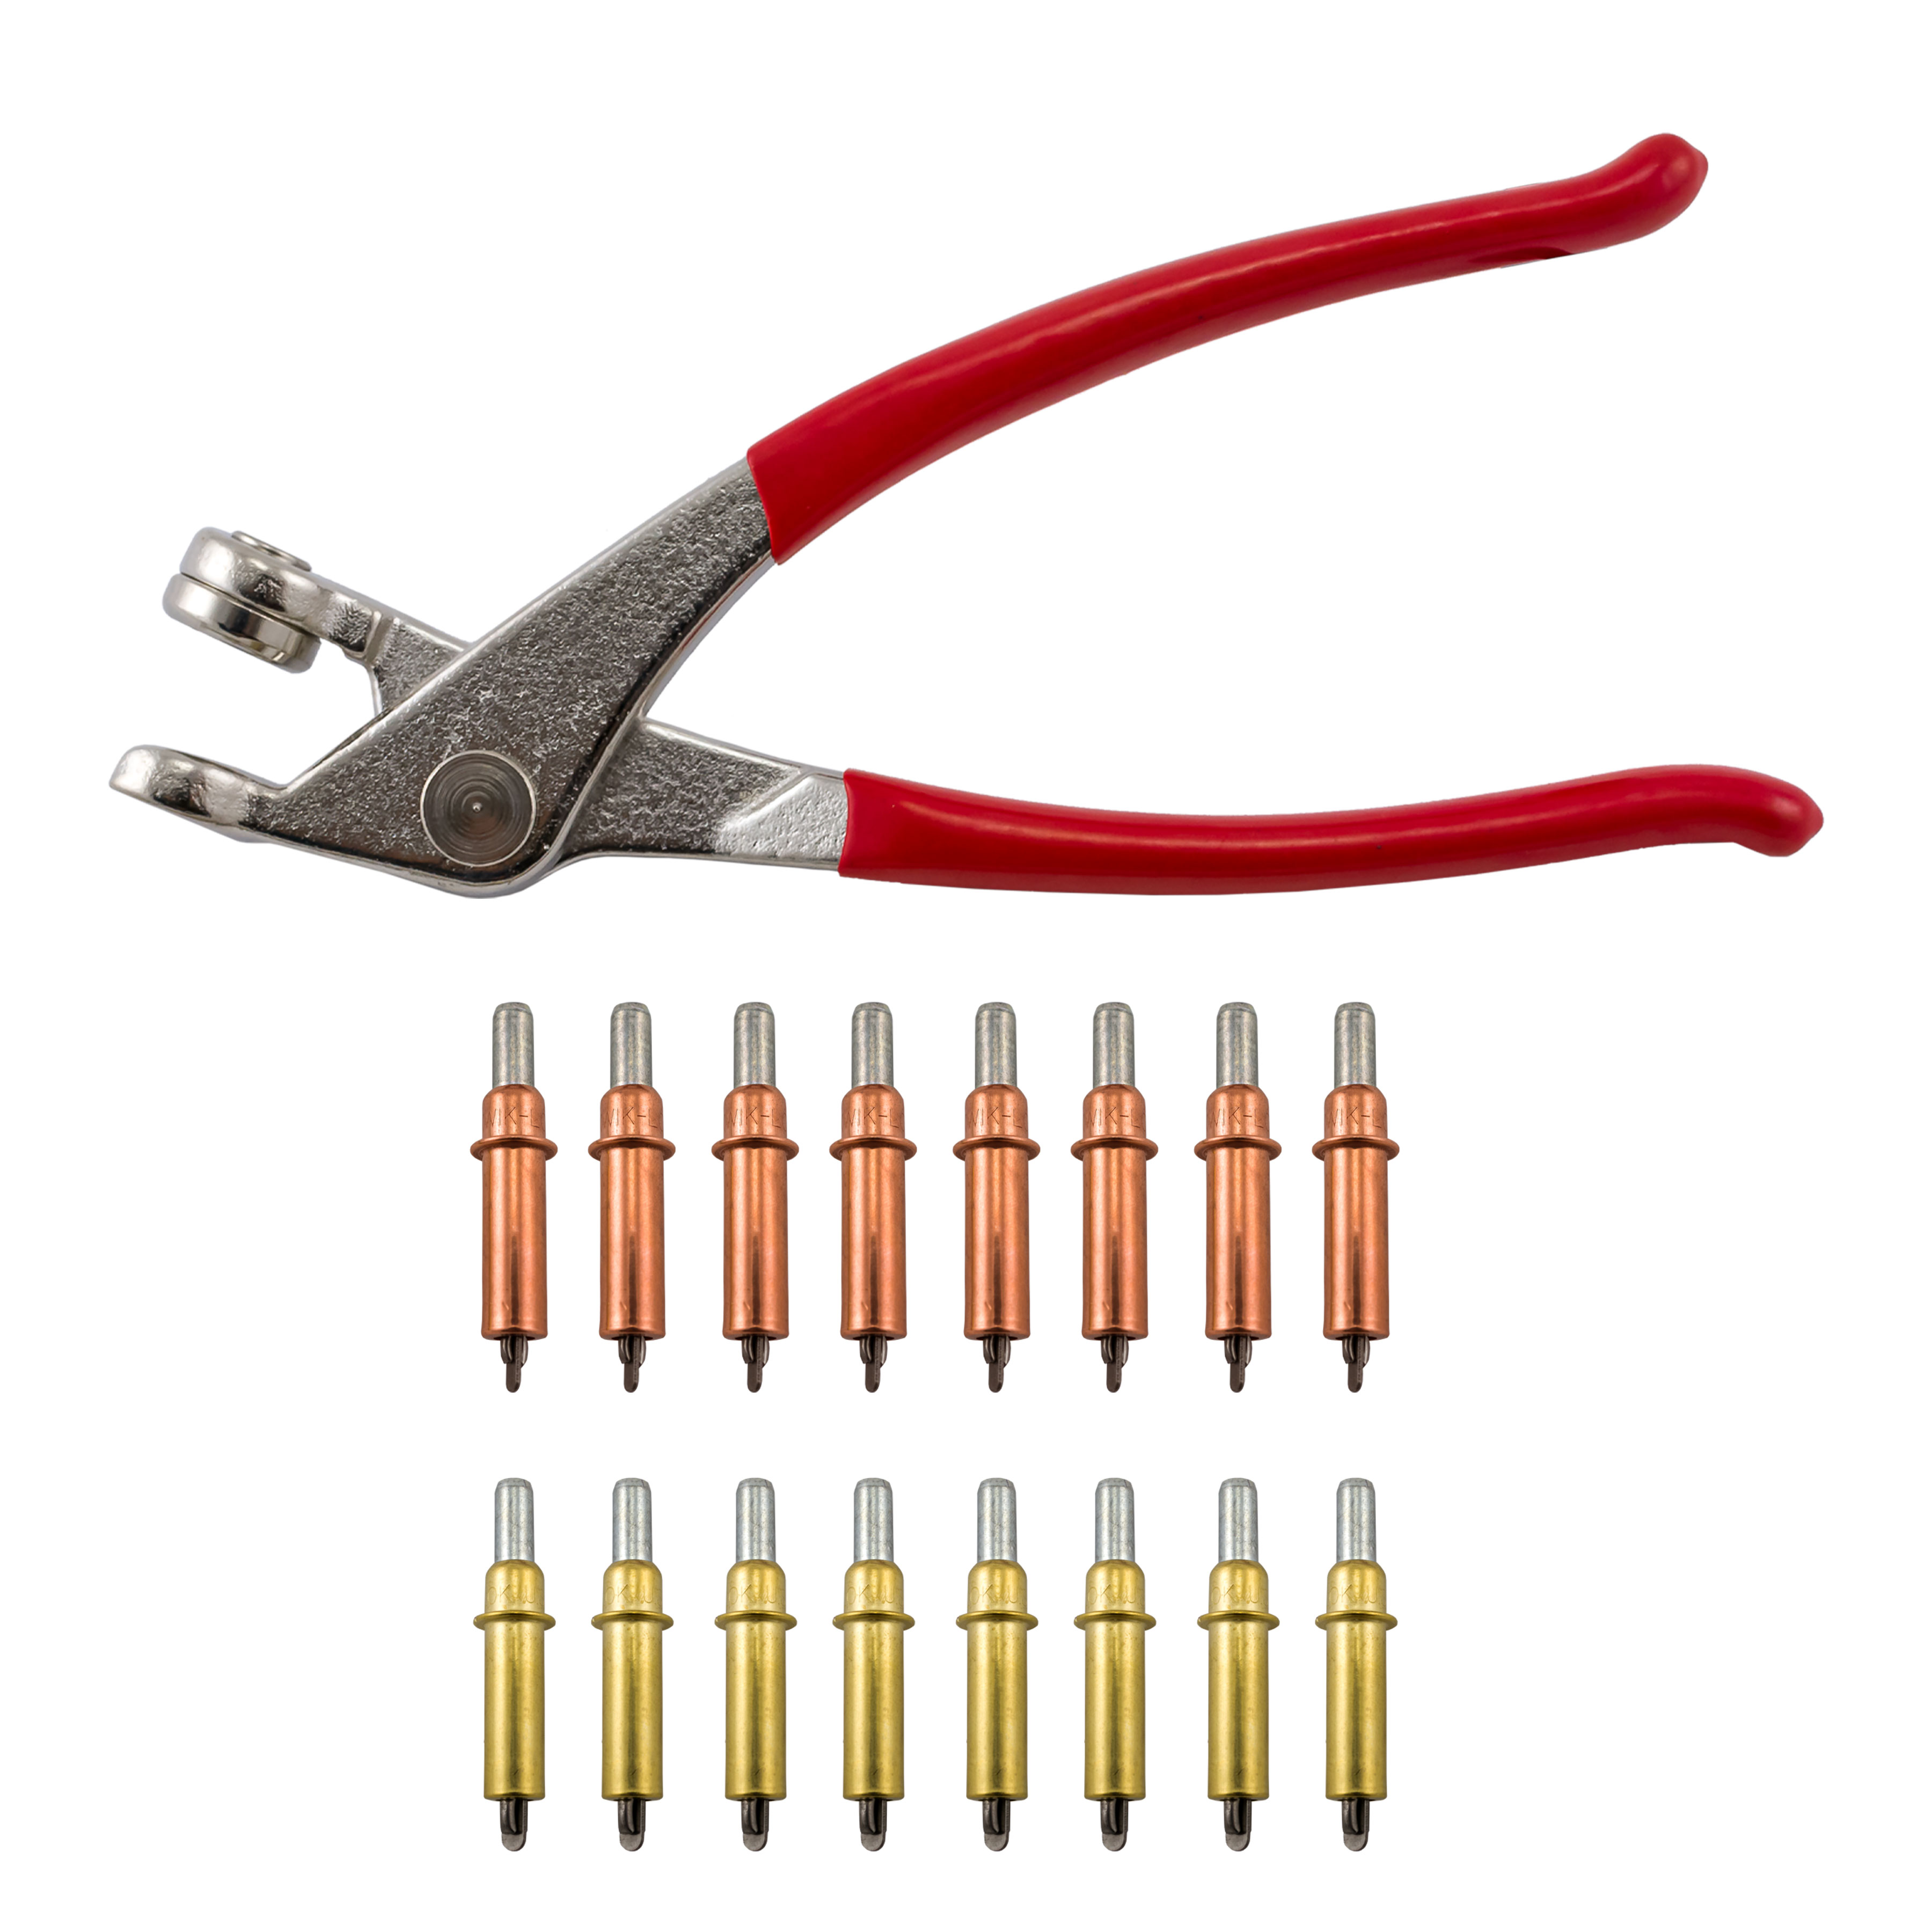
Using Aviation Snips
Aviation snips are best for thin sheet metal. Different colors often indicate cutting direction:
• Left-cut snips help make left curves.
• Right-cut snips help make right curves.
• Straight-cut snips handle straight lines and gentle curves.
Do not close the jaws over the full length of a long cut if doing so bends the sheet. Take controlled bites and support the waste side. This is a key part of learning how to shape metal with hand tools without creating a wavy edge.
How to Bend Sheet Metal by Hand
Bending works best when the bend line is clear and the material has solid support. The inside of the bend compresses, while the outside stretches.
Simple Vise Bending
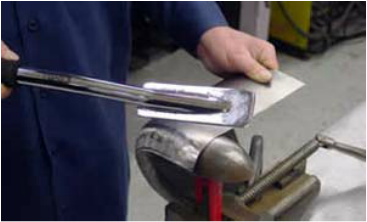
Mark the bend line and place it level with the top of the vise jaws. Tighten the vise enough to hold the metal without crushing it.
Use a wood or plastic block to press the sheet down. For a sharp bend, place a straight steel bar over the sheet and clamp it with the workpiece.
Bend gradually and check the angle often. Sheet metal usually springs back slightly after pressure is removed. Bend a little beyond the desired angle to account for this springback.
Bending with a Folding Bar
A folding bar gives a straighter, cleaner flange than pliers. It is useful for boxes, trays, duct parts, and small brackets.
Keep the tool aligned with the bend line. Uneven pressure creates a curved edge. If the flange must be precise, make a test bend in a scrap piece first.
Making Curves
Curves require many small changes rather than one hard bend. Use a wooden form, pipe, or round bar as a guide.
Tap the metal lightly with a mallet while moving along the curve. Check the shape against the form often. A series of light adjustments produces a smoother curve than heavy blows.

How to Hammer and Form Metal
Hammering does more than flatten metal. It can stretch, shrink, curve, and texture a workpiece.
Use the correct support:
• A flat anvil or steel plate supports flattening.
• A rounded stake supports curved shapes.
• A wooden block reduces marks on soft metal.
• A sandbag supports broad, shallow curves.
Strike with the center of the hammer face. Keep your wrist relaxed and let the hammer’s weight do much of the work.
For thin sheet, begin at the center when creating a shallow dome. Light blows move the metal outward. To shrink an edge, work near the edge and move the material toward the center. These techniques take practice, so use scrap first.
Do not hammer hardened steel unless you know the material and process. A hardened surface can chip under impact. Flying chips can damage eyes and skin.
One lesson I have learned from hands-on metalwork is that impatience leaves a permanent record. A rushed strike may create a dent that takes longer to repair than several careful strikes would have taken.
Filing, Drilling, and Punching for Better Results
Shaping metal with hand tools often ends with small corrections. Filing and hole work can determine whether the finished part fits properly.
Filing Metal
Push the file across the metal on the forward stroke. Lift or ease pressure on the return stroke. This protects the file teeth and keeps the cut controlled.
Use a coarse file to remove material and a finer file to improve the surface. Keep the file level when making a flat edge.
Clean clogged file teeth with a file card. Do not brush them with your bare hand.
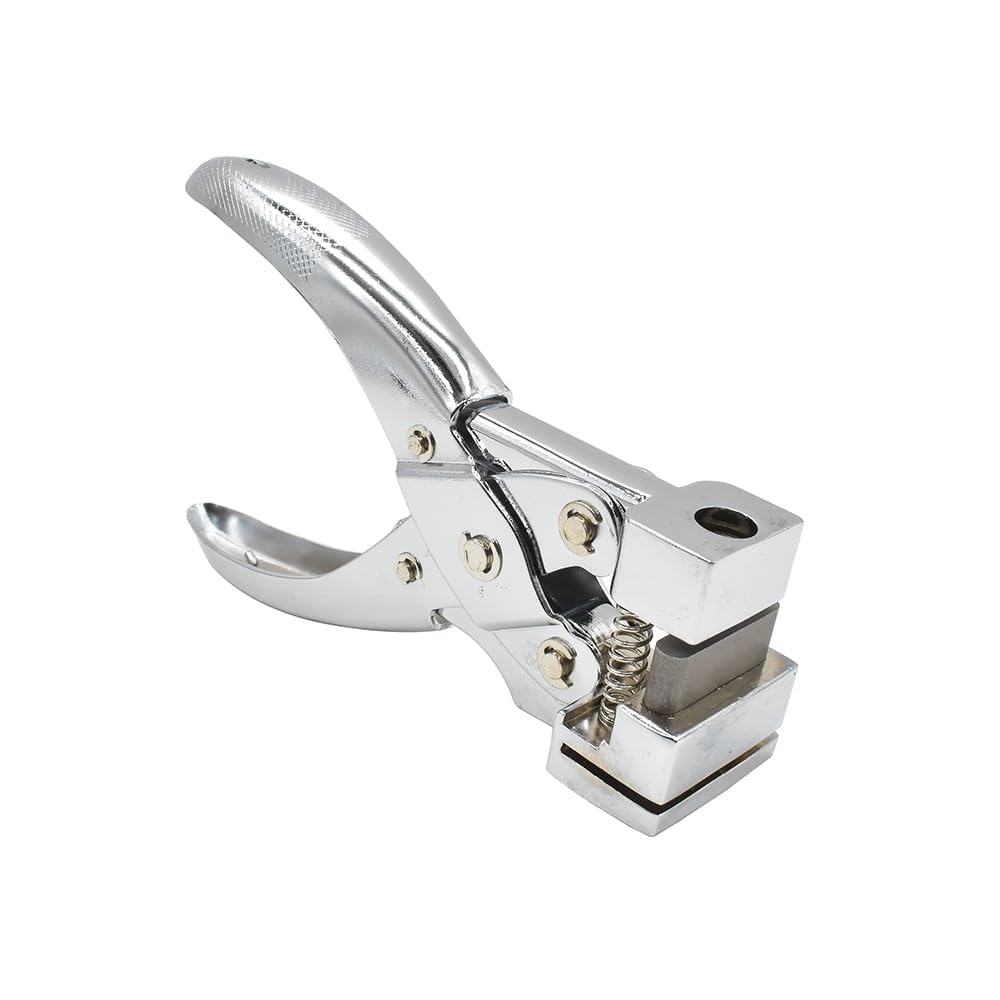
Punching Holes
A hand punch can make clean holes in thin sheet metal. Mark the center, support the material, and use the correct punch size.
For thicker material, drilling may be more suitable. Start with a small pilot hole, secure the workpiece, and use cutting fluid when suitable.
Never hold a small part in your hand while drilling. Clamp it or use locking pliers with a stable setup.
Countersinking and Deburring
A hole may need a countersink so a flat-head screw sits flush. Use a countersink tool with light pressure and check the fit often.
Remove the raised edge around every hole. Burrs can cut skin, interfere with fasteners, and create stress points.
Safety Rules for Hand Metalworking
Metalwork can cause cuts, eye injuries, burns, noise exposure, and harmful dust or fumes. A safe setup is part of the craft, not an extra step.
Wear:
• Safety glasses with side protection.
• Hearing protection when cutting or striking metal.
• Cut-resistant gloves when handling sharp stock.
• Close-toed shoes and durable work clothes.
• A face shield when there is a risk of flying fragments.
Gloves need care. Do not wear loose gloves near rotating tools or moving machinery. For hand tools, use gloves that fit closely and do not reduce your grip.
Keep the bench clear. Remove oil, loose scraps, and tools that could cause the workpiece to shift. Good lighting helps you see marks, burrs, and cracks.
Follow the safety data sheet for chemicals, coatings, and lubricants. Guidance from workplace safety agencies consistently stresses eye protection, ventilation, secure workholding, and control of sharp edges.
Never heat or weld metal that may contain unknown coatings. Galvanized and painted surfaces can release hazardous fumes. If heating is required, learn the material, clean it properly, use suitable ventilation, and follow current safety rules.
Common Mistakes and How to Avoid Them
Most poor results come from a few repeatable errors.
Cutting Directly on the Final Line
A saw or snip can wander. Leave a small amount of material, then file to the line.
Using Too Much Force
Heavy force can bend the wrong area or create hammer marks. Start with light pressure and increase it only when needed.
Skipping Workholding
A loose part can twist, jump, or cut you. Use a vise, clamp, or forming fixture.
Ignoring Grain and Bend Direction
Some sheet materials bend more easily in one direction. If a bend cracks, try a larger bend radius or change the orientation.
Forgetting Springback
Metal often returns slightly after bending. Make a test piece and measure the result before forming the final part.
Using a Damaged Tool
A mushroomed chisel head can break apart. A chipped hammer face can mark the work. A dull file can slip. Inspect tools before use.
Measuring Only Once
Small errors add up. Check measurements after cutting, bending, and filing. This is especially important when making parts that must fit bolts or other components.
How to Improve Accuracy and Finish
Professional results come from control, not speed. Use a simple inspection routine throughout the project.
Check:
• Overall length and width.
• Bend angles with a square or angle gauge.
• Hole position from two reference edges.
• Edge straightness with a ruler.
• Surface condition under bright light.
• Fit against the mating part.
For visible parts, protect the surface with masking tape before clamping or forming. Replace hard steel vise jaws with aluminum, copper, leather, or plastic covers.
Use layout dye or a dark marker to make scribed lines easier to see. A bright line against a dark surface helps you stay on track.
When filing a long edge, use both hands and keep the tool level. Let the file make several light passes instead of trying to remove all the material at once.
A useful workshop habit is to keep a scrap piece of the same metal nearby. Test your cut, bend, tool pressure, and finish on the scrap. This saves both material and frustration.
A Simple Practice Project
A small metal angle bracket is a good first project. It teaches measuring, cutting, filing, drilling, and bending.
You will need a piece of thin mild steel or aluminum, a hacksaw or snips, a file, a vise, a square, a center punch, and a drill or hand punch.
Follow these steps:
Draw a rectangle on the metal with two bend marks.
Cut the rectangle slightly oversize.
File the cut edges until they match the marked dimensions.
Mark the hole centers on both flanges.
Center punch the marks.
Drill or punch the holes while the metal is flat.
Clamp the first bend line in the vise.
Bend the flange with a block or hand seamer.
Repeat for the second bend.
Check the bracket with a square and test the fit.
This project shows why it is easier to make holes before some bends. Once a part becomes a tight angle, tool access may become difficult.
Benefits and Limits of Hand Tools
Hand tools offer several important benefits.
• They cost less than powered machinery.
• They work without electricity.
• They provide excellent control for small parts.
• They are useful for repairs in remote locations.
• They teach material behavior through direct feedback.
• They create less noise and dust than many power tools.
However, hand tools also have limits. Thick steel, repeated production work, tight tolerances, and complex curves may require a press brake, drill press, milling machine, shear, or other equipment.
Hand shaping can also take more time. Your accuracy depends on measurement, tool condition, skill, and patience. For safety and quality, stop when the work exceeds your tools or experience.
There is no shame in using a machine when the job requires one. Good metalworking means choosing the safest and most suitable method.
Frequently Asked Questions About How to Shape Metal with Hand Tools
What is the easiest metal to shape by hand?
Aluminum, copper, brass, and annealed mild steel are usually easier to shape than hardened steel or stainless steel. Thin sheet is also easier to cut and bend than thick bar stock.
Can you shape steel without heat?
Yes, you can cut, file, bend, punch, and hammer many types of steel without heat. Thin mild steel is especially suitable for cold forming, but thick or hardened steel may require specialized tools or controlled heating.
What is the best hammer for shaping metal?
A ball peen hammer is a useful general-purpose choice for metalwork. Use a smooth-faced hammer or soft mallet when you want to reduce marks on the workpiece.
How do you bend sheet metal without a brake?
Secure the sheet in a vise along the bend line and use a straight block, folding bar, or hand seamer to apply even pressure. Make a test bend first because metal usually springs back slightly.
How do you prevent sharp edges after cutting metal?
Remove burrs with a file, deburring tool, scraper, or abrasive cloth. Run a visual and light touch check only after the edge has been safely dulled.
Is it safe to hammer metal while wearing gloves?
Close-fitting gloves can protect against sharp edges, but they do not replace eye protection or secure workholding. Avoid loose gloves near rotating tools, and wear safety glasses whenever striking metal.
Why does metal crack when I bend it?
Cracking can result from a small bend radius, hard material, repeated bending, a damaged edge, or bending across a weak direction. Use a larger radius, smooth the edge, and test the material on scrap before forming the final piece.
Conclusion
Learning how to shape metal with hand tools starts with simple habits: measure carefully, mark clearly, secure the work, use light force, and check the shape often. Cutting, filing, bending, punching, and hammering each become easier when you match the tool to the metal and the task.
Start with soft, thin material and a small project such as a hook, bracket, or tray. Practice on scrap, protect your eyes and hands, and treat every burr and sharp edge with respect. Explore more metalworking guides, build your basic tool set, and share your project or question in the comments.
