

Use a hand knitting tool by looping yarn around its pegs, guiding each stitch, and lifting lower loops over upper loops.
Learning how to use a hand knitting tool is much easier when you understand yarn tension, loop order, and stitch control. Whether you have a knitting loom hook, spool knitter, or small hand knitting machine, this guide will help you start safely, avoid common mistakes, and create neat projects with confidence.
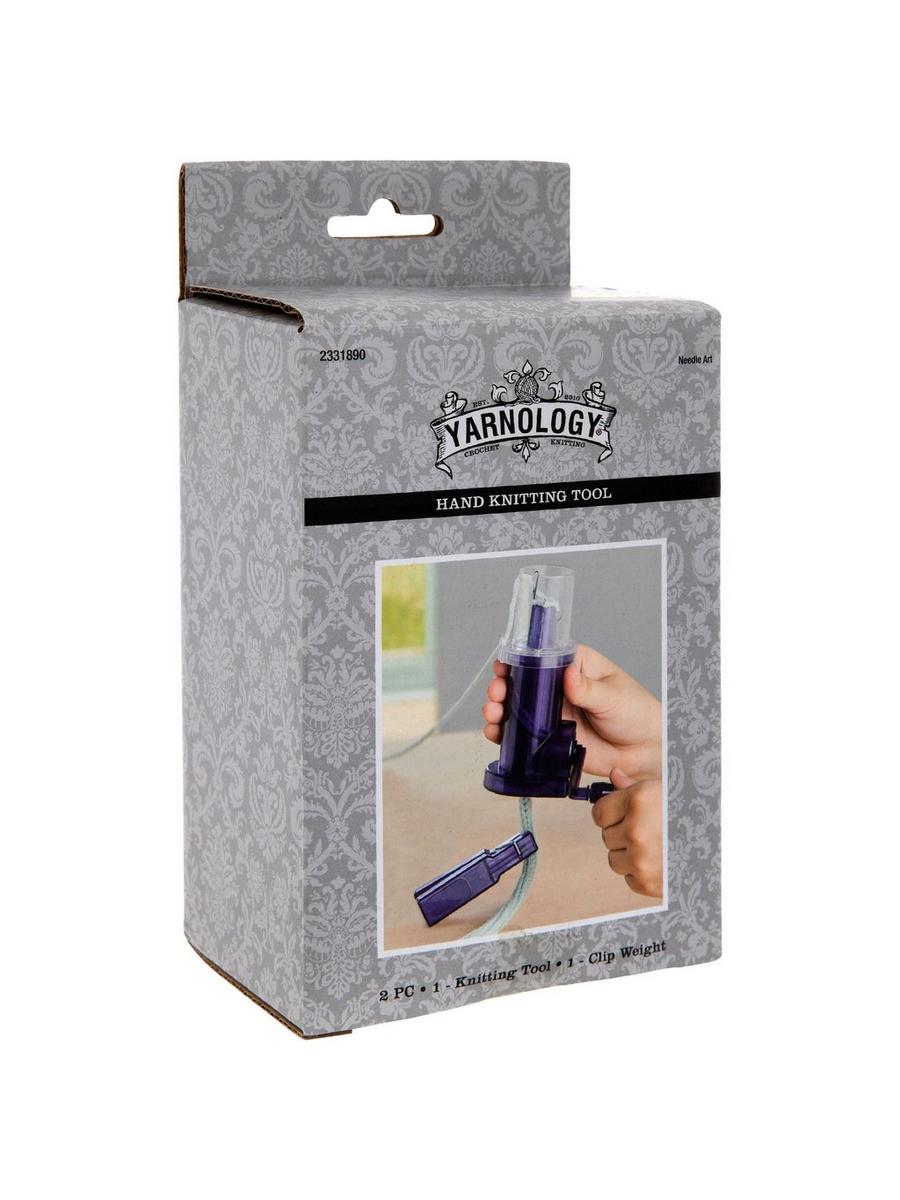
What Is a Hand Knitting Tool?
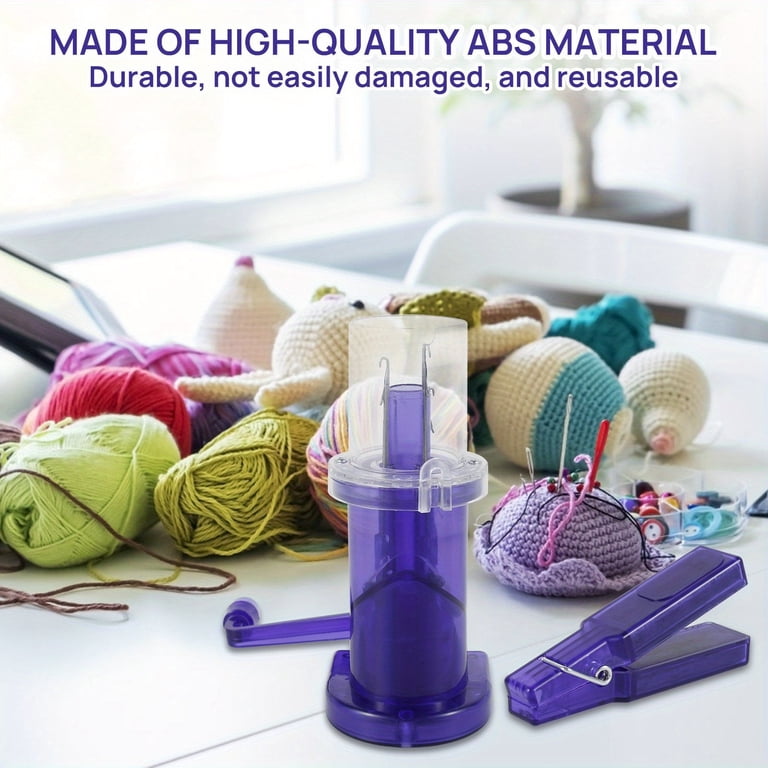
A hand knitting tool is a small device that helps you form knitted loops without using standard knitting needles. It may have pegs, hooks, grooves, or a row of needles. The tool holds the yarn in place while you guide and lift loops by hand.
The most common types include:
• Knitting loom hook: A small metal hook used with round or flat knitting looms.
• Spool knitter: A compact tool with several pegs for making narrow cords.
• Knitting fork: A two-pronged tool used to create decorative strips or cords.
• Hand knitting machine: A small manual device with needles that produces rows of fabric.
• Finger knitting tool: A simple tool that supports loops while you knit with your fingers.
The basic method is similar across most tools. You place yarn around the pegs or needles, create a second row of loops, and pull the lower loops over the upper loops. This repeated action forms knitted fabric.
Before you begin, check the product instructions. Tool shapes and peg spacing vary, so one tool may require a different wrapping pattern from another.

Choose the Right Yarn and Tool
The yarn and tool must work together. Thick yarn on small pegs can make the project tight and hard to lift. Thin yarn on wide pegs can create loose, uneven fabric.
For most beginners, medium-weight acrylic yarn is a good choice. It is affordable, easy to find, and strong enough to handle repeated practice. Wool blends also work well, but some wool yarns may feel rough or shrink when washed.
Use these basic guidelines:
• Choose smooth yarn when learning. Fuzzy yarn can hide loops and make mistakes hard to see.
• Match the yarn weight to the tool’s instructions.
• Use light-colored yarn so you can see every stitch.
• Avoid very stretchy yarn at first because it can make tension difficult to control.
• Keep a pair of scissors and a yarn needle nearby.
In my own early practice, I used yarn that was too thick for the tool. The loops looked attractive at first, but they were so tight that lifting them became difficult. Switching to a medium-weight yarn solved the problem immediately.
A useful rule is simple: if the yarn does not slide smoothly around the pegs, change the yarn or adjust the tool.
Prepare Your Hand Knitting Tool
Good setup makes hand knitting much easier. Place the tool on a flat surface or hold it firmly in your non-dominant hand. Your other hand should guide the yarn and use the hook.
Follow these steps:
Read the tool instructions and identify the starting peg or needle.
Check that all pegs are clean and firmly attached.
Cut a manageable length of yarn only if the project instructions require it.
Leave a tail of about 6 inches for finishing.
Hold the working yarn in your dominant hand.
Keep the yarn relaxed instead of pulling it tightly.
Make sure the yarn can move freely from the skein.
Many tools use a starting knot. Make a loose slipknot and place it on the starting peg if the instructions call for one. Do not tighten the knot too much. A tight starting knot can restrict the first stitch and make the fabric curl.
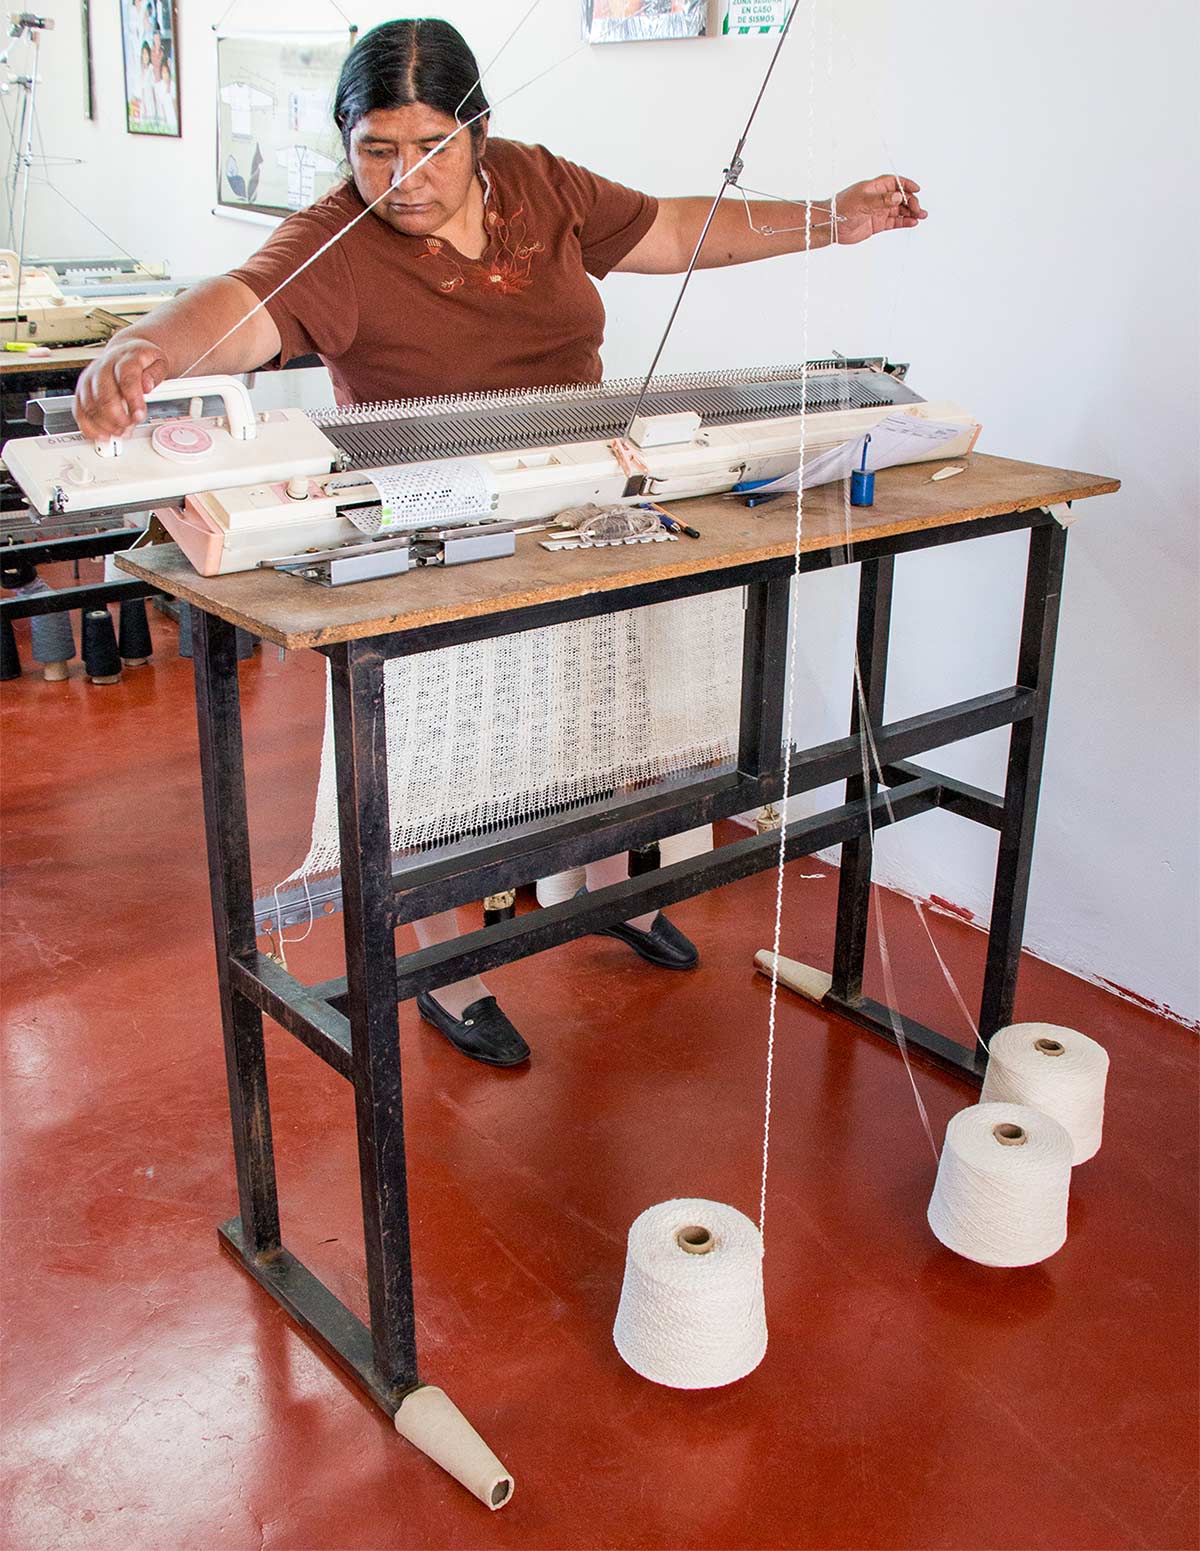
If you are using a knitting loom hook, hold the hook like a pencil. If you are using a hand knitting machine, keep the machine steady and move the carriage or handle at a slow, even pace.
How to Use a Hand Knitting Tool Step by Step
The following method explains how to use a hand knitting tool with pegs or hooks. It is suitable for simple scarves, tubes, bracelets, hats, and small home projects.
1. Make a slipknot
Create a loop with the yarn. Pull a small section of yarn through the loop to form a slipknot. Place it on the starting peg, but keep it loose enough to move.
The slipknot should hold the yarn in place without squeezing the peg. If it feels tight, loosen it before continuing.
2. Wrap the pegs
Move the working yarn around each peg in the direction shown by the tool instructions. Many looms use an e-wrap, which creates a loop that looks like a lowercase letter “e.”
Keep each wrap at the same height. Uneven wraps can create uneven stitches and make the finished fabric look bumpy.
3. Add a second row
After wrapping all the pegs once, make another row above the first row. The tool now has two loops on each peg.
Leave enough room between the rows to insert the hook. If the loops are packed together, the hook may catch both loops at once.
4. Lift the lower loop
Insert the hook under the lower loop. Pull it over the upper loop and over the top of the peg. Let the lower loop fall into the center of the tool.
Repeat this motion on every peg. You are now creating one knitted row.
This is the key movement when learning how to use a hand knitting tool. Work slowly and check each peg before moving to the next one.
5. Continue wrapping and lifting
After lifting the lower loops, wrap another row of yarn. Again, place two loops on each peg and lift the lower loop over the upper loop.
Repeat the cycle:
• Wrap the pegs.
• Check that each peg has two loops.
• Lift the lower loop over the upper loop.
• Repeat for the next row.
• Keep the tension even.
The fabric will begin to form below the pegs. Gently pull the finished fabric downward every few rows. This helps the loops sit correctly and prevents them from slipping off.
6. Check your tension
Tension means how tightly you hold the yarn. Tight tension creates firm fabric but can make the loops hard to lift. Loose tension creates soft fabric but may leave large gaps.
Aim for steady tension rather than perfect tension. Your hands will become more consistent with practice.
7. Finish the project
When the fabric reaches the desired length, cut the yarn and leave a tail. Thread the tail through a yarn needle or use the tool hook to remove the loops one at a time.
Pull the yarn through each remaining loop. Remove the loops from the pegs, then tighten the yarn gently. Weave the tail through the back of the fabric.
Do not pull too hard. Over-tightening can shrink the final edge and cause puckering.

Basic Stitches You Can Make
Once you know how to use a hand knitting tool, you can try several simple stitch styles. Each stitch changes the texture, stretch, or appearance of the fabric.
E-wrap stitch
The e-wrap stitch is one of the easiest methods. You wrap the yarn around each peg in an e-shaped motion, then lift the lower loop over the upper loop.
It creates a rounded and flexible fabric. It works well for scarves, hats, cowls, and simple practice pieces.
Flat stitch
For a flat stitch, place the yarn across the front of the pegs instead of wrapping it fully around them. Lift the bottom loop over the yarn strand.
This stitch is often tighter than the e-wrap stitch. It can produce a denser fabric with less stretch.
Purl stitch
A purl stitch reverses the texture of the fabric. Instead of lifting the lower loop over the upper loop, use the hook to pull the working yarn through the existing loop and create a new loop.
Purl stitches may feel harder at first because the hook moves in a different direction. Practice on one or two pegs before using the stitch across a full project.
Ribbed pattern
Ribbing alternates knit and purl stitches. It creates a stretchy edge for hats, socks, cuffs, and sweater openings.
For example, you may knit two stitches and purl two stitches across the row. Keep track of the pattern so each row stays consistent.

Common Mistakes and How to Fix Them
Most beginner problems come from tension, skipped pegs, or incorrect loop placement. The good news is that many mistakes can be repaired without undoing the entire project.
Tight loops
Tight loops are hard to lift and may cause hand strain. Loosen your grip and allow the yarn to rest naturally around the pegs.
You can also use a larger tool or lighter yarn. Never force the hook under a loop because the yarn may split.
Loose loops
Loose loops create holes and weak edges. Hold the working yarn with gentle control and keep each wrap at the same height.
Do not yank the yarn after completing a stitch. A small, even pull is enough.
Dropped loops
A dropped loop can unravel several rows. Stop as soon as you notice it. Use the hook to lift the loose loop through the ladder of stitches below it.
If the mistake is several rows down, carefully undo the affected stitches until you reach the dropped loop. Repair it before continuing.
Twisted fabric
Twisting often happens when the first row joins into a circle. Before knitting the second row, make sure the foundation loops face the same direction.
This issue is common with round looms. Lay the first row flat and check that the yarn does not cross around the inside of the loom.
Uneven edges
Uneven edges usually result from changing tension or skipping the first or last peg. Count your pegs at the end of each row.
If the edge still looks loose, use a smaller stitch or tighten only the edge loops slightly. Avoid pulling the whole row tight.
Yarn splitting
Some yarns separate when the hook passes through them. Use a smooth yarn with a firm twist while learning.
A blunt or damaged hook can also split yarn. Replace the hook if its tip feels rough.

Tips for Faster and Cleaner Results
Learning how to use a hand knitting tool takes repetition, but a few habits can improve your results quickly.
• Practice a small swatch before starting a large project.
• Count your pegs and stitches often.
• Keep your hands relaxed.
• Pull the completed fabric down every few rows.
• Use stitch markers to identify the start of a round.
• Keep the yarn ball in a bowl so it does not roll away.
• Stop when your hands feel tired.
• Check the fabric after every few rows.
• Record the yarn type, tool size, and stitch pattern for future projects.
One lesson I learned through repeated practice is that speed should come later. Moving too fast can cause skipped pegs and crossed loops. A slow, steady rhythm usually produces a better result and becomes faster with time.
Think of the process like building a small brick wall. Each loop must sit in the right place before the next row can support it.

Safety and Comfort While Knitting
Hand knitting is generally low risk, but poor posture and tight gripping can cause discomfort. Sit with your shoulders relaxed and keep your wrists in a natural position.
Take a short break every 20 to 30 minutes. Stretch your fingers, rotate your wrists gently, and rest your eyes.
Pay attention to these warning signs:
• Numbness or tingling in the fingers
• Sharp wrist pain
• Persistent shoulder tension
• Cramping in the hand
• Pain that continues after stopping
Do not push through pain. Adjust your grip, change your sitting position, or stop for the day. Children should use age-appropriate tools under adult supervision, especially when the tool has a sharp metal hook.

How to Care for Your Hand Knitting Tool
Proper care helps a hand knitting tool last for years. Remove loose fibers after each project and store the tool in a dry place.
For metal tools, wipe the surface with a soft, dry cloth. For plastic tools, use a slightly damp cloth if needed, then dry them fully. Avoid strong cleaners because they may damage the surface.
Store hooks and tools in a case or container. This prevents the tips from bending and keeps them away from moisture. If a peg becomes loose, repair it before using the tool again.
Keep yarn clean and dry. Dust and moisture can make yarn harder to guide and may affect the finished fabric.
Projects for Beginners
After learning how to use a hand knitting tool, start with a small project. Short projects give you quick results and help you build control.
Good first projects include:
• A simple scarf
• A narrow headband
• A mug cozy
• A bracelet or cord
• A small tube
• A dishcloth
• A basic hat made on a round loom
A scarf is useful because it lets you practice the same motion many times. A cord is also a good choice because it uses fewer pegs and shows your tension clearly.
Avoid complex patterns at the beginning. Cable designs, color changes, and shaping can be rewarding, but they add more steps. Build your skill with simple rows first.
Frequently Asked Questions About How to Use a Hand Knitting Tool
Can beginners use a hand knitting tool?
Yes. Most hand knitting tools are designed for simple, repeated movements, so beginners can learn them with practice. Start with smooth, medium-weight yarn and a small project.
How tight should the yarn be?
The yarn should feel controlled but not stretched. If you cannot lift the lower loop easily, your tension is too tight.
What yarn works best with a hand knitting tool?
Smooth acrylic or wool-blend yarn is usually easiest for beginners. Match the yarn weight to the tool instructions and avoid fuzzy or highly split yarn at first.
Why do my stitches look uneven?
Uneven stitches usually come from changing yarn tension, skipping pegs, or wrapping at different heights. Work slowly, check each peg, and gently pull the fabric down as you progress.
Can I make a hat with a hand knitting tool?
Yes, a round knitting loom or suitable hand knitting machine can make hats. Choose a tool with a circumference that matches the intended head size and use a stretchy stitch pattern.
How do I fix a dropped stitch?
Use the hook to lift the dropped loop through the horizontal strands below it. Repair the loop before continuing so the mistake does not spread.
Is a hand knitting tool the same as a knitting loom?
Not always. A knitting loom is the larger frame with pegs, while the hand knitting tool may refer to the hook used with it or to a separate handheld device.
Conclusion
Learning how to use a hand knitting tool comes down to four skills: placing loops correctly, keeping steady tension, lifting the lower loop carefully, and finishing the edges neatly. Start with simple yarn and a small project, then build your confidence through regular practice.
Do not worry if your first rows look uneven. Every knitter has loose loops, dropped stitches, and tangled yarn at the beginning. Try one small project today, explore new stitch patterns as your control improves, and share your progress or favorite techniques in the comments.
