

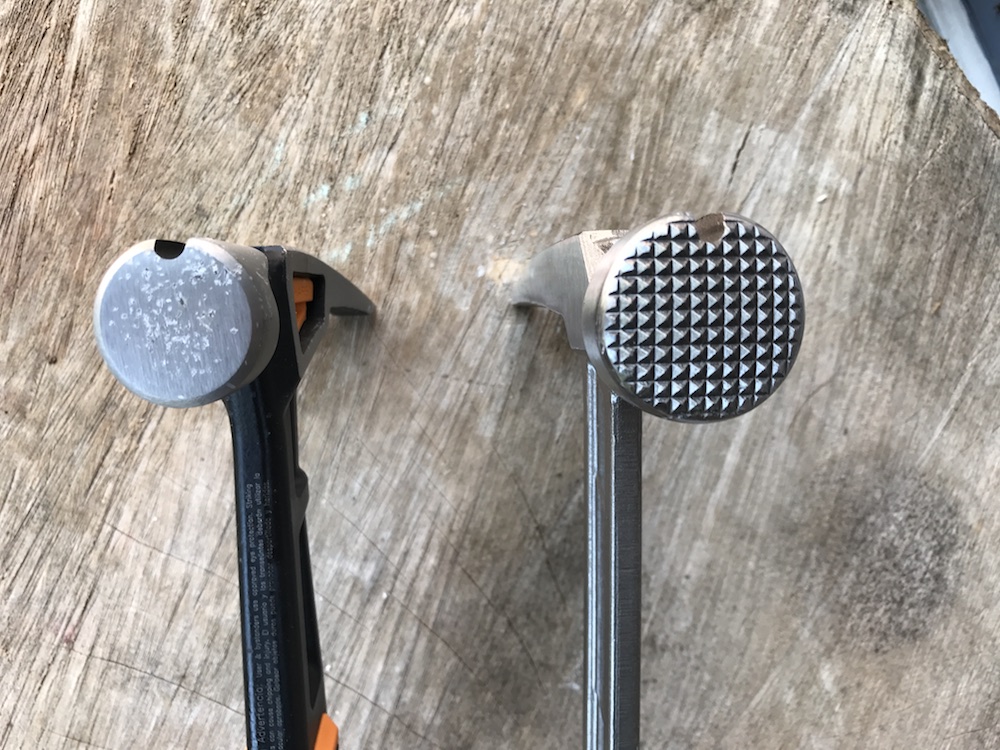
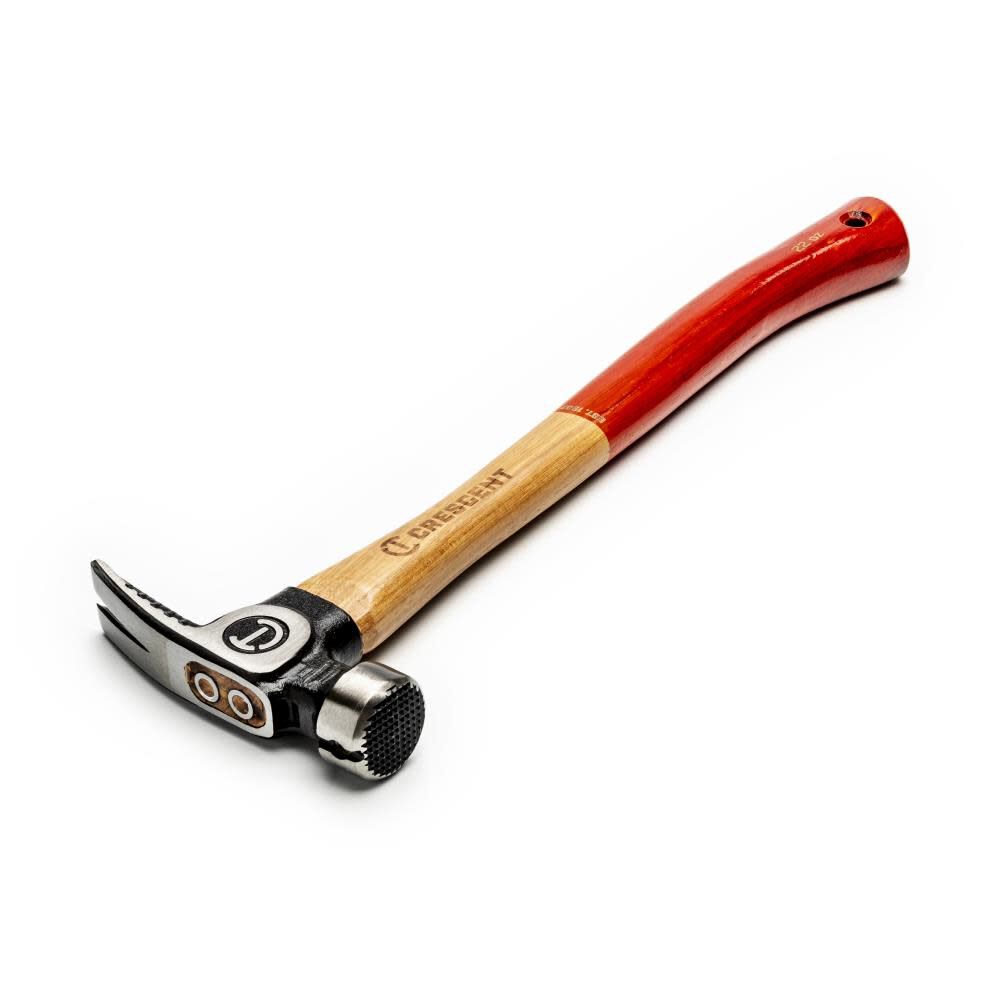
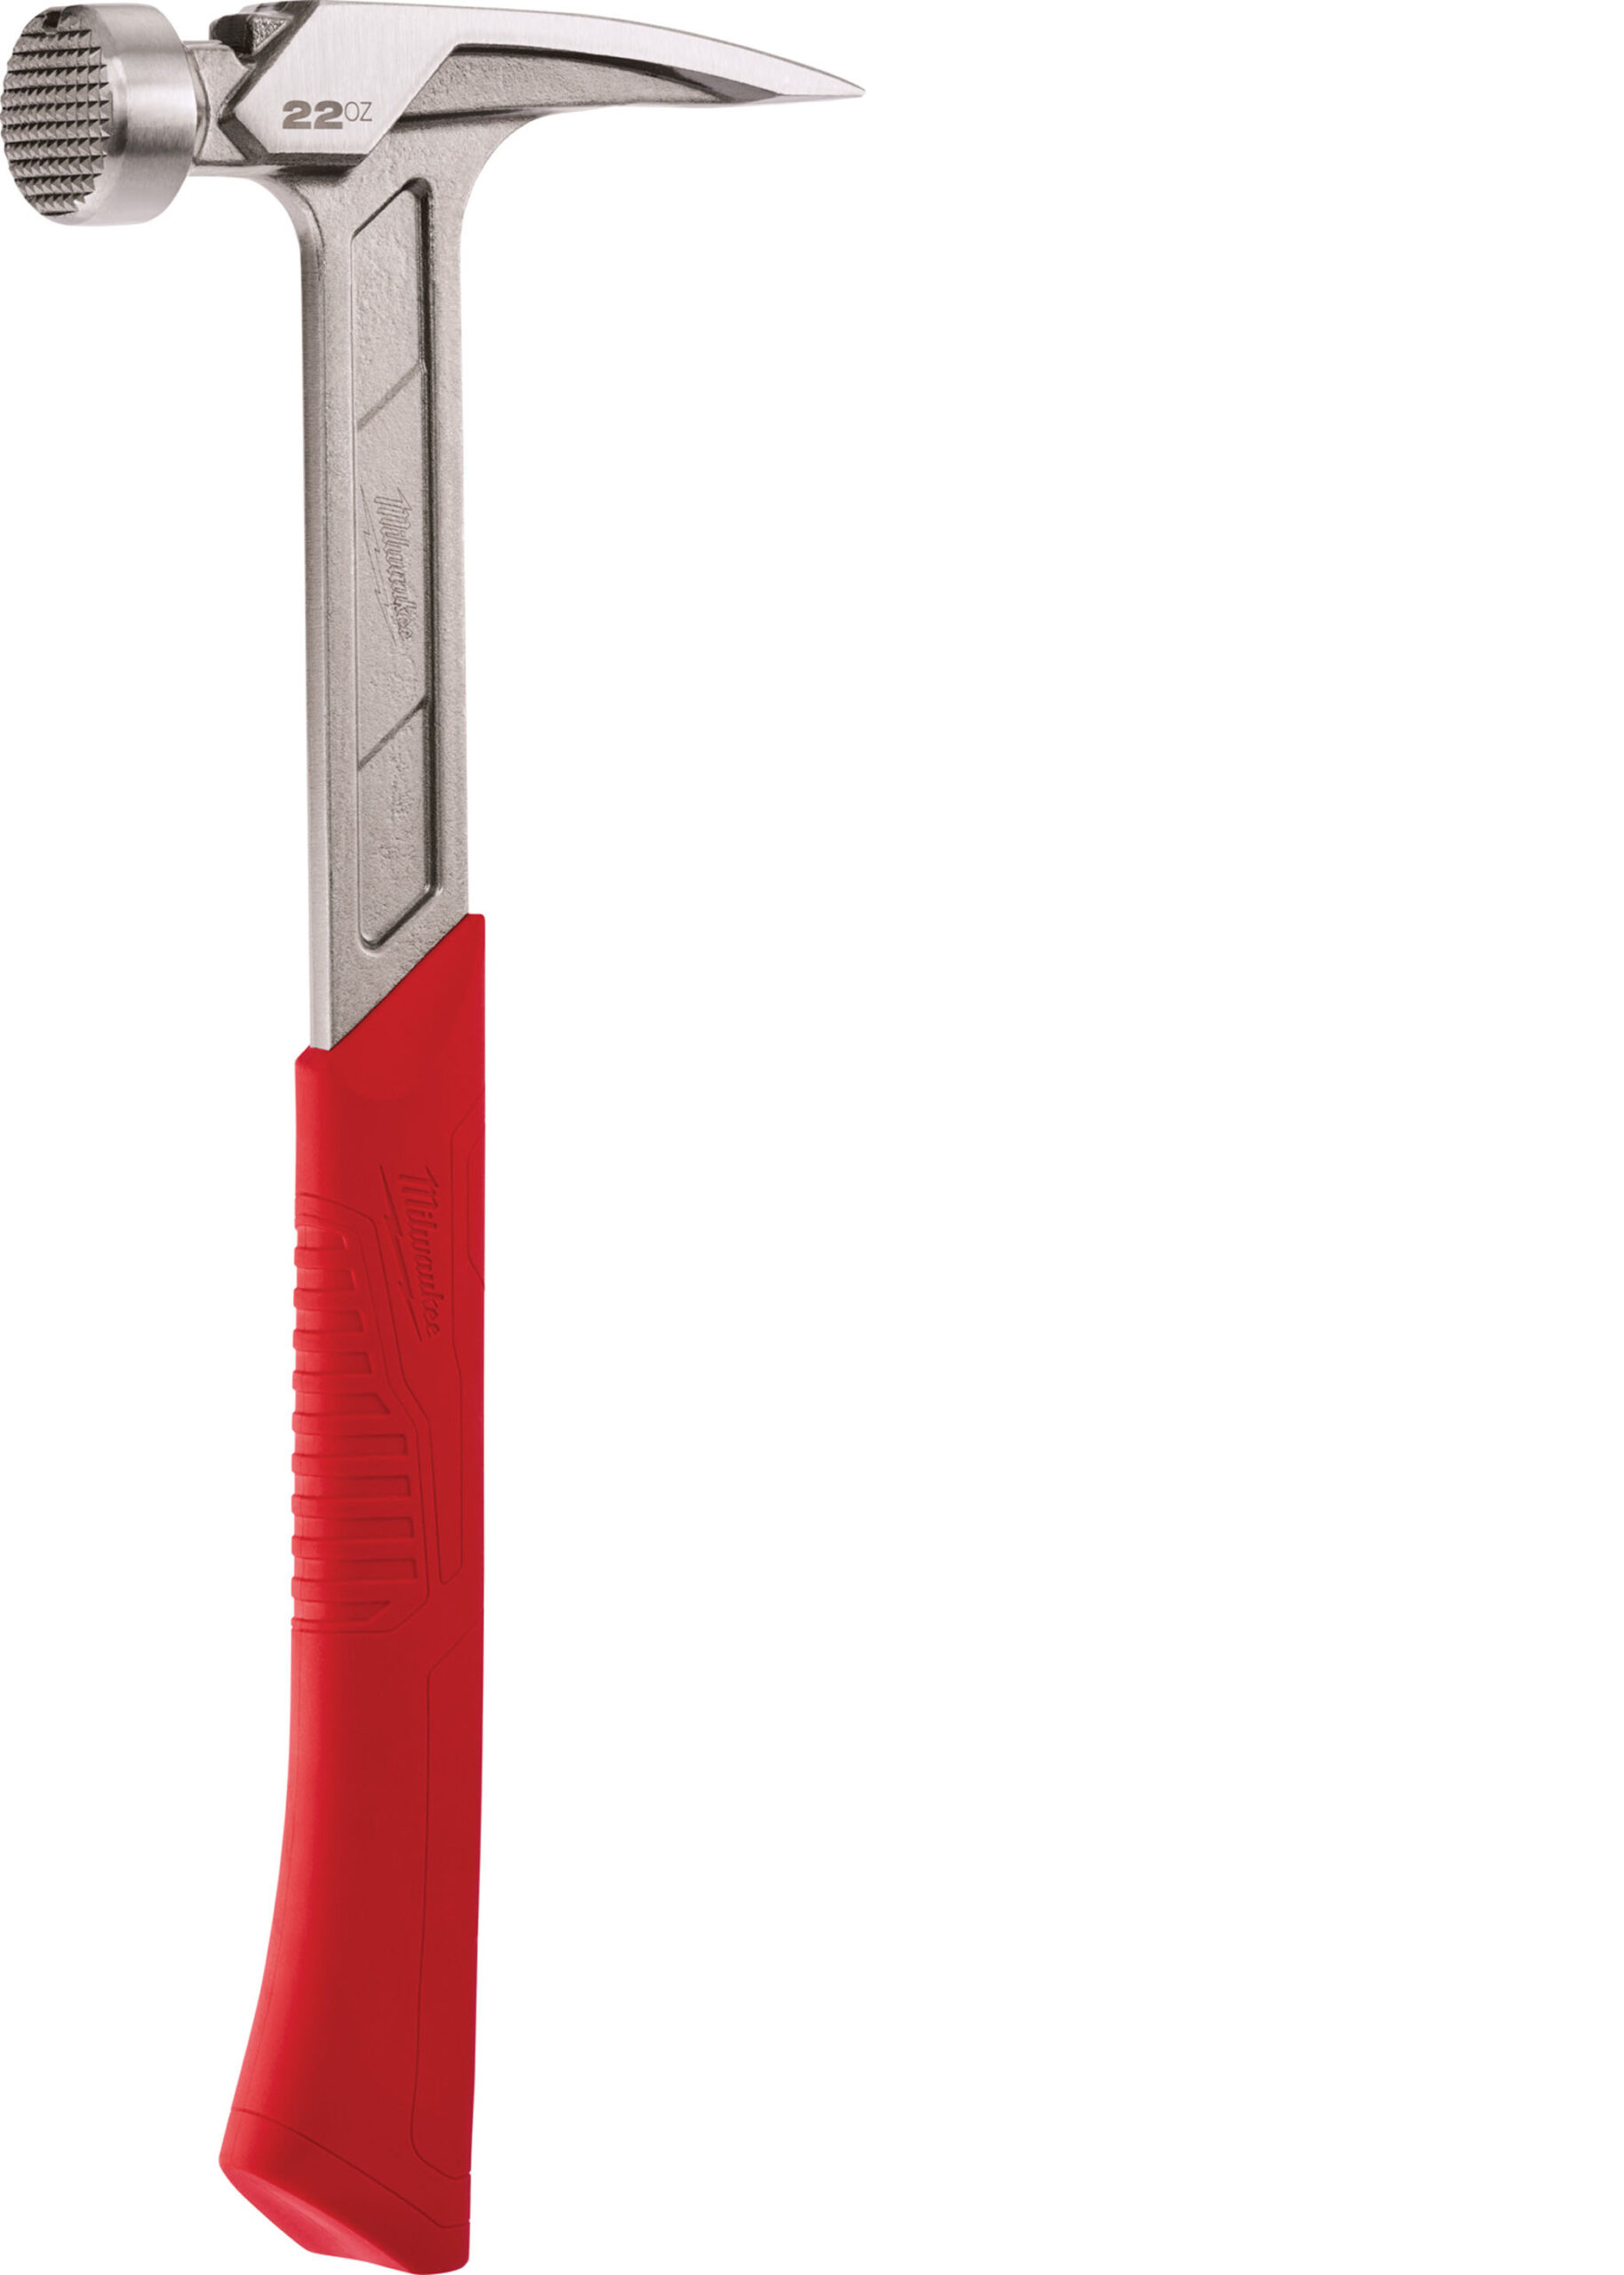
A milled face hammer is a hammer with a textured striking surface. Small grooves, lines, or dimples are cut or formed into the hammer face. This texture helps the face stay on a nail head during a strike.
In the United States, you will most often see a milled face on framing hammers, carpenter’s hammers, and some general-purpose claw hammers. The trade-off is simple: the texture can improve control, but it also leaves a visible pattern in wood if the face hits the work surface.
How a Milled Face Hammer Works
The milled face creates more bite between the hammer and the nail head. A smooth face can slide off a nail when the blow is off-center. The grooves on a milled face help catch the nail head and reduce that slide.
This does not make the hammer slip-proof. A poor swing, a bent nail, or a damaged nail head can still cause a glancing blow. The texture only gives the user more grip at the point of contact.
Most milled faces have one of these patterns:
- Straight grooves: Parallel lines cut across the face.
- Crosshatch patterns: Lines cross to form small squares or diamonds.
- Dimples or stipples: Small pits cover part or all of the face.
- Coarse waffle patterns: Deep, raised or recessed blocks that strongly mark wood.
The exact pattern varies by maker and model. “Milled face,” “textured face,” “checkered face,” and “waffle face” are sometimes used as overlapping terms. They do not always describe the same pattern, so check the tool’s product details if the surface finish matters.
What “milled” means
In tool making, milled generally refers to a surface shaped or cut to create a pattern. Some hammer faces are machined after forging. Others use a formed or cast texture. The word alone does not prove how the hammer was made or how durable the face will be.
A milled face also does not tell you:
- The hammer’s weight
- The handle material
- The steel grade
- The balance
- The quality of the head-to-handle connection
- Whether the hammer is rated for striking hardened steel
Those features require separate specifications.

Milled Face vs. Smooth Face
The main difference is how each face behaves when it meets the nail and the workpiece.
| Feature | Milled face | Smooth face |
|---|---|---|
| Surface | Grooved, checkered, or dimpled | Flat and polished or lightly finished |
| Nail control | Usually better when the strike is slightly off-center | Requires more accurate placement |
| Wood marks | More likely | Less likely |
| Common use | Framing, rough carpentry, construction | Finish carpentry, trim, general repairs |
| Best strength | Grip and control | Cleaner contact and fewer marks |
A milled face is often useful when speed and nail control matter more than appearance. A smooth face is usually better when the wood will remain visible.
Which face should you choose?
Choose a milled face when you are:
- Framing walls
- Building decks or platforms
- Driving common framing nails
- Working with rough lumber
- Doing demolition or utility work
- Learning to strike nails with better control
choose a smooth face when you are:
- Installing trim
- Working on cabinets
- Driving finish nails
- Building visible furniture
- Repairing painted or finished wood
- Working near surfaces that must stay clean
A milled face may still be used for rough work even when it is not essential. A smooth face can also drive framing nails. The choice is mainly about control, surface damage, and the type of work.

Does a Milled Face Leave Marks on Wood?
Yes. A milled face can leave a pattern in wood if the hammer face touches the surface around the nail. The deeper and sharper the texture, the more visible the mark may be.
This is not always a problem. On wall framing, the lumber is often covered by drywall, siding, flooring, or another finish. A few marks may not matter. On a cabinet rail or a finished piece of trim, even a small dent can require sanding, filling, or replacement.
To reduce damage:
- Place the nail straight before striking.
- Use controlled blows as the nail nears the surface.
- Stop using a full-power swing once the nail is almost flush.
- Use a nail set for finish nails.
- Switch to a smooth face when the surface must remain clean.
- Protect finished surfaces with a suitable tool or block when the job allows it.
Do not assume that a milled face will leave marks only when the blow misses. A textured face can mark wood even during a centered strike if the hammer face contacts the surface.
Milled Face Hammer Sizes and Weight
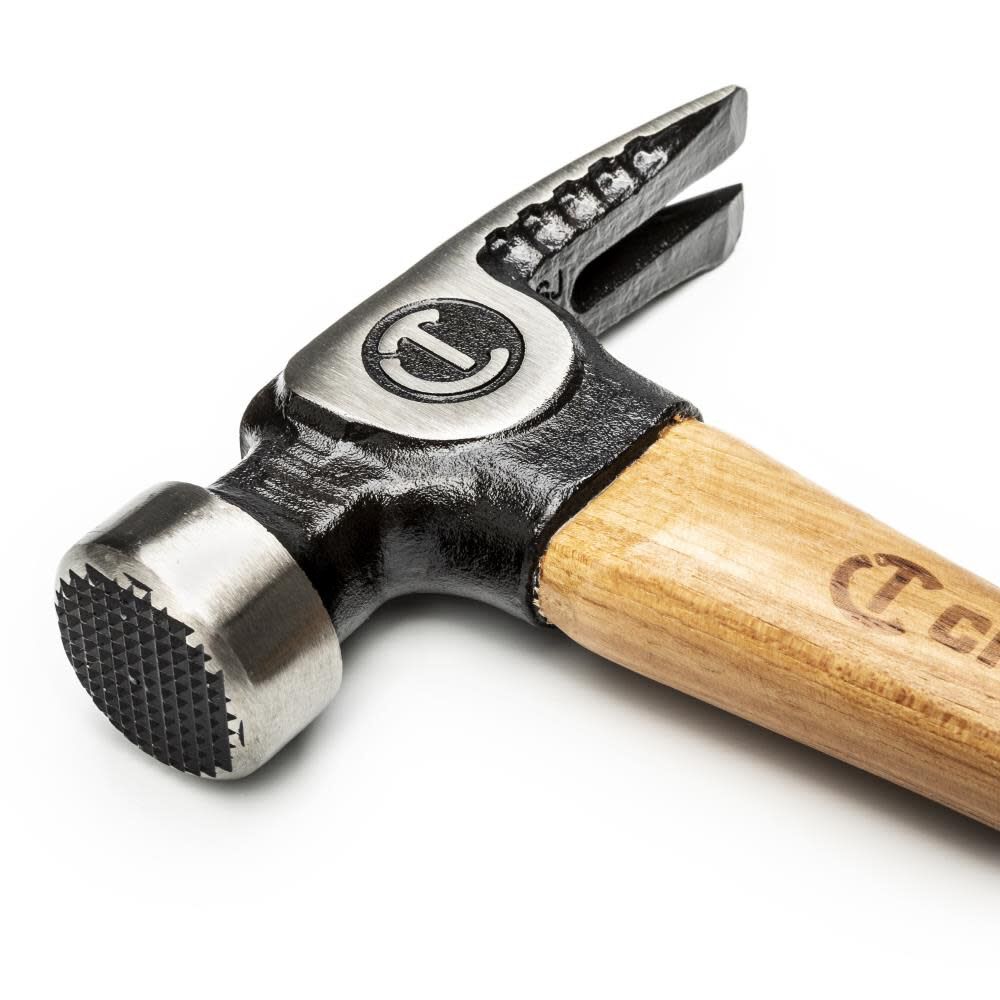
Hammer weight affects driving force, swing speed, and user fatigue. Common framing hammers in the U.S. often fall in the 16- to 32-ounce head-weight range, though lighter and heavier models exist.
Head weight is not the total weight of the tool. The handle adds weight, and the tool’s balance changes how heavy it feels.
| Hammer size | Typical fit | Main trade-off |
|---|---|---|
| 8–12 oz | Small repairs and light tasks | Easy to control, less driving force |
| 16 oz | General carpentry and repairs | Balanced for many users |
| 20–24 oz | Framing and frequent nail driving | More force, more arm fatigue |
| 28–32 oz | Heavy framing or demanding work | Strong blows, slower and tiring for some users |
These ranges are general examples, not a rule for every job. A 20-ounce hammer with poor balance may feel harder to use than a well-balanced 24-ounce model.
For many homeowners, a 16-ounce or 20-ounce hammer is a practical starting point. Professional framers may prefer a heavier model because it can drive large nails with fewer swings. That benefit matters less if the user loses accuracy or tires quickly.
Face diameter and reach
A larger face gives you more room to contact the nail head. A smaller face can feel more precise but demands better aim. The handle length also affects leverage and swing speed.
Long handles can add power, but they need more clearance. Short handles work well in tight spaces but may require more effort. Pick the tool that fits the work area and your ability to control it.
How to Use a Milled Face Hammer Safely
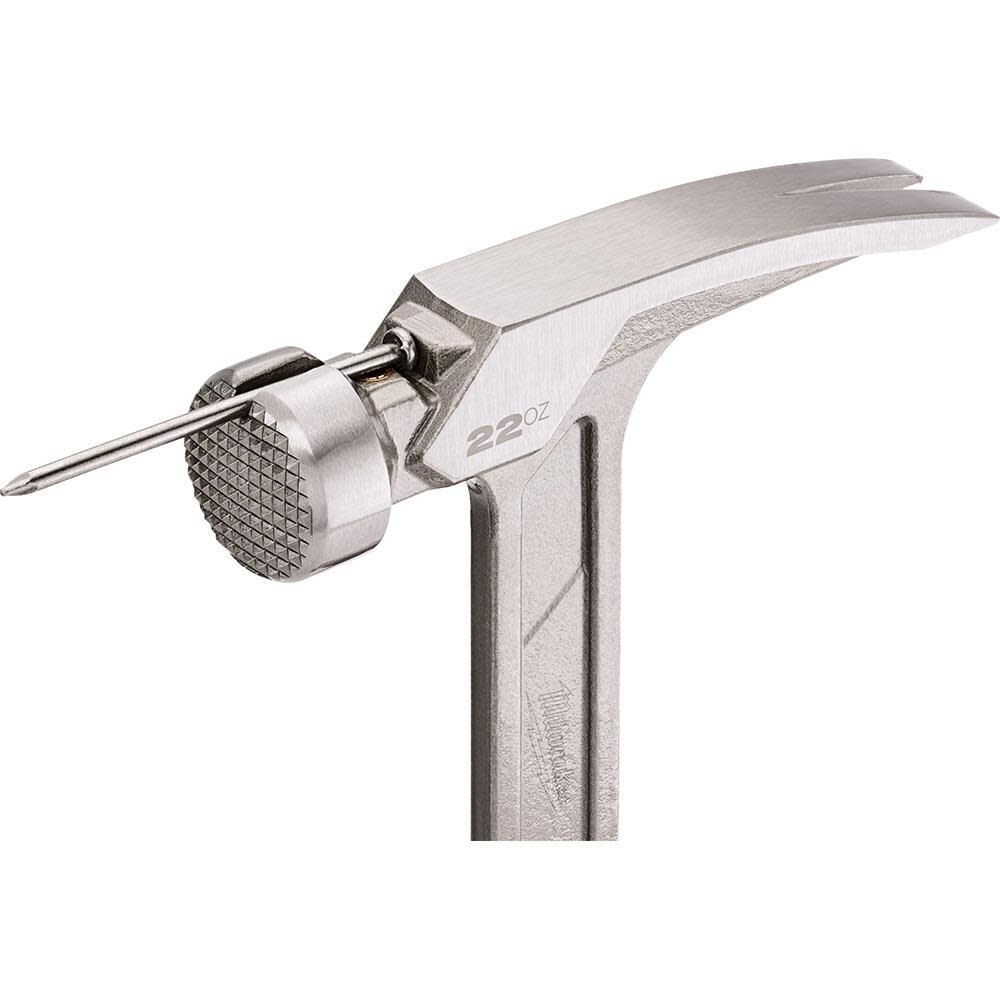
A milled face can improve nail control, but safe use still depends on proper technique and tool condition.
Before you start
Check the hammer for:
- A loose head
- Cracks in the handle
- Splits, chips, or sharp damage
- A badly worn or mushroomed face
- Oil, grease, or other slippery material on the grip
- Damage around the eye, where the handle passes through the head
Do not use a hammer with a loose head or a damaged handle. A head can fly off during a swing. Replace the tool or have it repaired by a qualified tool service professional.
Wear safety glasses when driving nails, removing nails, or striking any material that can chip. Keep your other hand away from the strike path. Make sure people nearby stand clear.
Basic striking method
- Hold the hammer near the end of the handle for normal driving.
- Set the nail with a light tap.
- Confirm that the nail is straight and stable.
- Swing with a controlled motion from the elbow and shoulder.
- Keep your eyes on the nail head.
- Use lighter blows as the nail approaches the surface.
- Stop if the nail bends, the face slips, or the material starts to split.
Do not strike hardened steel, concrete, stone, or another hammer with a standard carpentry hammer unless the tool is specifically designed for that task. Hard materials can chip the striking face and send fragments into the air.
Signs of a good strike
A good strike usually:
- Lands near the center of the nail head
- Drives the nail without bending it
- Produces little side movement
- Leaves no damaged edge on the nail head
- Does not make the hammer face contact the surrounding wood
If the hammer keeps sliding, check the nail angle, your grip, the nail size, and the condition of the hammer face. A textured face cannot correct a badly positioned nail.
Common Problems With Milled Face Hammers
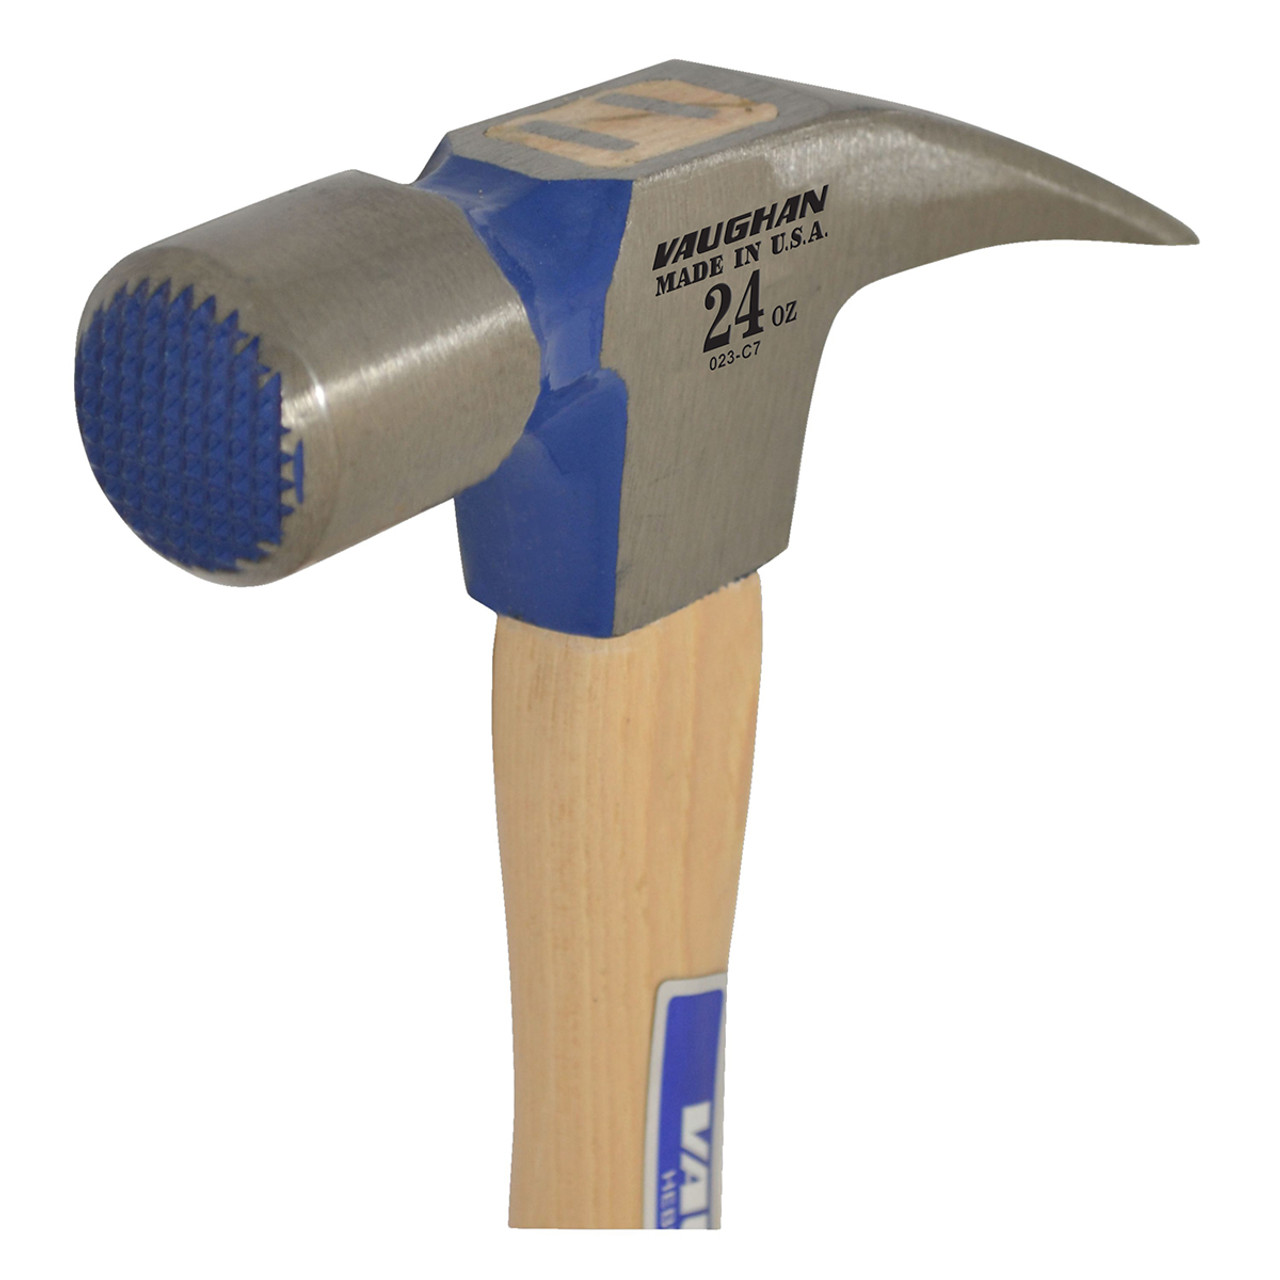
The hammer leaves deep dents
The face may have an aggressive texture, or you may be using too much force near the finished surface. Use a smooth face, lighter blows, or a nail set for the last part of the drive.
The hammer slips off the nail
Possible causes include:
- The nail is bent
- The nail head is damaged
- The face is worn or contaminated
- The hammer is too heavy to control
- The strike is landing at an angle
- The nail is too small for the face and your technique
Set the nail again and use controlled blows. Do not keep swinging harder at a nail that is already unstable.
The wood splits
The nail may be too large, too close to an edge, or driven into dry or narrow stock. A pilot hole may help in some carpentry tasks. You can also move the nail farther from the edge, choose a smaller nail, or blunt the nail tip when appropriate.
The handle feels painful
Pain can result from poor grip, excessive force, vibration, an unsuitable handle size, or long periods of use. Take breaks and avoid gripping the handle tightly throughout the entire swing. If pain continues, stop the task and seek medical advice.
The face becomes mushroomed or chipped
A damaged face can create flying fragments and uneven contact. Do not grind, heat, or reshape the face unless the manufacturer permits that repair and the person doing it understands proper heat treatment. Replacing the hammer is often the safer option for a common carpentry tool.

Is a Milled Face Hammer Better?
A milled face hammer is not universally better. It is better for a particular set of jobs.
Its main advantages are:
- Better resistance to sliding from the nail head
- More confidence during fast framing work
- Useful control when driving large common nails
- Good performance on rough lumber where marks do not matter
Its limits are just as clear:
- It can damage visible wood
- Deep texture can make finish work harder
- A heavy model can cause fatigue
- The texture does not replace accurate technique
- Face design does not prove overall tool quality
The best choice depends on the work surface and the type of nail. If you need one hammer for household repairs, a medium-weight smooth or lightly textured claw hammer may be more versatile. If you mainly frame with rough lumber, a milled face can be a useful choice.
Milled Face, Smooth Face, and Nail Sets
These tools serve different purposes rather than replacing one another.
- Milled face hammer: Drives nails with added face grip. Best for rough work.
- Smooth face hammer: Drives nails while reducing accidental marks.
- Finish hammer: Usually lighter and designed for trim, small nails, and controlled work.
- Nail set: A small punch used to drive a nail head below the wood surface.
- Rubber or soft-face mallet: Used when you need to reduce hard impact and avoid metal marks.
For fine work, the usual method is to drive the nail close to flush with a smooth hammer and finish it with a nail set. This gives better control than trying to bury a finish nail with a deeply textured face.
How to Choose a Milled Face Hammer
Use this checklist before buying:
1. Match the face to the work
Select a coarse milled face for framing and rough construction. Select a smooth or lightly textured face for work where surface marks matter.
2. Choose a manageable weight
The correct weight is one you can swing accurately for the full job. More weight does not always mean better performance. Fatigue can reduce accuracy and increase injury risk.
3. Check the handle
Wood, fiberglass, and composite handles each have different feel and maintenance needs. Look for a handle that feels secure, has no visible damage, and fits your hand.
4. Inspect balance
Hold the hammer as you would during use. It should not feel strongly head-heavy unless that is the balance you prefer. A well-balanced tool can feel easier to control than one with the same listed head weight.
5. Look at the claw
A curved claw is useful for pulling nails. A straighter claw may help with prying in some framing work. The claw should have no cracks or severe deformation.
6. Read the maker’s limits
Check whether the manufacturer provides instructions about nail types, striking materials, face maintenance, and handle replacement. Do not use a carpentry hammer as a substitute for a machinist’s hammer, sledgehammer, or demolition tool.

Frequently Asked Questions
Can a milled face hammer drive finish nails?
Yes, it can drive finish nails, but it is not the best choice when the wood must stay free of marks. Use a smooth face and a nail set for cleaner trim and finish work.
Is a waffle face the same as a milled face?
Not always. These terms are often used loosely. A waffle face usually refers to a deeper block-like pattern, while “milled face” may describe several machined or textured patterns. Check the actual face and the manufacturer’s description.
Does a milled face prevent bent nails?
No. It may reduce slipping, but a nail can still bend if it starts at an angle, hits a hard knot, or receives an off-center blow.
Can I smooth a milled hammer face with a grinder?
Do not do this unless the manufacturer gives clear instructions. Grinding can change the face shape and remove heat-treated material. It may also create sharp edges or weaken the tool.
What is the best weight for a beginner?
A manageable medium-weight hammer is often easier to learn with than a very heavy model. Many users start with a 16-ounce hammer, but hand size, strength, work type, and balance all matter.
Key Takeaways
- A milled face hammer has grooves, dimples, or another texture on its striking face.
- The texture can help the hammer stay on a nail head.
- It is most useful for framing, rough carpentry, and construction.
- It can leave marks in wood, so it is not ideal for visible finished surfaces.
- A milled face does not replace safe technique or a sound hammer.
- Choose the weight, handle, balance, and face pattern based on the job.
Conclusion
A milled face hammer is a textured hammer designed to improve contact with the nail head. Its extra grip makes it useful for framing and other rough work, but the same texture can dent or pattern finished wood.
If your work involves rough lumber, choose a milled face when its added control is useful. If appearance matters, choose a smooth face and finish nails with a nail set. In either case, use a sound hammer, wear eye protection, and select a weight you can control accurately.