
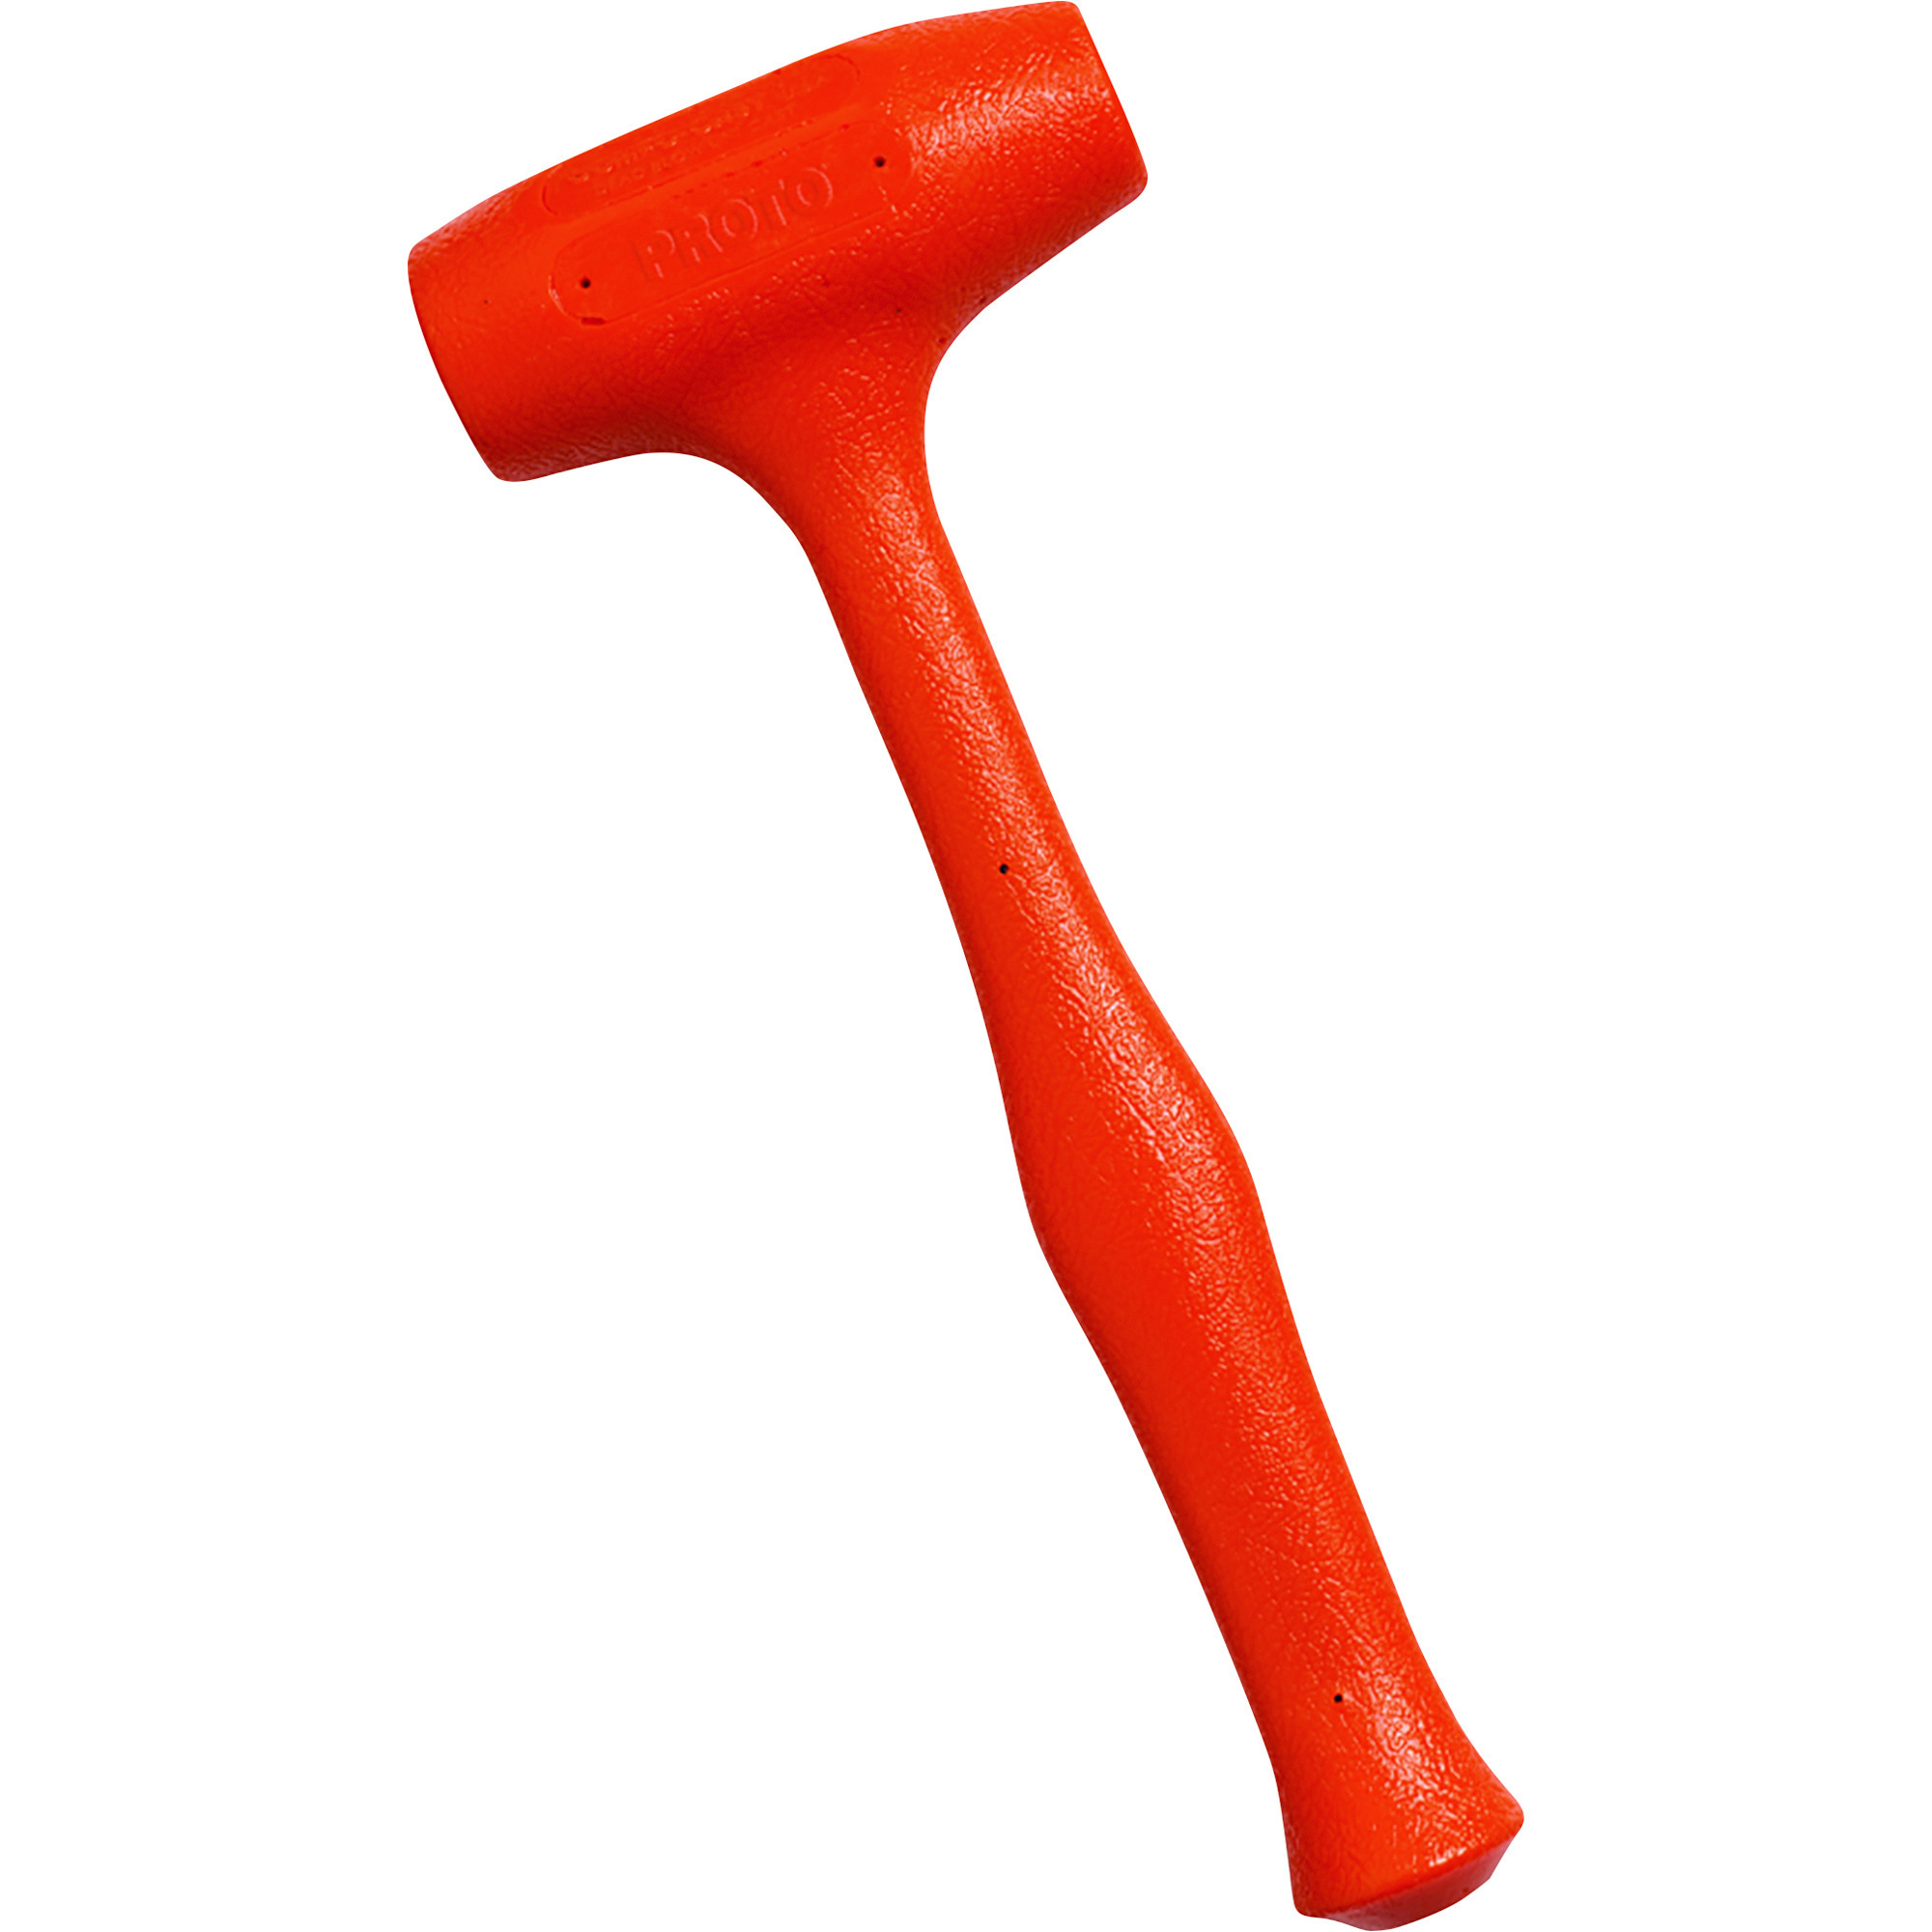
A dead blow hammer is used to deliver a strong, controlled удар without much rebound. In the United States, mechanics, maintenance workers, builders, and DIY users often use one to move stuck parts, seat components, shape metal, and assemble parts without leaving deep marks.
Its hollow head contains small weights, such as steel shot or sand. When the head hits a surface, the weights move forward and absorb much of the bounce. This makes the tool easier to control than a standard steel hammer.
A dead blow hammer is useful when you need force without a sharp rebound, heavy vibration, or damage to the workpiece. It is not the right tool for every job, however. The head material, handle design, and manufacturer rating affect where you can use it safely.

What Is a Dead Blow Hammer?
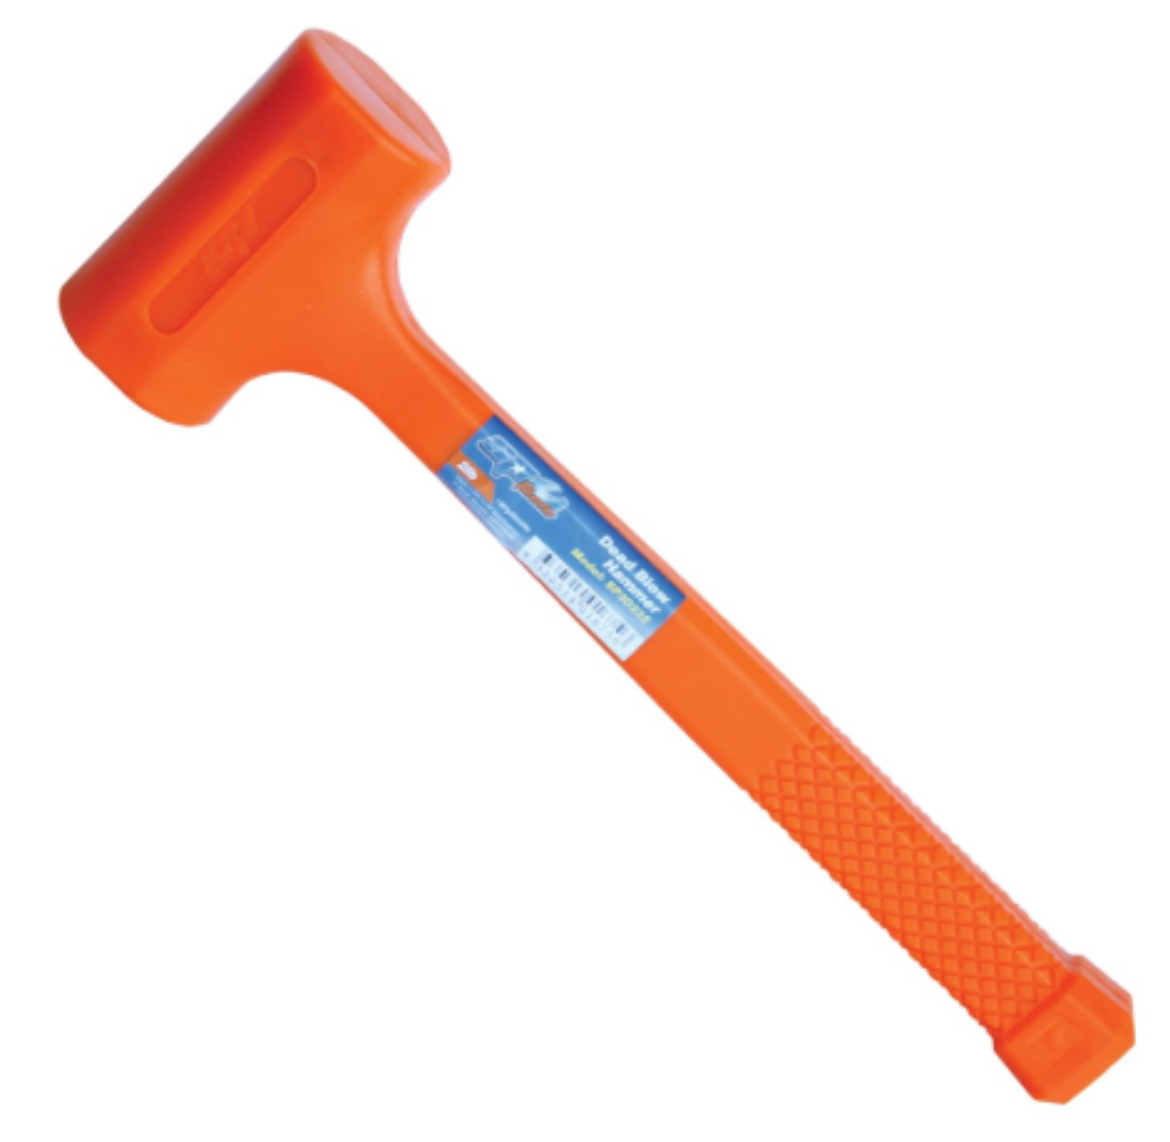
A dead blow hammer is a striking tool with a hollow head filled with loose material. The fill may include steel shot, lead-free metal pellets, sand, or another weighted material. Many models also have a soft face made from urethane, rubber, plastic, or another non-marring material.
When the hammer strikes, three things happen:
- The face contacts the workpiece.
- The loose weight moves toward the impact point.
- The moving weight reduces rebound and helps transfer force into the target.
A regular hammer can bounce back after impact. A dead blow hammer limits this movement. The result is a slower, more controlled strike.
The term “dead blow” does not mean the hammer has no rebound at all. It means the design greatly reduces rebound compared with many ordinary hammers. The exact result depends on the hammer’s size, head fill, face material, and the surface being struck.
Dead blow versus regular hammer
| Feature | Dead blow hammer | Standard steel hammer |
|---|---|---|
| Rebound | Low | Often higher |
| Surface protection | Usually better | Can dent or scratch parts |
| Vibration | Often lower | Often higher |
| Control | Good for close work | Good for strong, direct blows |
| Best use | Moving or seating parts | Driving nails, punches, and heavy strikes |
| Metal-on-metal contact | Depends on face and design | Common |
A soft-faced dead blow hammer can protect finished surfaces. A metal-faced model can deliver more force but may mark metal or create sparks.
What Do You Use a Dead Blow Hammer For?
You use a dead blow hammer when you need controlled impact and want to limit damage, rebound, or vibration. Its most common jobs include moving tight parts, seating assemblies, aligning equipment, and shaping material.
1. Freeing stuck parts
A dead blow hammer can help loosen parts that are stuck from rust, dirt, paint, pressure, or a tight fit.
Common examples include:
- Rusted automotive parts
- Stuck pulleys
- Machine guards
- Frozen shafts
- Tight bushings
- Seized covers
- Wheel and suspension parts
- Stubborn plumbing fittings
Use penetrating oil, heat, or a proper puller when needed. The hammer should not be your only method for a part that is under spring tension or heavy load.
Strike the part squarely. Glancing blows can damage the hammer face, the workpiece, or your hand.
2. Seating parts during assembly
A dead blow hammer works well for seating parts that must fit tightly but cannot tolerate sharp steel blows.
Examples include:
- Bearings and races, when the correct driver is used
- Bushings
- Gaskets and covers
- Machinery parts
- Cabinet joints
- Woodworking assemblies
- Flanged connections
- Vehicle components
The hammer helps apply short, firm taps. It does not replace a bearing driver, press, or other tool made for a precise fit.
Never strike a bearing’s rolling elements directly. Use a driver that contacts the correct bearing ring. Otherwise, the force can pass through the balls or rollers and cause hidden damage.
3. Aligning machinery and metal parts
Maintenance workers use dead blow hammers to align parts without sending a sharp shock through the equipment.
Typical tasks include:
- Aligning motor housings
- Positioning machine guards
- Adjusting conveyor components
- Moving steel frames
- Aligning flanges
- Setting panels in place
- Shifting fixtures on a workbench
The low rebound helps the user keep one hand near the work area when appropriate. Keep your hands clear of pinch points, though. A controlled hammer does not remove the risk of crushed fingers.
4. Working on automotive parts
A dead blow hammer is common in auto repair because many vehicle parts need force but have finished surfaces.
You may use one to:
- Tap a brake drum loose
- Move a wheel hub
- Seat a tire bead area during service
- Align suspension parts
- Adjust exhaust components
- Position body panels
- Free a stuck dust shield
- Tap a component into place
Use care around aluminum, sensors, brake lines, seals, and painted surfaces. Even a soft face can damage a part if the blow is too hard or the wrong face material is used.
Do not strike a pressurized component, fuel system part, spring-loaded assembly, or loaded suspension part unless the service procedure allows it.
5. Shaping sheet metal
A soft-faced dead blow hammer can help form or adjust sheet metal. It is useful for small corrections where a hard steel hammer would leave sharp dents.
Possible tasks include:
- Flattening a small high spot
- Adjusting a panel edge
- Fitting ductwork
- Setting a metal seam
- Making small changes to light-gauge sheet metal
For bodywork, a dedicated body hammer and dolly often give better control. A dead blow hammer is better for broad, gentle adjustments than for fine metal finishing.
6. Setting tile, pavers, and masonry materials
A rubber- or plastic-faced dead blow hammer can help seat some tiles, pavers, and masonry pieces. The low rebound helps the user tap a piece into position without a hard bounce.
Before using one, confirm that the surface can tolerate impact. Ceramic tile, natural stone, grout lines, and finished edges can crack from a concentrated blow. Use a tapping block where appropriate, and follow the material maker’s instructions.
Do not use the hammer to correct a poor base, uneven substrate, or large height difference. Those problems need surface preparation, not harder strikes.
7. Assembly in woodworking and general construction
Woodworkers use dead blow hammers to join parts without leaving deep marks. The tool can help seat:
- Mortise-and-tenon joints
- Cabinet parts
- Dowels
- Clamps and fixtures
- Wooden frames
- Workbench components
Choose a face that will not stain or dent the wood. Some black rubber faces can leave marks on light wood or painted surfaces. A white plastic or urethane face may be a better choice for finished work.

Why Does a Dead Blow Hammer Work?
A dead blow hammer works by combining a soft striking face with a weighted, loose-filled head. The weight moves after impact and slows the hammer’s bounce.
A simple way to understand it is to compare the tool to a small cushion inside a hard shell. The outer head hits the part, while the inner shot continues moving for a moment. That movement absorbs some rebound energy and keeps the head against the work longer.
This design can provide four practical benefits:
- Less rebound: The hammer is less likely to bounce back toward the user.
- Better control: More of the strike goes into the part instead of the hammer’s return motion.
- Lower vibration: The loose fill can reduce some shock reaching the handle.
- Fewer marks: A soft face may protect finished surfaces.
These benefits have limits. A dead blow hammer does not make an unsafe strike safe. It also does not guarantee that a surface will remain mark-free.
Does a dead blow hammer hit harder?
Not always. A dead blow hammer may transfer force efficiently because it rebounds less, but it is not automatically stronger than a steel hammer of the same size.
Impact depends on:
- Hammer mass
- Swing speed
- Head design
- Face material
- Contact area
- Angle of impact
- Stiffness of the target
- The user’s technique
A heavy dead blow hammer may move a stubborn part well. A light model may be better for assembly and alignment. Choose the smallest hammer that can do the job without excessive force.
How to Use a Dead Blow Hammer Safely
Use a dead blow hammer with eye protection, a stable workpiece, and the correct face for the material. Keep the striking path clear and check the hammer before each use.
Follow these steps:
- Inspect the hammer. Look for cracks, loose face covers, mushrooming, splits, or damage to the handle.
- Check the workpiece. Make sure it is supported and cannot roll, slide, or fall.
- Remove stored energy. Disconnect power and release hydraulic, pneumatic, spring, and load pressure where applicable.
- Choose the correct face. Use plastic, urethane, rubber, or metal according to the job and manufacturer’s instructions.
- Wear eye protection. Chips, scale, face material, and broken parts can become projectiles.
- Start with light taps. Increase force only when the part and tool respond as expected.
- Strike squarely. A straight blow reduces glancing impact and face damage.
- Keep hands away from pinch points. Use a clamp, fixture, drift, or pry tool when it can keep your hands farther away.
- Stop if the part does not move. Reassess the cause instead of simply swinging harder.
The Occupational Safety and Health Administration requires employers to keep hand tools in safe condition and use them properly in covered workplaces. OSHA’s hand-tool rule is found at 29 CFR 1910.242.

When Should You Not Use a Dead Blow Hammer?
Do not use a dead blow hammer when the impact could release dangerous energy, damage a precision part, or exceed the tool’s design.
Avoid or reconsider its use in these situations:
- The part is under spring, hydraulic, pneumatic, or electrical energy.
- You need to strike a hardened punch, chisel, or wedge.
- The workpiece may shatter.
- The hammer face is too soft, too hard, or chemically incompatible.
- The job requires a press or puller.
- The part contains a sensor, seal, bearing, or delicate circuit.
- The hammer is damaged.
- The manufacturer prohibits the intended use.
- A spark could ignite vapor, dust, or gas.
A dead blow hammer is not automatically non-sparking. A steel-faced hammer can create sparks when it hits steel or another hard material. Even some tools marketed for reduced sparking still require a proper risk review. Use an approved tool for hazardous locations and follow the site’s safety rules.
Do not hit the hammer with another hammer. Do not use a dead blow hammer as a pry bar, wedge, or lever. If the head has a removable face, replace it with the correct part rather than improvising a substitute.

How to Choose the Right Dead Blow Hammer
Choose a dead blow hammer by matching its weight, face, handle, and head shape to the work. The best size is the lightest one that moves or seats the part with controlled blows.
Hammer weight
A rough guide:
| Hammer type | Typical use |
|---|---|
| Light | Assembly, woodworking, light sheet metal |
| Medium | Automotive work, machinery alignment, general repair |
| Heavy | Large equipment, stubborn parts, heavy fabrication |
Exact weight ranges differ by manufacturer. Read the tool’s specification instead of relying only on color or appearance.
A heavier hammer creates more force, but it also increases the risk of damage and fatigue. Start light whenever the work allows.
Face material
- Urethane: Often durable and suited to general assembly.
- Rubber: Offers a soft strike but may mark some surfaces.
- Plastic or nylon: Useful for many non-marring jobs; may chip or wear.
- Steel: Provides a hard impact but can mark metal and create sparks.
- Replaceable faces: Helpful when the tool will see different types of work.
Check the manufacturer’s limits. “Non-marring” usually means less likely to mark a surface under suitable conditions. It does not mean impossible to mark.
Handle and grip
Look for a handle that feels secure and supports a straight swing. A textured grip can help, but gloves, oil, water, and fatigue still affect control.
Avoid a hammer with a loose head, damaged grip, or bent handle. Replace damaged tools rather than trying to repair them with tape, glue, or makeshift fasteners.

Common Mistakes With Dead Blow Hammers
The most common mistake is using a dead blow hammer as if it were a general-purpose sledgehammer. Its controlled action helps with specific jobs, but it does not remove the need for the correct tool.
Avoid these errors:
- Using a hammer that is too heavy
- Striking at an angle
- Hitting a brittle part
- Ignoring pinch points
- Striking a bearing directly
- Using a metal face on a finished surface
- Treating “non-marring” as “damage-proof”
- Continuing after the face starts to split
- Using impact instead of a press or puller
- Hitting a punch or chisel unless the hammer is rated for it
If a part does not move after several firm, square blows, stop and diagnose the problem. Look for hidden fasteners, retaining rings, interference fits, corrosion, or stored energy.

Dead Blow Hammer Alternatives
A dead blow hammer is one option among several impact tools. The right alternative depends on whether you need more force, more precision, or less impact.
- Rubber mallet: Good for light seating and surface protection, but it may rebound more.
- Soft-face hammer: Useful when you need interchangeable faces or a specific face material.
- Ball-peen hammer: Better for metalwork and peening, but more likely to mark parts.
- Sledgehammer: Provides greater force for heavy demolition and large objects.
- Plastic mallet: Useful for light assembly and shaping.
- Hand press or arbor press: Better for controlled, straight pressure.
- Puller: Better for removing hubs, bearings, gears, and pulleys.
- Wooden or nylon drift: Useful for positioning parts when metal contact is unsuitable.
The deciding question is simple: do you need a controlled impact, or do you need a different form of force? If the part must move straight and evenly, a press is often safer than repeated hammer blows.

Key Takeaways
- A dead blow hammer is used for controlled striking with reduced rebound.
- Common jobs include freeing stuck parts, seating assemblies, aligning machinery, shaping sheet metal, and working on vehicles.
- Its hollow, weighted head helps absorb bounce and vibration.
- A soft face can reduce marks, but it does not make the hammer damage-proof.
- Select the hammer by weight, face material, and manufacturer limits.
- Never strike loaded, pressurized, brittle, or precision parts without checking the proper procedure.
- Stop using the hammer if the part does not respond or if the tool shows damage.
Frequently Asked Questions
Is a dead blow hammer better than a rubber mallet?
It depends on the job. A dead blow hammer usually offers more controlled force and less rebound. A rubber mallet may be better for light taps on delicate surfaces. Neither tool is automatically safer for every material.
Can you use a dead blow hammer on metal?
Yes, if the face and hammer are rated for the job. A plastic, urethane, or rubber face can reduce marks. A steel face can provide a harder impact, but it may dent the metal or create sparks.
Can a dead blow hammer break?
Yes. The face, handle, grip, or head can wear or break. Replace the tool if you see cracks, loose parts, severe face wear, handle damage, or leaking filler.
Can you use a dead blow hammer on a bearing?
You can use one only with a proper bearing driver or a method that applies force to the correct bearing ring. Do not strike the bearing’s inner or outer race in a way that sends force through the rolling elements.
What weight dead blow hammer should I buy?
Choose the lightest weight that can complete the job with controlled blows. Light models suit assembly and woodworking. Medium models suit general repair and automotive work. Heavy models suit larger machinery and stubborn parts, but they raise the risk of damage and fatigue.
Is a dead blow hammer non-sparking?
Not by default. A dead blow hammer with a steel face can produce sparks. Check the manufacturer’s specification and the safety rules for the work area before using any hammer near flammable vapor, gas, or dust.
Conclusion
A dead blow hammer is mainly used when you need impact without excessive rebound or surface damage. It is especially useful for automotive repair, machinery alignment, assembly, woodworking, sheet metal, and other work that calls for controlled taps.
Use the right face and weight, support the workpiece, wear eye protection, and stop when the tool or part shows signs of trouble. When a part needs straight, measured pressure, choose a press or puller instead of hitting harder.