

The four key HVAC hand tools are a manifold gauge set, tubing cutter, flaring tool, and fin comb.
Knowing what are four hand tools specific to HVAC helps new technicians build a useful tool kit without wasting money. These tools support core tasks such as checking system pressure, preparing copper tubing, making secure connections, and restoring damaged coil fins. I have used each one in service work, and the right tool often makes the difference between a clean repair and a callback.
What are four hand tools specific to HVAC?
The four most useful HVAC-specific hand tools are:
- Manifold gauge set
- Tubing cutter
- Flaring and swaging tool
- Fin comb
These tools are not the only tools an HVAC technician needs. A complete kit may also include screwdrivers, nut drivers, pliers, wire strippers, a multimeter, a thermometer, and leak detection equipment. Still, these four tools have a direct link to refrigeration, air conditioning, and heat pump work.
When asking what are four hand tools specific to HVAC, it helps to focus on tools that solve common HVAC tasks. A good HVAC tool should improve accuracy, protect system parts, and help the technician work safely.

1. Manifold gauge set
A manifold gauge set measures refrigerant pressure in an air conditioning or refrigeration system. A basic set has:
• A low-pressure gauge, often called the compound gauge
• A high-pressure gauge
• A manifold body with control valves
• Service hoses
• Color-coded connections
The low-pressure gauge usually connects to the suction side of the system. The high-pressure gauge connects to the discharge or liquid side, depending on the system and service procedure. Always follow the equipment manufacturer’s instructions before connecting gauges.
A manifold gauge set can help a technician evaluate system pressure, charging conditions, and possible faults. However, pressure readings alone do not prove that a system has the correct refrigerant charge. Outdoor temperature, indoor load, airflow, coil cleanliness, and refrigerant type all affect pressure.
How to use a manifold gauge set
A careful process matters more than speed. A common service sequence includes:
- Check the equipment data plate and identify the refrigerant.
- Inspect the hoses, valves, and service ports.
- Connect the correct hose to the proper service connection.
- Read the gauges after the system reaches a stable operating condition.
- Compare readings with manufacturer charging data.
- Disconnect the set while limiting refrigerant loss.
Modern HVAC systems may use refrigerants with different pressure ranges. Never assume that one gauge set or charging method works for every system. Some systems also require a digital manifold, temperature probes, or a scale for accurate charging.
Common manifold gauge mistakes
One mistake I have seen many times is treating a gauge reading as a final diagnosis. A low suction pressure may point to low charge, but it may also result from a restricted metering device, poor airflow, or a blocked filter.
Other common mistakes include:
• Using hoses that are not rated for the refrigerant
• Mixing refrigerants through dirty or poorly maintained hoses
• Opening the wrong valve
• Leaving service caps loose
• Charging by pressure alone
• Ignoring the required recovery process
Refrigerant handling is regulated in the United States. Technicians who service equipment containing regulated refrigerants may need the proper EPA certification. Refrigerant must also be recovered with approved equipment rather than intentionally released.
Analog or digital manifold gauges?
Analog gauges are simple and often less expensive. They do not need batteries, and many experienced technicians know how to read them quickly.
Digital manifolds can display pressure, temperature, superheat, subcooling, and other data. They may reduce calculation errors, but they need proper setup, charging, and care. A digital gauge is not automatically more accurate if its sensors are damaged or out of calibration.
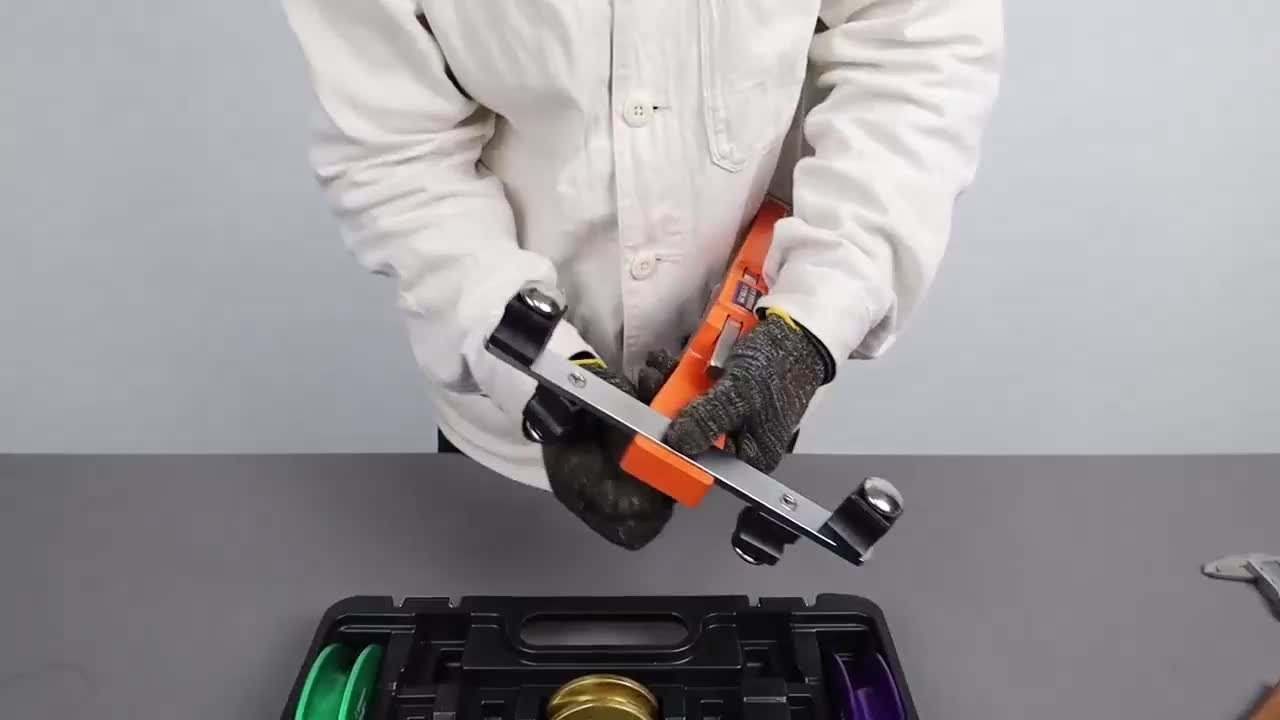
2. Tubing cutter
A tubing cutter makes clean cuts in copper, aluminum, and other approved tubing materials. HVAC technicians use it when replacing damaged sections, preparing tubing for a flare, or installing a new fitting.
A tubing cutter has a cutting wheel and one or more guide rollers. As you turn the tool around the tube, the wheel scores the metal. Tightening the wheel too much can crush the tube or create a deep ridge.
Why a clean tube cut matters
A poor cut can cause several problems. It may leave metal chips inside the line, create an uneven flare, or reduce the opening inside the tube. Even a small restriction can affect refrigerant flow.
After cutting tubing, inspect the end carefully. Remove the burr without allowing debris to enter the tube. Keep the tubing pointed downward during deburring when practical, and protect open tube ends from dirt and moisture.
Best practices for using a tubing cutter
Use these steps for a cleaner result:
- Mark the cut with a clear line.
- Place the cutter squarely on the tube.
- Tighten the wheel lightly.
- Rotate the cutter several times.
- Increase pressure in small steps.
- Remove the cut section.
- Deburr the inside edge.
- Clean the tube before connecting it.
A common beginner error is using too much pressure from the start. The cutter should do the work. Heavy pressure can flatten soft copper and make the tube harder to connect.
In my own hands-on work, I learned to make two light passes instead of one hard pass. The cut takes only a little longer, but the tube stays round and the finished connection is much more reliable.
Tube cutters for tight spaces
HVAC service often takes place in cramped areas. A compact mini tubing cutter can fit behind an evaporator coil or inside a crowded condensing unit. It may take more turns, but it gives better control.
Keep more than one size if you work on different equipment. A large cutter may not fit around small tubing, while a small cutter may not handle larger refrigerant lines well.

3. Flaring and swaging tool
A flaring tool shapes the end of tubing into a cone. This allows the tube to join with a flare fitting. A swaging tool expands the end of one tube so another tube can fit inside it for brazing.
These tools are especially useful with copper tubing. Flaring is common on many ductless mini-split systems and other equipment that uses flare connections. Swaging is useful when joining copper tubing without adding a separate coupling.
How a flaring tool works
To make a flare, the technician cuts and deburrs the tube, places it in the correct opening of the flare bar, and forms the end with a cone-shaped yoke. The finished flare must be even, smooth, and properly sized.
A good flare should:
• Have a smooth cone
• Sit straight on the tube
• Have no cracks or deep tool marks
• Match the fitting angle
• Tighten without excessive force
Many HVAC flare connections use a 45-degree angle, but the technician should confirm the equipment requirements. Some systems use special fittings or manufacturer-specific procedures.
How to avoid bad flares
A weak flare often starts before the flaring tool is used. If the cut is crooked, the tubing is not fully inserted, or the edge is not deburred, the final connection may leak.
Follow this basic process:
- Slide the flare nut onto the tube first.
- Cut the tubing squarely.
- Deburr the inside edge.
- Place the tube at the correct height in the bar.
- Form the flare with steady pressure.
- Inspect the flare under good light.
- Tighten the connection to the specified torque.
Using a torque wrench is a smart choice for flare fittings. Too little torque can cause leakage. Too much torque can damage the flare, fitting, or valve body.
One lesson I learned early is simple: never try to rescue a cracked flare by tightening it harder. Cut it off and make a new one. A new flare takes minutes, while a hidden leak can lead to lost refrigerant, poor performance, and another service visit.
Flaring versus brazing
Flaring creates a mechanical connection. Brazing joins copper with heat and a filler metal. Both methods have a place in HVAC work.
Flaring is useful when the equipment is designed for flare fittings or when heat near sensitive parts is a concern. Brazing can create a strong permanent joint, but it requires heat control, fire safety, and proper practices such as flowing dry nitrogen when required by the procedure.
A flaring tool is one of the clearest answers to what are four hand tools specific to HVAC because it supports a task rarely found in general household repairs.

4. Fin comb
A fin comb straightens damaged fins on evaporator and condenser coils. Coil fins are thin metal surfaces that help transfer heat. When the fins bend, airflow can drop and heat transfer may suffer.
Fin combs often come with several tooth sizes. The correct size should match the spacing, or pitch, of the coil fins. Forcing the wrong size through the coil can bend more fins and make the damage worse.
How to use a fin comb
First, turn off power to the equipment. Remove loose dirt with a soft brush or approved cleaning method. Then select a comb that fits the fin spacing and move it gently through the damaged area.
Use short, straight passes. Do not push hard. The goal is to guide fins back into alignment, not to make the coil look perfect.
A fin comb cannot repair every coil. Severely crushed fins, corroded metal, and damaged tubes require a different solution. If the refrigerant tubing inside the coil is damaged, stop and evaluate the coil before applying pressure.
Why coil fins matter
A dirty or damaged coil can reduce heat transfer. In an outdoor condenser, blocked airflow can raise operating pressure and increase stress on the compressor. In an indoor coil, restricted airflow can contribute to poor cooling and, in some cases, coil icing.
A fin comb is not a substitute for coil cleaning. It only repairs the shape of the fins. The coil may still need a proper cleaning procedure based on the equipment manufacturer’s instructions.
During service work, I use the fin comb gently and only where the fins are bent. Aggressive combing can turn a small damaged area into a larger one. Think of the tool as a hairbrush for metal, not a pry bar.
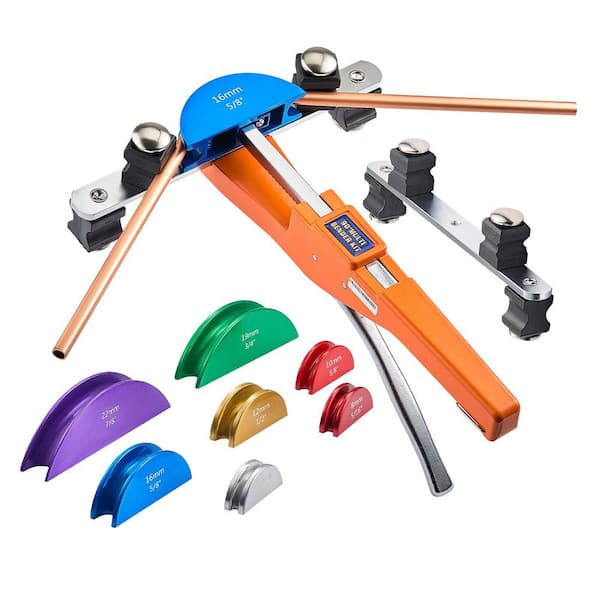
How these four HVAC hand tools work together
The four tools serve different parts of the same service process. A technician may use a tubing cutter and flaring tool during a refrigerant line repair. A manifold gauge set can then help verify operating conditions after the repair.
A fin comb supports the airflow side of the job. This matters because refrigerant readings can be misleading when coils are dirty or airflow is poor. A system needs both a healthy refrigeration circuit and proper heat movement.
For example, consider a ductless heat pump with weak cooling:
- The technician checks filters and coil condition.
- A fin comb repairs small areas of bent coil fins.
- The technician checks operating data with suitable instruments.
- If a line repair is needed, the tubing cutter prepares the tube.
- The flaring tool creates the new connection.
- The system is tested according to the manufacturer’s instructions.
This approach prevents a common mistake: replacing or adding refrigerant before checking airflow and coil condition.

How to choose quality HVAC hand tools
The best tool is not always the most expensive tool. Look for a design that fits the work, feels stable in the hand, and has replacement parts when needed.
Consider these points:
• Buy gauges rated for the refrigerants you service.
• Choose a tubing cutter with a sharp, replaceable wheel.
• Select a flaring tool that holds tubing firmly.
• Match fin comb teeth to common coil spacing.
• Look for clear markings and durable cases.
• Check whether the manufacturer provides calibration or service support.
• Avoid tools with loose handles, damaged hoses, or rough cutting edges.
Tool storage also affects performance. Keep tubing cutters dry, protect gauge hoses from sharp bends, and store flaring tools without dirt on the cone. A small amount of care can prevent inaccurate readings and poor connections.
Personal protective equipment matters too. Wear safety glasses when cutting, cleaning, or working near pressurized systems. Use gloves when handling sharp fins and sheet metal. Follow electrical lockout and disconnect procedures before working inside equipment.
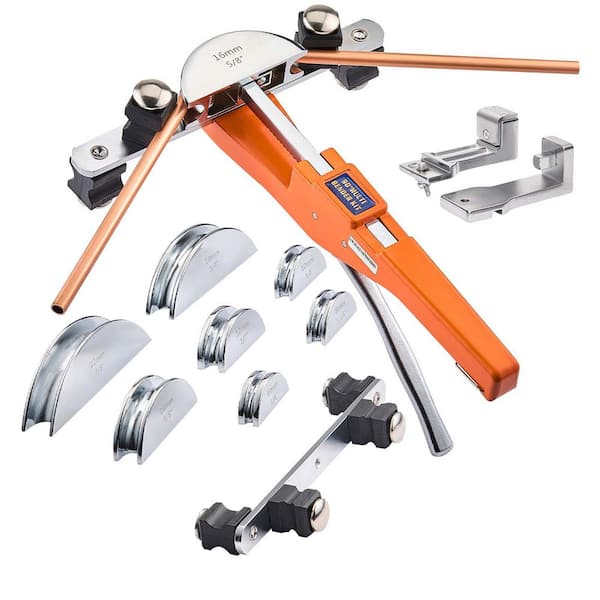
Limitations of these four HVAC hand tools
These four tools are valuable, but they cannot diagnose every HVAC problem. A manifold gauge set does not replace a micron gauge, refrigerant scale, leak detector, temperature probe, or electrical meter.
A tubing cutter and flaring tool cannot correct a wrongly sized line set or a damaged service valve. A fin comb cannot fix a leaking coil or restore metal that has corroded away.
Technicians should also consider equipment type. Some newer systems use electronic expansion valves, variable-speed compressors, flammable refrigerants, or advanced control boards. Those systems may require additional training, specialized tools, and strict manufacturer procedures.
The safest approach is to use these hand tools as part of a complete diagnostic process. Do not let a familiar tool create false confidence. Good HVAC work combines tool skill, measured data, safety practice, and careful reasoning.

Common mistakes to avoid
Understanding what are four hand tools specific to HVAC is only the first step. Using them correctly is just as important.
Avoid these mistakes:
• Reading refrigerant pressure without checking system conditions
• Cutting tubing without deburring it
• Leaving copper shavings inside a refrigerant line
• Making a flare without installing the flare nut first
• Over-tightening a flare connection
• Using the wrong fin comb size
• Straightening fins with excessive force
• Working on energized equipment
• Releasing refrigerant into the atmosphere
• Skipping a final leak and performance check
A clean, slow process usually beats a rushed repair. Take photos before disconnecting complicated assemblies, label service connections, and write down measurements. These simple habits reduce errors and make the work easier to review.
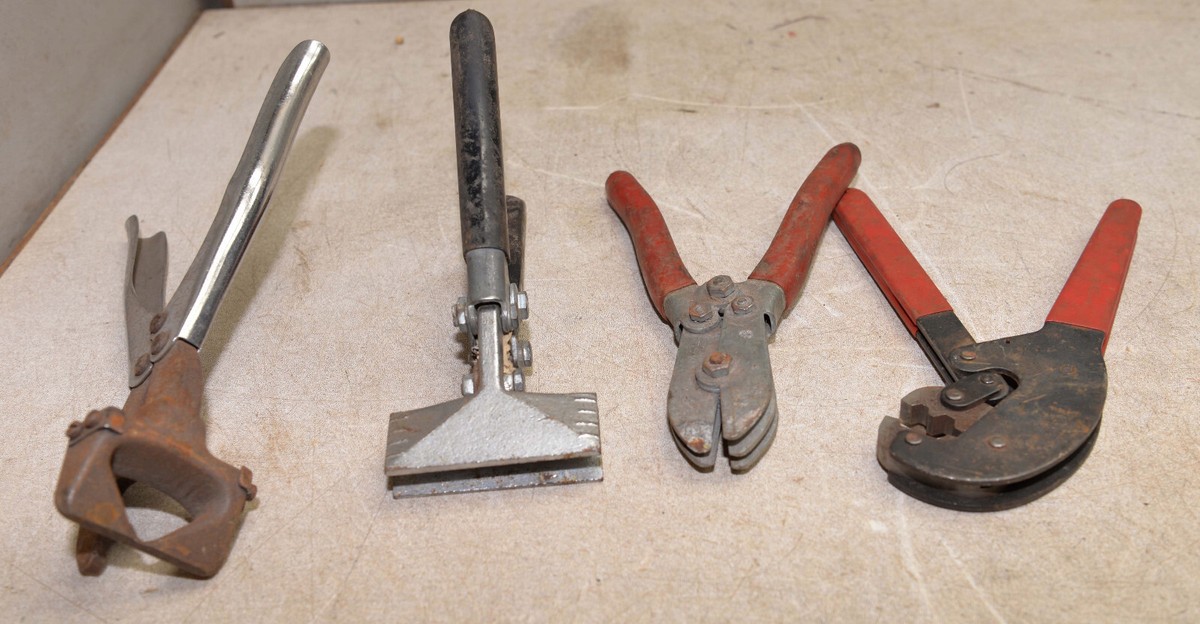
Frequently Asked Questions About What Are Four Hand Tools Specific to HVAC
What are four hand tools specific to HVAC?
The four commonly used HVAC-specific hand tools are a manifold gauge set, tubing cutter, flaring and swaging tool, and fin comb. Each supports a different task involving refrigerant service, copper tubing, or coil maintenance.
Is a manifold gauge set a hand tool?
Yes, a manifold gauge set is commonly treated as an HVAC hand tool because a technician operates it by hand to measure and control service connections. It is an instrument as well as a tool, so it should be used with proper training and refrigerant procedures.
Why do HVAC technicians use a tubing cutter?
HVAC technicians use a tubing cutter to make a clean, square cut in copper or approved tubing. A clean cut helps create a better flare, reduces debris, and supports reliable refrigerant line connections.
What does a fin comb do in HVAC work?
A fin comb straightens bent fins on evaporator and condenser coils. It can improve airflow through damaged areas, but it cannot repair a leaking coil, severe corrosion, or damaged refrigerant tubing.
Can a flaring tool be used on every HVAC system?
No. A flaring tool should be used only when the equipment and fittings are designed for flare connections. Some systems require brazed joints, special fittings, or manufacturer-specific procedures.
Are these four tools enough for an HVAC technician?
No. They are a useful starting group, but a working technician also needs electrical testing tools, temperature instruments, safety equipment, leak detection tools, and equipment-specific service tools. The required kit depends on the technician’s work and the systems being serviced.
Conclusion
The answer to what are four hand tools specific to HVAC is a manifold gauge set, tubing cutter, flaring and swaging tool, and fin comb. Together, they help technicians measure system conditions, prepare refrigerant tubing, make secure connections, and restore coil airflow.
Use each tool gently and for its intended purpose. Confirm manufacturer instructions, protect yourself with proper safety gear, and never rely on one measurement to explain an entire HVAC problem. Build your tool kit one reliable item at a time, then keep learning through hands-on practice and trusted HVAC training resources.
