

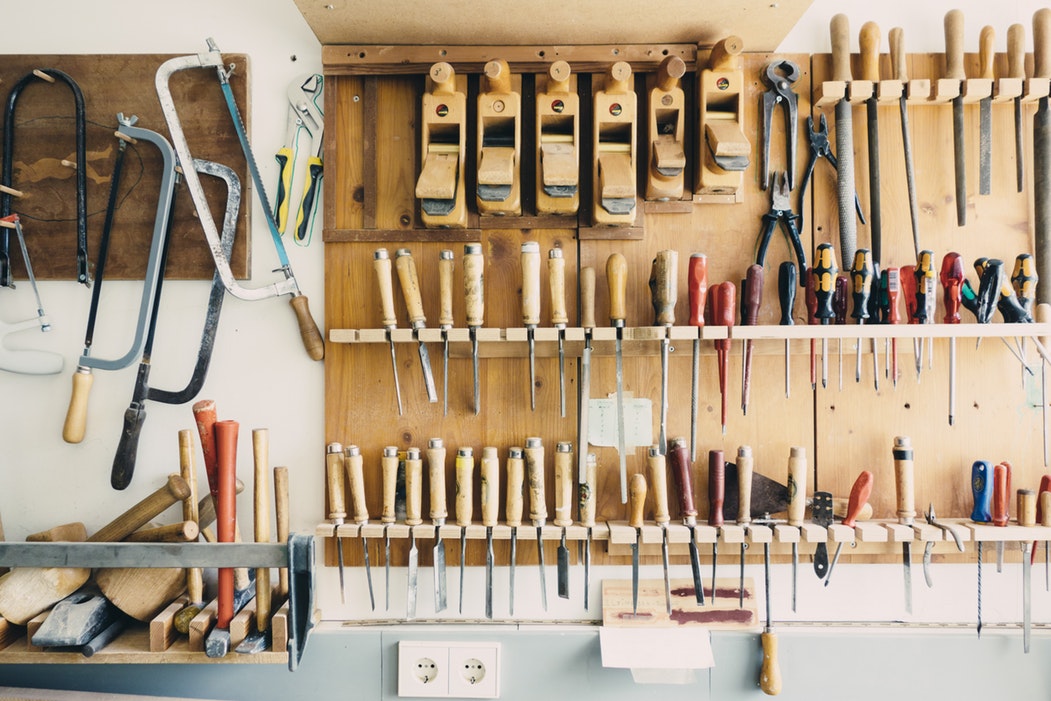
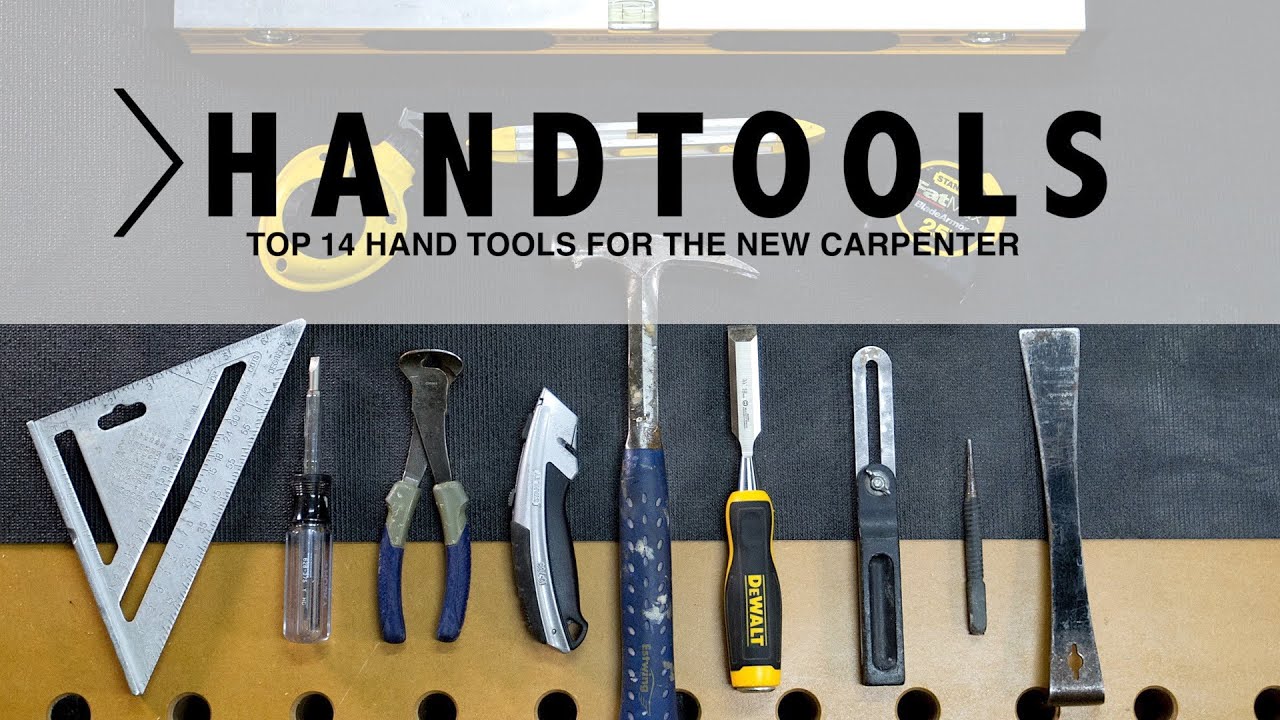
Must have carpentry hand tools include a tape measure, chisels, saws, planes, squares, hammers, and a sharp marking knife.
A good hand tool kit helps you measure twice, cut once, and build with control. Whether you are making a shelf, fitting trim, or framing a wall, the right tools make each task safer and more accurate. This guide explains the must have carpentry hand tools, how they work, what to look for, and which tools deserve a place in your toolbox.
What Makes a Carpentry Hand Tool Essential?
The must have carpentry hand tools solve basic tasks that appear in nearly every woodworking project. They help you measure, mark, cut, shape, join, and check your work. A tool earns a place in your kit when it is useful, durable, and easy to control.
You do not need the most expensive tools. A well-made basic tool often performs better than a large set of cheap tools. Good edges, solid handles, clear markings, and comfortable balance matter more than brand names.
The best carpentry tools also work together. A square guides your pencil line. A saw follows that line. A chisel cleans the joint. A plane makes the surface smooth. Think of the kit as a team, not a pile of separate tools.
Measuring and Marking Tools
Accurate carpentry starts before the first cut. A small error in layout can grow as the project moves forward. These must have carpentry hand tools help you place every line with care.
Tape Measure
A 16-foot or 25-foot tape measure is useful for most home and jobsite work. Look for a wide blade, a strong hook, clear numbers, and a lock that holds firmly.
A tape measure works well for rough measurements, board lengths, room dimensions, and material estimates. For fine furniture work, however, it may not give enough control on its own.
Practical tips include:
• Keep the hook free of packed dirt and glue.
• Check that the hook moves slightly. This movement helps account for inside and outside measurements.
• Use the same tape measure throughout one project when possible.
• Avoid bending the blade sharply, as a damaged blade can give poor readings.
Combination Square
A combination square checks 90-degree and 45-degree angles. It also helps mark straight lines across a board and measure short distances.
Choose a model with a solid metal rule and a locking head. A loose head can create false marks and lead to poor joints.
A combination square is one of the most useful must have carpentry hand tools because it handles layout, checking, and depth work in one compact tool.
Marking Knife
A marking knife creates a thin, exact line. The knife edge cuts wood fibers instead of brushing them aside, so it gives a cleaner reference than a thick pencil line.
Use a marking knife for joinery, hinge recesses, dovetails, and fine crosscuts. A sharp pencil still has value for rough work, but a knife is better when accuracy matters.
Carpenter’s Pencil
A carpenter’s pencil has a flat body that resists rolling. Its broad lead works well on rough lumber, while a sharpened tip can mark more precise lines.
Keep several pencils in your apron, toolbox, and shop. Searching for a pencil wastes time and often leads to rushed layout.
Chalk Line
A chalk line makes long, straight marks on framing lumber, floors, walls, and sheet goods. It is especially useful when a tape measure and short ruler cannot span the full work area.
Use fine chalk for indoor finish work and more weather-resistant chalk for outdoor framing. Test the chalk on scrap material first because some colors can stain light surfaces.
Saws for Common Carpentry Cuts
A saw should match the cut, the wood, and the level of control you need. The must have carpentry hand tools in this group let you cut boards without relying on power tools.
Crosscut Handsaw
A crosscut saw cuts across the wood grain. Its teeth slice the fibers rather than lifting long strands, which produces a cleaner crosscut.
Choose a saw with a comfortable handle and teeth suited to the work. A general-purpose crosscut saw is a strong starting point for repairs, trim, and basic woodworking.
Rip Saw
A rip saw cuts along the grain. Its teeth act more like small chisels, removing wood as the saw moves with the grain.
Many modern handsaws combine crosscut and rip features. A dedicated rip saw becomes more useful when you make furniture or work with thick boards often.
Backsaw
A backsaw has a stiff metal spine along its top edge. This spine keeps the blade straight and helps you make controlled cuts.
Common types include:
• Tenon saws for shoulder cuts and joints
• Dovetail saws for small, fine joinery
• Miter saws for accurate angle cuts
• Sash saws for general small work
A backsaw is a strong choice when clean joinery matters more than speed.
Coping Saw
A coping saw has a narrow blade stretched across a U-shaped frame. It cuts curves, inside corners, and small shapes.
Trim carpenters often use coping saws to fit inside corners. Coping a joint can hide small wall imperfections better than cutting two square ends together.
Japanese Pull Saw
A Japanese pull saw cuts on the pull stroke. This design allows a thin blade and fine control with less force.
Pull saws can make clean cuts in trim, dowels, and joinery. They are not always ideal for rough demolition because their thin blades can bend or break under hard use.
How to Choose a Handsaw
Consider these points before buying:
• Tooth count: More teeth usually give a finer cut, while fewer teeth remove wood faster.
• Blade length: Longer blades suit large stock, while shorter blades improve control.
• Tooth shape: Crosscut, rip, and combination patterns serve different cuts.
• Handle comfort: A poor grip causes fatigue and makes the cut wander.
• Replaceability: Some saws accept replacement blades, which can reduce long-term cost.

Hammers, Mallets, and Driving Tools
Driving tools help you place nails, adjust parts, assemble joints, and remove old materials. They must offer control without damaging the wood.
Claw Hammer
A 16-ounce claw hammer is a useful all-purpose choice for many carpentry tasks. It can drive and pull nails, tap joints, and perform light framing work.
A smooth face reduces the risk of leaving marks on finished wood. A milled face grips nails better but can leave dents if you miss.
For heavy framing, a 20-ounce or 25-ounce hammer may provide more driving power. For trim and cabinet work, a lighter hammer gives better control.
Finish Hammer
A finish hammer has a lighter head and a smooth face. It suits trim, small nails, cabinet parts, and delicate assembly.
Use light taps rather than hard swings near finished surfaces. A scrap wood block can protect a workpiece when you need to tap a joint together.
Rubber or Wood Mallet
A mallet transfers force without the sharp impact of a steel hammer. It is useful for assembling joints, adjusting planes, and tapping chisels.
A wood mallet works well with woodworking chisels. A rubber mallet is helpful when you want a softer strike or need to avoid leaving marks.
Nail Set
A nail set drives a nail head below the wood surface. The small hollow tip rests on the nail head and prevents the hammer from sliding off.
Use a nail set before filling holes in painted or stained trim. Choose a size that closely matches the nail head.

Chisels and Cutting Tools
Chisels remove wood in a controlled way. They clean joints, cut recesses, trim end grain, and make small corrections that a saw cannot handle.
Bench Chisels
A set of bench chisels from about 1/4 inch to 1 inch covers many common jobs. The 1/2-inch and 3/4-inch sizes often see the most use.
Look for:
• A strong steel blade
• A flat back that can be polished
• A comfortable handle
• A durable striking end
Keep the blade sharp. A dull chisel needs more force and is more likely to slip.
Firmer Chisel
A firmer chisel has a sturdy blade and can handle harder work. It is useful for chopping mortises and removing waste from strong joints.
Do not use a delicate paring chisel for heavy strikes. Match the chisel to the force required.
Paring Chisel
A paring chisel removes thin shavings and trims joints. You guide it with hand pressure instead of heavy hammer blows.
It is useful for fitting doors, cleaning dovetails, and bringing a joint to its final size. Keep the edge protected because a fine edge can chip if dropped.
Utility Knife
A utility knife cuts cardboard, shims, packaging, insulation, and soft materials. It can also score a line before a cut.
Always retract or cover the blade when it is not in use. Replace dull blades instead of pressing harder.
Block Plane
A low-angle block plane trims end grain, breaks sharp edges, and adjusts small fit problems. It is compact but highly useful.
The best result comes from a sharp iron and a light cut. If the plane chatters, check the blade, mouth opening, and grain direction.

Planes for Smoothing and Shaping Wood
Hand planes remove thin shavings from wood. They can flatten a surface, straighten an edge, or create a clean bevel.
Jack Plane
A jack plane is a general-purpose plane. It can remove high spots and prepare boards for smoother work.
It does not replace a power planer for large amounts of stock removal. Still, it gives excellent control and leaves a surface that often needs little sanding.
Jointer Plane
A jointer plane has a long sole that helps straighten board edges and faces. It bridges low areas while cutting high areas.
This tool is valuable when preparing boards for edge joints. It requires practice, but the results can be precise and quiet.
Smoothing Plane
A smoothing plane takes fine shavings and leaves a polished surface. It is often used near the end of a project.
Plane with the grain when possible. Tear-out occurs when the blade lifts fibers instead of slicing them cleanly.
Plane Care
Plane performance depends on setup and care. Keep the sole clean, sharpen the blade, and store the tool where moisture will not cause rust.
A common beginner mistake is to blame the plane when the real problem is a dull blade or poor adjustment. Learn to set the blade for a thin shaving before increasing the cut.
Screwdrivers, Pliers, and Fastener Tools
Carpentry involves more than cutting wood. You also install hardware, adjust tools, and remove damaged fasteners.
Screwdriver Set
A basic set should include several Phillips, slotted, square-drive, and Torx drivers. Different screws require different tips.
A driver that fits well reduces stripped screw heads. Keep the tip aligned with the screw and apply steady pressure while turning.
Bit Brace
A bit brace is a hand-powered tool for drilling holes. It offers strong control and works well when power is unavailable or quiet work is preferred.
It is slower than a drill, but it can produce clean holes when used with sharp bits. It also provides useful feedback because you can feel the bit enter the wood.
Pliers
Slip-joint, long-nose, and locking pliers cover many repair tasks. They grip wire, remove staples, hold small parts, and help pull damaged nails.
Do not use pliers as a substitute for a wrench when working on hardware. The jaws can damage the fastener.
Nail Puller
A nail puller removes embedded nails with less damage than a claw hammer. Some models have jaws that bite below the wood surface.
Place a thin scrap under the tool to spread pressure and protect the board. This simple step can prevent a deep dent.

Clamps and Holding Tools
Clamps act like a second set of hands. They hold parts still while glue dries, joints are cut, or measurements are checked.
Bar Clamps
Bar clamps handle panels, cabinets, shelves, and large assemblies. Their long bars provide a wide reach.
Use even pressure. Excess force can bow a panel or squeeze too much glue from a joint.
Pipe Clamps
Pipe clamps are useful for large projects because you can change the pipe length. They offer strong pressure for table tops and wide glue-ups.
Protect the wood with pads. Bare metal can stain or dent the surface.
Quick-Release Clamps
Quick-release clamps are convenient for short tasks and one-handed adjustments. They are useful for holding trim, stops, and small workpieces.
They usually provide less pressure than heavy bar clamps. Treat them as positioning tools rather than a replacement for every large clamp.
Hand Screw Clamps
Wooden hand screw clamps apply pressure without marking the work as easily as metal jaws. They work well for glue-ups and odd shapes.
Keep several sizes if you build furniture. One large clamp rarely solves every holding problem.
Layout and Checking Tools
Layout tools prevent mistakes before they become permanent. They help you check flatness, level, plumb, and angle.
Try Square
A try square checks a true 90-degree angle and marks short crosscut lines. Its solid stock and blade make it useful for both layout and inspection.
Place the stock against the board edge. If light shows between the blade and wood, the edge or square may not be true.
Bevel Gauge
A bevel gauge copies and transfers angles. It is useful for stair parts, roof work, trim, and unusual joints.
Unlike a protractor, it transfers an existing angle directly from one part to another.
Level
A 24-inch level suits many indoor carpentry tasks. A longer level helps with walls, cabinets, and large surfaces.
Keep the vials clean and check the level from time to time. To test it, place it on a surface, note the bubble, turn it end for end, and compare the reading.
Straightedge
A straightedge reveals bows, dips, and twists in boards or panels. It can be a dedicated tool or a known-straight piece of material.
Do not assume a board is straight because it looks straight. A quick check can save hours of fitting and rework.
Safety Gear and Tool Maintenance
Safety equipment is part of the must have carpentry hand tools system, even though it does not cut or fasten wood. Safe habits protect your hands, eyes, hearing, and lungs.
Wear safety glasses when cutting, striking, or pulling nails. Use hearing protection near power tools, and wear a dust mask or respirator when cutting treated wood, painted surfaces, or dusty materials.
Maintain tools with simple habits:
• Sharpen chisels, plane irons, and saws when they begin to require extra force.
• Wipe metal surfaces with a light rust-preventive oil.
• Store sharp tools with edges covered or facing away from your hand.
• Keep handles tight and replace cracked handles.
• Clean glue from clamps before it hardens.
• Inspect hammers for loose heads before use.
A sharp tool is often safer than a dull one because it needs less force. In my own workshop, the injuries and damaged cuts I have seen usually followed rushed work, poor grip, or a neglected edge rather than normal careful use.
Follow product instructions for treated lumber, finishes, and adhesives. Workplace carpentry should also follow applicable Occupational Safety and Health Administration requirements, especially for eye protection, respiratory protection, and hazardous materials.
How to Build a Carpentry Hand Tool Kit
Buying every tool at once can waste money. Build your kit around the work you actually plan to do.
Starter Kit
A beginner can handle many home repairs with:
• 16-foot tape measure
• Combination square
• Carpenter’s pencils
• Marking knife
• 16-ounce claw hammer
• Utility knife
• Crosscut handsaw
• Screwdriver set
• Basic chisel set
• Block plane
• Two quick-release clamps
• Safety glasses
This group covers measuring, marking, cutting, fastening, shaping, and holding.
Intermediate Kit
Add these tools as your skills grow:
• Backsaw
• Coping saw
• Japanese pull saw
• Nail set
• Bevel gauge
• 24-inch level
• Bar clamps
• Nail puller
• Jointer or jack plane
• Sharpening stones
Furniture and Fine Woodworking Kit
Furniture work may require:
• Dovetail saw
• Tenon saw
• Shoulder plane
• Paring chisels
• Mortise gauge
• Marking gauge
• Cabinet scraper
• Longer straightedge
• Specialized clamps
Buy based on project needs. A dovetail saw is valuable for drawers and casework, but it may sit unused in a basic home repair kit.
A Mistake Worth Avoiding
One common mistake is buying a large tool set because it looks complete. Sets often include tools you will rarely use while leaving out better versions of the tools you need every day.
Start with a small, dependable group. Replace weak tools as they wear out. This approach costs less and teaches you which features matter.
How to Choose Quality Hand Tools
Quality does not always mean premium pricing. It means the tool performs its job consistently and remains safe under normal use.
Check these features before buying:
• Fit and finish: Handles should feel secure, and metal parts should have no sharp flaws.
• Balance: A hammer, chisel, or plane should feel controlled in your hand.
• Edge quality: Cutting tools should accept sharpening and hold an edge.
• Accuracy: Squares, rules, and levels should be true.
• Replacement parts: Saws, blades, and handles may need replacement later.
• Warranty and support: Clear support can matter more than a famous logo.
Whenever possible, hold the tool before buying it. A handle that feels good for one person may create pressure points for another.
Store tools in a dry place. A toolbox with separate sections prevents sharp edges from hitting one another. For a busy shop, a wall rack or drawer system makes tool selection faster and reduces clutter.
Common Carpentry Hand Tool Mistakes
Even the must have carpentry hand tools can cause poor results when used in the wrong way.
Cutting Without Supporting the Work
A loose board can move during a cut. Clamp it firmly or support it on a stable surface. Keep the waste side clear so the saw does not bind.
Measuring From Different Reference Points
Measurements can drift when you change reference edges. Choose one reliable edge and mark from it throughout the project.
Using a Hammer on Every Chisel
Some chisels can take a mallet strike, but thin paring chisels may not. Read the tool design and use hand pressure when appropriate.
Ignoring Grain Direction
Planing or chiseling against the grain can cause tear-out. Test the grain on a scrap area and change direction when the fibers begin to lift.
Forcing a Dull Tool
Extra force reduces control. Sharpen or replace the blade, then let the tool do the work.
Skipping a Test Cut
A test cut in scrap wood can reveal the saw path, angle, and fit. It takes seconds and can save a finished board.
Must Have Carpentry Hand Tools for Different Jobs
The ideal kit changes with the task. Here is a practical starting point for common projects.
Home Repairs
Use a tape measure, combination square, claw hammer, screwdrivers, utility knife, level, handsaw, pliers, and a small chisel set.
Trim Installation
Add a fine backsaw, coping saw, nail set, block plane, bevel gauge, sharp pencil, and several clamps. These tools help create tight joints and clean edges.
Framing
Choose a durable tape measure, chalk line, framing square, 20-ounce hammer, crosscut handsaw, utility knife, level, and plumb tool. Framing tools favor speed and strength over fine surface finish.
Cabinetmaking
Use accurate squares, marking knives, backsaws, chisels, block and smoothing planes, clamps, screwdrivers, and a straightedge. Cabinet work rewards careful layout more than brute force.
Furniture Repair
A small chisel set, block plane, clamps, screwdrivers, nail set, marking tools, and a fine saw can handle many repairs. Add specialty tools only when a repair calls for them.
Frequently Asked Questions About Must Have Carpentry Hand Tools
What are the most important carpentry hand tools for beginners?
Start with a tape measure, combination square, pencil, hammer, handsaw, utility knife, screwdrivers, chisels, clamps, and safety glasses. This group covers most basic measuring, cutting, fastening, and repair tasks.
Do I need expensive hand tools to start carpentry?
No. You need tools that are accurate, safe, comfortable, and easy to maintain. A small set of dependable tools is usually more useful than a large set of low-quality tools.
Which hand saw should a beginner buy first?
A general-purpose crosscut handsaw is a practical first choice because it handles many common board cuts. Add a backsaw or coping saw when you begin making trim joints or curved cuts.
How often should carpentry tools be sharpened?
Sharpen a blade whenever it requires extra force, leaves a rough cut, or begins to slip. The exact timing depends on the wood, tool steel, and amount of use.
Is a block plane necessary for basic carpentry?
A block plane is not required for every beginner project, but it is very useful for trimming edges, fitting doors, removing sharp corners, and adjusting small joints. It can replace a great deal of sanding when properly set up.
What is the safest way to store sharp hand tools?
Store sharp tools with blade guards, edge covers, or dedicated slots. Keep cutting edges pointed away from your hand and avoid placing loose chisels or knives in a crowded toolbox.
How many clamps does a beginner need?
Two to four quick-release clamps are enough for small repairs and simple projects. Add longer bar clamps as your work becomes wider or involves glue-ups.
Conclusion
The must have carpentry hand tools give you control from the first measurement to the final fit. Begin with accurate layout tools, a dependable saw, a hammer, chisels, clamps, screwdrivers, and basic safety gear. Add planes, specialty saws, and advanced layout tools as your projects demand them.
Care for your tools, keep cutting edges sharp, and slow down when accuracy matters. A modest kit in skilled hands can produce better work than a crowded toolbox used without care. Choose your first tools thoughtfully, practice on scrap wood, and keep building your skills with each project.
