

You can level ground with hand tools by marking high spots, cutting them down, and compacting low spots.
If you have ever tried to set up a shed, patio, garden bed, or play area, you already know this: uneven ground causes problems fast. I have spent enough time on job sites and backyard projects to know that good ground prep is what separates a stable finish from a frustrating redo. In this guide, I’ll walk you through how to level ground with hand tools in a simple, practical way, so you can get a flat, workable surface without renting heavy equipment.
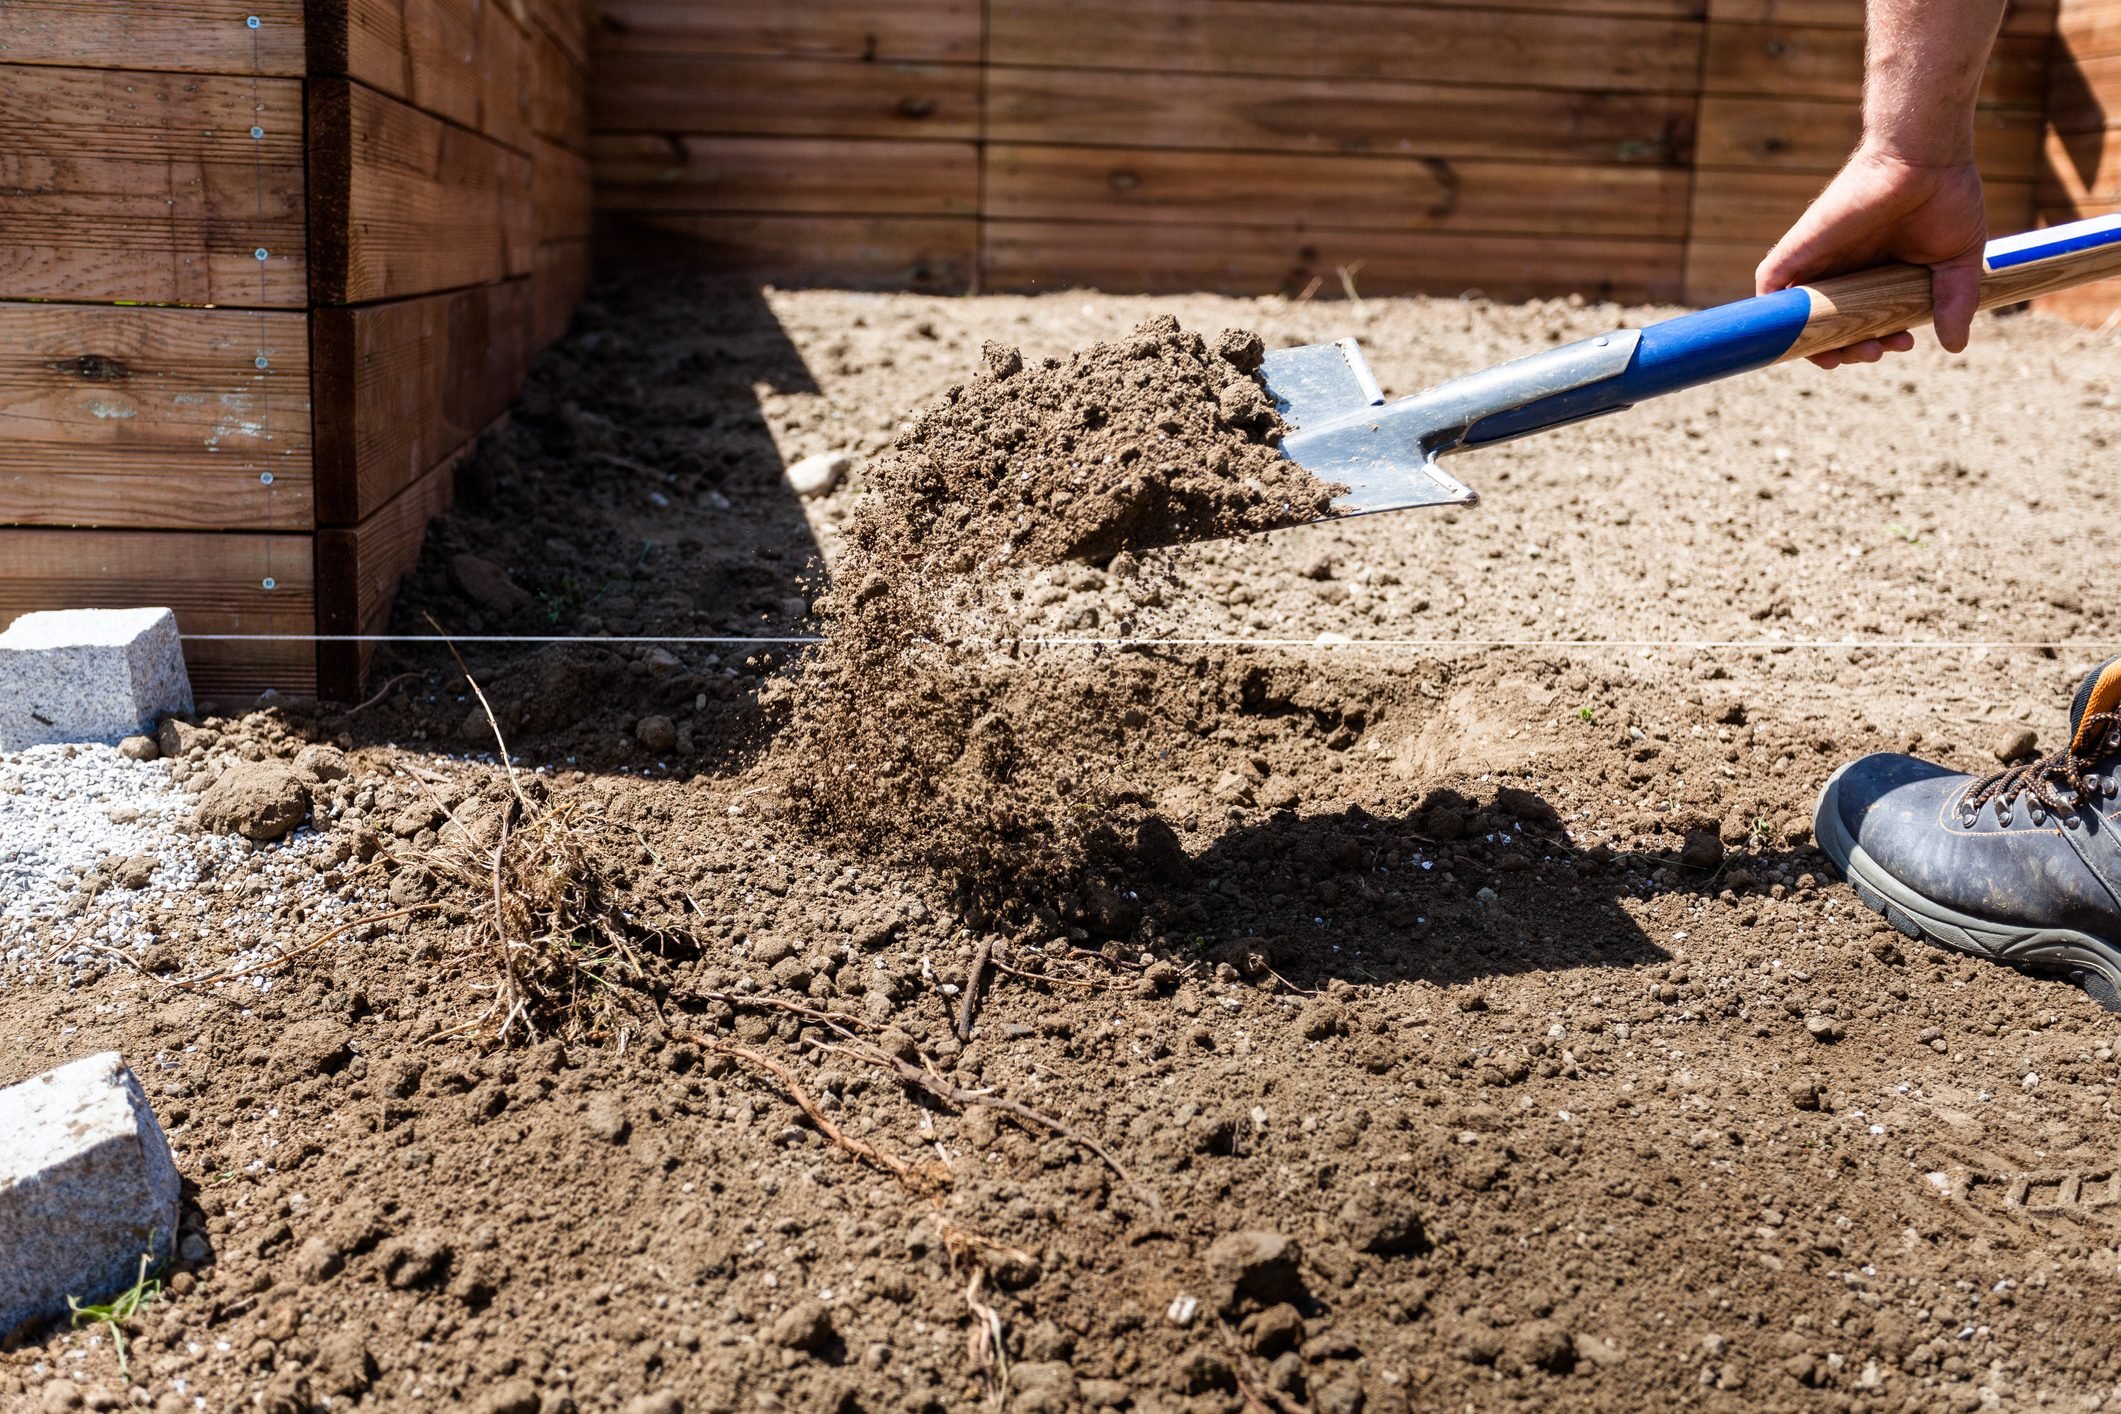
Why leveling ground matters
Leveling ground is not just about looks. It helps water drain the right way, keeps structures stable, and makes the area safer to walk on. When the soil is uneven, small dips can turn into puddles, soft spots, or shifting bases.
I have seen people rush this step and pay for it later. A shed door drags. A paver patio rocks. A raised bed leans. The fix usually starts with the same thing: taking the time to level the ground with hand tools the right way.
A level surface helps with:
- Better drainage so water does not pool in one area
- Stronger support for sheds, patios, stepping stones, and fence posts
- Safer footing for walkways and play spaces
- Cleaner-looking finished work
- Less settling over time

Tools and materials you will need
You do not need a machine to do this job well. For many small to medium spaces, simple hand tools are enough if you are patient and methodical.
Here is a practical kit:
- Shovel for cutting high spots and moving soil
- Garden rake for smoothing and spreading soil
- Hand tamper for compacting loose ground
- Long level or string level for checking slope
- Tape measure for depth checks
- Stakes and string for marking boundaries
- Wheelbarrow for moving soil
- Landscape fabric if you are preparing for pavers or a path
- Topsoil, sand, or gravel depending on the project
If the surface is mostly dirt, these tools are usually enough. If you are working on a larger slope or heavy clay, you may need a little more time and more passes with the tamper.
How to level ground with hand tools step by step
The best way to level ground with hand tools is to work in stages. Do not try to make it perfect in one pass. I have found that careful checking saves more time than guessing ever does.
1. Mark the area
Start by outlining the space with stakes and string. This gives you a clear boundary and helps you see the working area at a glance. If the project needs a slight slope for drainage, plan for that now instead of fighting it later.
Walk the area and look for:
- High spots
- Low spots
- Soft soil
- Roots or rocks
- Areas where water already collects
This first walk tells you almost everything you need to know.
2. Remove debris and loose material
Clear away sticks, old roots, stones, trash, and grass clumps. Bare soil is easier to shape and compact. If you skip this step, the ground may settle unevenly later.
When I prep an area, I like to keep the surface clean before I touch the soil. It sounds simple, but it makes the rest of the work smoother and more accurate.
3. Identify the high spots
Use a long level, straight board, or string line to see where the ground rises. High spots should be cut down first rather than filling every low spot. That approach gives you a more stable base and avoids making the area too soft.
Take off small amounts at a time. It is better to remove too little and check again than to overcut and create a new dip.
4. Cut down the high ground
Use a shovel or spade to slice into the raised areas. Work in thin layers and spread the removed soil into nearby low areas. If the soil is hard, water it lightly first to make cutting easier.
This is one of the most common mistakes I see: people dig too deep too fast. Slow cuts give you much better control when you level ground with hand tools.
5. Fill the low spots
Move the soil you removed into low areas. Add it in thin layers instead of dumping a big pile all at once. Spread each layer with a rake, then check the height again.
If the low spots are deep, you may need:
- Clean fill dirt for bulk height
- Topsoil for planting areas
- Sand for paver bases
- Gravel for drainage layers
The right fill depends on what the ground will support.
6. Rake and smooth the surface
Once the height looks close, use a garden rake to even everything out. Pull soil from high areas into low ones. Work in long, smooth strokes to avoid creating ridges.
This part often feels like finishing a cake. The rough shape is already there. Now you are smoothing the top so the final result looks right and performs well.
7. Compact the soil
After spreading the soil, compact it with a hand tamper. This step matters because loose soil settles later, which can undo your work. Compact in overlapping passes until the surface feels firm underfoot.
If the soil is very dry, a light mist of water can help it compact better. Do not soak it. Too much water makes mud, and mud does not hold shape well.
8. Check level and slope again
Use a long board with a level, or stretch string across the area to confirm the surface is even. For drainage, a very slight slope away from structures is often better than a dead-flat surface. Many outdoor projects need about 1/8 to 1/4 inch of slope per foot, depending on the job.
Recheck after compacting. Soil almost always changes a little once it is tamped.
9. Make final touch-ups
Fill tiny dips, shave off small humps, and tamp again. This final pass is where the surface starts to look professional. A little patience here makes a big difference later.
If you are preparing for pavers, stepping stones, or a shed base, this is the moment to be picky. I always say the last 10 percent of the job protects the first 90 percent.
Best hand tools for different surfaces
Not every surface responds the same way. Knowing which hand tools to use can save effort and improve results.
For loose soil:
- Shovel
- Garden rake
- Hand tamper
For compacted dirt:
- Spade
- Mattock or digging bar for tough spots
- Rake
- Tamper
For gravel base prep:
- Rake
- Flat shovel
- Tamper
- Straight board for checking grade
For garden or planting beds:
- Fork or spade
- Rake
- Level line
- Compost or topsoil if needed
If you are working with clay soil, expect more resistance. If you are working with sandy soil, expect more shifting. Both can be leveled with hand tools, but both need patience.
How to know when the ground is level enough
“Perfectly level” is not always the goal. In many projects, the better target is a stable and properly graded surface. That means flat enough for the job, but sloped enough to handle water if needed.
A good surface should:
- Feel firm when you walk on it
- Show no large dips or humps
- Match your intended slope or level line
- Stay consistent after tamping
- Support the structure or use case without wobble
For patios and sheds, stability matters more than cosmetic smoothness. For gardens, drainage often matters more than a dead-flat finish.
Common mistakes to avoid
I have seen a lot of ground prep mistakes, and most of them are avoidable. A few simple habits can save hours of rework.
Avoid these problems:
- Skipping compaction, which leads to settling
- Filling low spots without cutting high spots first
- Working too fast and removing too much soil
- Ignoring drainage
- Using the wrong fill material
- Not checking level more than once
- Leaving roots, stones, or debris in the base
One of the biggest lessons I learned early on was this: leveling is a process, not a one-shot task. The best results come from small corrections, not big guesses.
When to use hand tools instead of machinery
Hand tools are often the smartest choice for smaller projects. They cost less, give you more control, and avoid the mess that comes with heavy equipment. For gardens, narrow side yards, small patios, and repair spots, hand tools are usually enough.
Hand tools make sense when:
- The area is small or moderate in size
- Access is tight
- You only need a shallow grade correction
- You want precise control
- Renting machinery would cost more than the job is worth
If the site has a major slope, deep fill, or drainage problem, machinery may be faster. But for many homeowners, learning how to level ground with hand tools is a practical skill that pays off again and again.
Real-world tips from the field
The best advice I can give is to work in layers and keep checking your progress. That is the difference between a rough patch and a dependable base. Soil behaves a little like a sponge and a little like a stack of books; if one part is off, the whole surface can shift.
A few useful habits:
- Work after light rain if the soil is dry and hard, but avoid muddy conditions
- Keep your tamper clean so it packs evenly
- Use a straight board to bridge dips and spot uneven areas
- Step back often and look at the surface from different angles
- Build in drainage before final compaction
I also recommend saving extra fill material until the end. That way you can make small corrections after the soil settles and compacts.
Benefits of leveling ground by hand
There is a real advantage to doing this work yourself. You get a better feel for the site, and that knowledge helps with every future project on the property.
Benefits include:
- Lower cost than equipment rental
- Better control over fine adjustments
- Easier work in tight spaces
- Better understanding of drainage and soil behavior
- Satisfaction from doing the job well yourself
For small projects, hand tools can deliver excellent results if you take your time and check your work carefully.

Frequently Asked Questions of how to level ground with hand tools
How long does it take to level ground with hand tools?
It depends on the size of the area and how uneven the soil is. A small backyard patch may take a few hours, while a larger project can take a full day or more.
Can I level ground without a tamper?
Yes, but the surface will not be as stable. A hand tamper helps compact the soil so it does not settle later and create new low spots.
Should I use sand, topsoil, or gravel?
Use the material that fits the project. Gravel works well for drainage and bases, topsoil is best for planting areas, and sand is often used under pavers or for fine grading.
Do I need a perfect level surface?
Not always. Many outdoor projects need a slight slope for drainage, so the goal is often a stable, well-graded surface rather than a perfectly flat one.
How do I keep the ground from settling later?
Compact the soil in layers, remove debris, and avoid using loose fill all at once. If needed, water lightly and tamp again after the area has had time to settle.
Conclusion
Learning how to level ground with hand tools is one of those skills that pays off in almost every outdoor project. Once you know how to mark the area, cut high spots, fill low spots, and compact the soil, you can build a stronger base for patios, sheds, paths, and garden spaces. The key is patience, small adjustments, and steady checking along the way.
If you are planning a project soon, start with the ground prep and do not rush it. A solid base makes everything above it work better, last longer, and look cleaner. If this guide helped, leave a comment with your project or explore more practical home and yard tips to keep building with confidence.
