

Introduction
A dead blow hammer is useful when you need a firm strike with less bounce, less noise, and less risk of damaging the work surface. In a U.S. garage, auto shop, plant, or jobsite, it is often the right tool for seating parts, loosening stuck components, and making small adjustments without leaving deep marks.
The best time to use one is when controlled impact matters more than maximum striking force. The hammer’s hollow head contains shot, pellets, sand, or another filler that helps absorb rebound after impact.
A dead blow hammer is not a safe choice for every job. Do not use it as a substitute for a sledgehammer, a soft-face mallet, or a rated striking tool. Choose the hammer based on the material, the amount of force needed, and the manufacturer’s instructions.
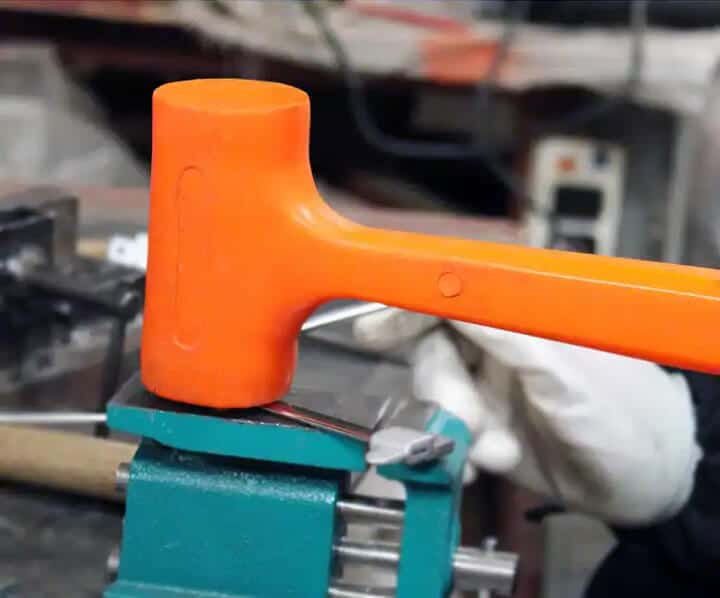
Quick Answer: When Should You Use a Dead Blow Hammer?
Use a dead blow hammer when you need to:
- Seat a bearing, bushing, seal, pulley, or other part.
- Loosen a stuck part without strong rebound.
- Adjust sheet metal, machinery, or wood without a deep dent.
- Align parts during assembly.
- Tap a workpiece into position on a bench or inside a machine.
- Reduce the chance of sparks from steel-on-steel contact when using a tool specifically rated for that purpose.
- Apply repeated, controlled blows where a regular steel hammer would bounce or mark the surface.
The main benefit is controlled energy transfer. A standard hammer can rebound sharply after it hits. A dead blow hammer reduces that bounce because the filler inside the head moves and absorbs part of the impact energy.
Use a different tool when you need to drive nails, split material, break concrete, strike a hardened punch, or deliver very high force.
Key Takeaways
- A dead blow hammer gives a controlled, low-rebound strike.
- It works well for assembly, alignment, adjustment, and light-to-medium removal work.
- It can protect finished surfaces better than a steel hammer, but it is not automatically non-marring.
- Inspect the face, handle, and head before each use.
- Never strike hardened steel tools unless the hammer is made and rated for that task.
What Is a Dead Blow Hammer?
A dead blow hammer is an impact tool with a head designed to limit rebound. Many models have a hollow head filled with steel shot, metal pellets, sand, or a similar material. Some use a molded design or a special face to spread the load.
When the hammer hits a surface, the filler moves inside the head. That movement reduces the sharp bounce that often follows a normal hammer strike. The result is a steadier blow with better control.
The term “dead blow” describes the hammer’s behavior, not one single design. Products vary by:
- Head material.
- Face material.
- Filler type.
- Head weight.
- Handle length.
- Face shape.
- Resistance to chemicals, heat, and oil.
A dead blow hammer may have a polyurethane, rubber, nylon, plastic, or metal face. The face determines how the tool contacts the work. A soft face may help reduce marks, while a harder face may deliver more force.
Do not assume that every dead blow hammer is spark-resistant, non-marring, or suitable for use near flammable materials. Those properties must come from the product’s design and documentation.
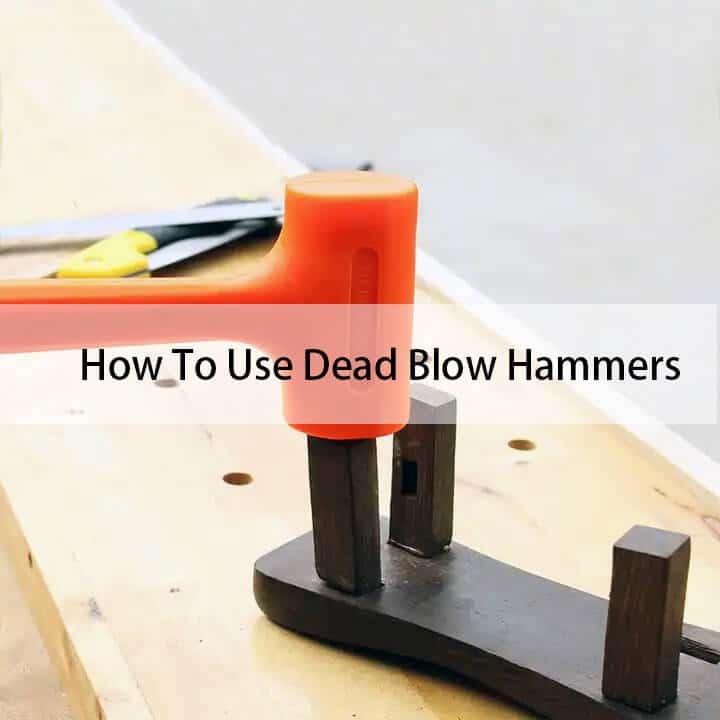
The Main Reasons to Use a Dead Blow Hammer
A dead blow hammer earns its place when ordinary hammer rebound, surface damage, or poor control creates a problem.
1. To reduce rebound
A regular steel hammer can bounce after the strike. That rebound may cause a second, unwanted hit or force your hand and wrist out of position.
A dead blow hammer limits this movement. It still delivers impact, but it feels more controlled. This helps when working near delicate parts, tight clearances, or finished surfaces.
2. To seat parts without heavy damage
Use a dead blow hammer to seat parts that need a firm tap rather than a hard blow. Common examples include:
- Wheel hub components.
- Bearings and bushings.
- Machine guards.
- Covers and access panels.
- Trim parts.
- Wooden joints.
- Cabinet or fixture components.
- Pipe or duct sections designed for impact adjustment.
Always strike the part through a suitable drift, block, or installation tool when the part maker requires one. Do not hit a bearing seal, thin flange, sensor, or precision surface directly unless the instructions allow it.
3. To align parts during assembly
A dead blow hammer is often useful when bolt holes, brackets, shafts, or machine parts are close to alignment but need a small adjustment.
The low rebound helps you make short taps instead of large swings. This can improve control in a crowded work area.
Do not use the hammer to force parts into alignment when the bolts, dowels, or shafts are badly out of position. Excessive force may bend the part or damage threads.
4. To loosen stuck components
A controlled impact can help break friction, rust, or light corrosion between parts. You might use a dead blow hammer on:
- A stuck pulley.
- A seized machine cover.
- A rusted bracket.
- A stubborn coupling.
- A lightly stuck drawer slide or fixture.
- A frozen adjustment part.
The hammer may work best when paired with penetrating oil, heat approved for the job, or a proper puller. Never hit a pressurized vessel, a fuel system part, or a component that could release stored energy.
5. To adjust metal without a sharp steel mark
A dead blow hammer with a suitable face can help move light-gauge metal into place. It is common in sheet metal work, automotive repair, fabrication, and maintenance.
The result still depends on the face material and the workpiece. A hard nylon face can leave a mark on soft aluminum or a coated surface. Test on scrap or an unseen area first.
6. To improve control in tight spaces
The reduced rebound can help when a hammer must be used near glass, painted panels, electronics, or other nearby parts. It does not make the task risk-free, but it can reduce unwanted movement.
Choose a hammer size that fits the space. A long handle or oversized head may increase control problems even if the hammer itself has low rebound.

When Not to Use a Dead Blow Hammer
A dead blow hammer is the wrong tool when the job calls for a different type of impact or a higher level of protection.
Do not use one for these tasks unless the manufacturer specifically approves the method:
- Driving nails or framing fasteners.
- Breaking concrete, masonry, or stone.
- Splitting wood.
- Striking a cold chisel, punch, wedge, or similar hardened tool.
- Removing large, heavily seized parts.
- Striking a pressurized container.
- Hitting live electrical equipment.
- Striking a part with stored spring, hydraulic, pneumatic, or mechanical energy.
- Repeatedly hitting a sharp edge that could cut the face.
- Using a damaged hammer.
- Working near flammable vapors with a tool that is not rated for that environment.
A dead blow hammer may look gentle because it has a plastic or rubber face. It can still cause eye injuries, crushed fingers, damaged parts, and flying chips.
For heavy removal work, a puller, press, breaker bar, or properly sized sledgehammer may be more suitable. For delicate surfaces, a rubber mallet or soft-face mallet may offer better protection. The correct choice depends on the job, not just the name printed on the tool.
Dead blow hammer vs. rubber mallet
A rubber mallet usually has a soft face and works well for light tapping, shaping, flooring, camping equipment, and general assembly.
A dead blow hammer often delivers a stronger and more controlled impact. It is usually the better choice when you need more force but still want to limit rebound.
Dead blow hammer vs. soft-face hammer
A soft-face hammer may have replaceable nylon, urethane, brass, or copper faces. It offers a known face material and may be better for a specific finish or part.
A dead blow hammer controls rebound through its internal design. Some models also have soft faces, but not all do.
Dead blow hammer vs. steel hammer
A steel hammer delivers a hard, concentrated strike and is useful for many general tasks. It also creates more rebound and a higher chance of dents, scratches, or surface damage.
Use a dead blow hammer when control and surface protection matter more than maximum force.
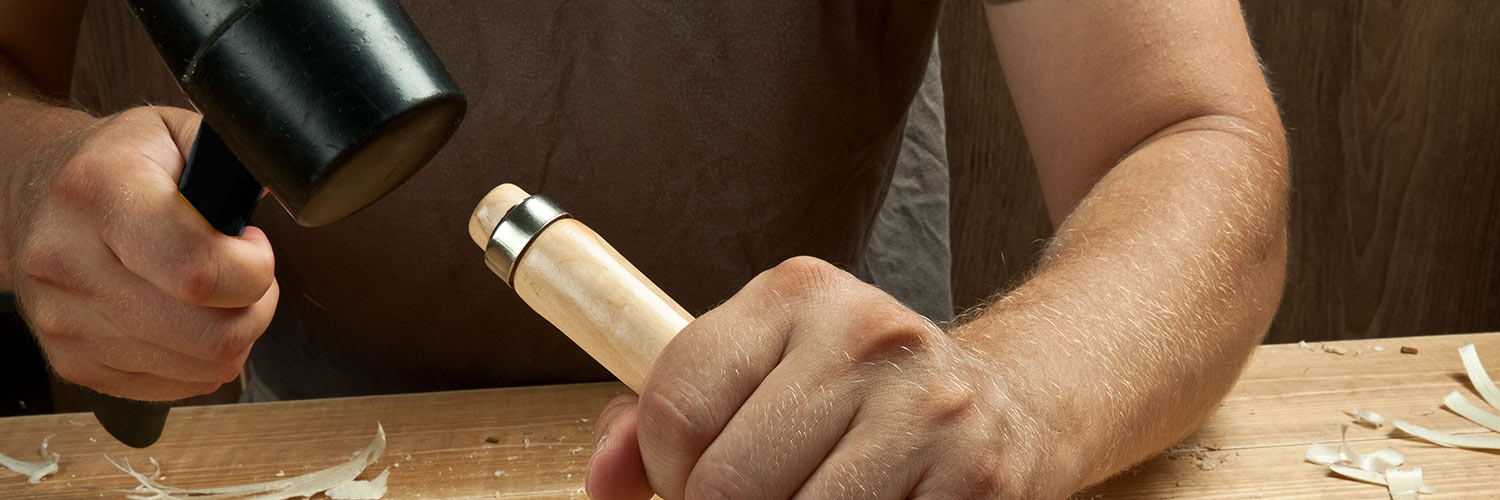
How to Choose the Right Dead Blow Hammer
Choose the hammer by matching its face, weight, and size to the work.
Face material
The face should be hard enough to transfer force but soft enough to avoid damaging the workpiece.
| Face type | Common benefit | Main concern |
|---|---|---|
| Rubber | Gentle contact and good grip | May wear, mark, or tear |
| Polyurethane | Good balance of durability and surface protection | Not suitable for every chemical or temperature |
| Nylon or plastic | Firm impact with less marking than steel | Can chip or crack |
| Brass or copper | Useful for some metalwork | Can deform and may not suit all surfaces |
| Steel | High impact and durability | More risk of dents, sparks, and damage |
This table gives general guidance only. The exact material, hardness, and shape vary by manufacturer.
Head weight
A heavier head can deliver more energy, but it also requires more control. A lighter head may be better for small parts, tight spaces, and repeated assembly work.
Start with the smallest hammer that can do the job. Moving up in weight is better than starting with excessive force.
Handle length
A short handle gives better control in cramped areas. A longer handle can increase leverage and swing speed but may be harder to control.
Keep your hand away from pinch points. A hammer with a comfortable grip can reduce fatigue, but it does not replace proper body position.
Replaceable faces
Replaceable faces can extend tool life and let you match the face to the work. Check whether replacement parts are available before buying a specialized hammer.
Replace the face when it is badly worn, cracked, split, loose, or contaminated with material that could transfer to the workpiece.
Spark and static concerns
Some dead blow hammers are marketed for reduced spark risk. That does not mean every plastic-faced or shot-filled hammer is safe in a hazardous location.
If the work involves flammable vapors, dust, or gases, follow the site’s hazard assessment and tool rules. Use only equipment with the required rating and documentation. OSHA’s general hand-tool rules do not turn an ordinary hammer into an approved tool for every hazardous location.

How to Use a Dead Blow Hammer Safely
Follow this basic process before and during the strike.
1. Identify the part and the force path
Know what you are hitting and what sits behind it. Check for:
- Electrical wiring.
- Hydraulic or pneumatic pressure.
- Springs.
- Fuel or chemical lines.
- Glass.
- Sensors.
- Thin castings.
- Hidden fasteners.
- Pinch points.
If the part can move suddenly, secure it before striking.
2. Select the correct contact surface
Use the hammer face recommended for the material. If direct contact could damage the part, place a proper block, drift, or protective pad between the hammer and the work.
Do not use a random piece of scrap metal as a drift. It may chip, bend, or send fragments toward you.
3. Inspect the hammer
Before use, check for:
- Cracks in the head.
- Loose or damaged handles.
- A split or swollen face.
- Missing face parts.
- Exposed filler.
- Deep cuts or gouges.
- A head that sounds loose or shifts on the handle.
Remove damaged tools from service. Do not repair a cracked head with tape, glue, or a makeshift wrap.
4. Wear suitable protection
At a minimum, wear safety glasses with side protection when striking objects. Add gloves when they improve grip and do not create a snag risk.
Use hearing protection in a noisy shop or work area. Wear safety shoes when handling heavy parts.
5. Start with light taps
Use short, controlled strikes. Watch the part after each hit.
If the part does not move, stop and reassess. More force is not always the answer. The part may have a hidden fastener, a retaining ring, a damaged thread, or a different failure mode.
6. Keep your hand and body clear
Never hold a small part in your hand while striking it. Clamp it, support it, or use a fixture.
Stand so that a slip or sudden movement will not send the hammer into your hand, face, or another person.
7. Inspect the result
Look for:
- Cracks.
- New dents.
- Deformed edges.
- Damaged seals.
- Bent shafts.
- Mushroomed surfaces.
- Loose or missing fasteners.
A successful job moves or seats the part without creating new damage.

Common Mistakes to Avoid
Mistake 1: Assuming “dead blow” means “no damage”
The term describes reduced rebound. It does not guarantee a mark-free strike.
A hard face, a sharp edge, or a heavy swing can still damage paint, aluminum, plastic, glass, or a finished surface.
Mistake 2: Using the hammer on a hardened punch
Hardened tools can chip when struck. Those chips can become high-speed fragments.
OSHA’s hand-tool rule at 29 CFR 1910.242(b) warns that impact tools with mushroomed heads can create hazards. Inspect striking tools and use the correct hammer for the application.
Mistake 3: Choosing the biggest hammer
A large hammer may move the part faster, but it also raises the chance of bending, cracking, or overshooting the target.
Use the lowest force that completes the task.
Mistake 4: Striking near a live or pressurized system
A hammer strike can damage insulation, fittings, housings, and lines. It can also release stored energy.
Shut down, isolate, and verify the system before striking when the task involves electricity, pressure, heat, fuel, or chemicals.
Mistake 5: Ignoring the work surface
A dead blow hammer may transfer force through a thin panel or fragile casting. Support the work correctly so the impact does not bend it.
Mistake 6: Continuing after the tool fails to work
If light and medium taps do not help, investigate the cause. Use a puller, press, heat, penetrating oil, or another approved method when appropriate.
Do not keep swinging harder without checking the part and the tool.

A Simple Decision Guide
Use this quick guide before choosing a hammer:
| Your task | Better starting choice |
|---|---|
| Seat a part with controlled force | Dead blow hammer |
| Align a bracket or cover | Dead blow hammer |
| Tap a delicate finished surface | Soft-face mallet or dead blow with the correct face |
| Drive nails | Claw or framing hammer |
| Break masonry | Sledgehammer or demolition tool |
| Strike a punch or chisel | Hammer approved for that tool |
| Make a light adjustment to sheet metal | Dead blow or body hammer, based on the work |
| Remove a large seized component | Puller, press, or controlled mechanical method |
| Work near flammable vapors | Only a tool approved for the hazard |
| Hit a precision bearing directly | Use the maker’s installation method and proper driver |
The deciding question is simple: Do you need a controlled strike with low rebound, or do you need a different type of force?
Care and Storage
Clean the hammer after use, especially if it contacted oil, solvent, metal chips, or chemicals. Use a cleaner approved for the face and handle materials.
Store it where the face will not contact sharp tools. Do not leave it in direct heat or near chemicals that can weaken plastic, rubber, or polyurethane.
If the filler leaks, the head cracks, or the face becomes loose, replace the tool or follow the manufacturer’s approved repair process. A dead blow hammer depends on its head and face working as a complete unit.

FAQs About Dead Blow Hammers
Can a dead blow hammer replace a rubber mallet?
Sometimes. A dead blow hammer may provide more force and less rebound, but a rubber mallet may be gentler for very light or delicate work. Check the face material before using either tool on a finished surface.
Can you use a dead blow hammer on metal?
Yes, when the face and hammer are suitable for the metal. Use light strikes first. Avoid direct blows to thin, hardened, polished, or precision surfaces unless the manufacturer or repair procedure allows them.
Is a dead blow hammer safe for bearings?
It can be useful for bearing installation when used with the correct driver or installation sleeve. Do not strike the bearing rings, seals, or cage in a way that transfers force through the wrong part. Follow the bearing maker’s installation instructions.
Can a dead blow hammer break loose rusted parts?
It can help with light or moderate friction and corrosion. It may not be enough for heavily seized parts. Use a safe removal method, such as a puller or press, when greater force is needed.
How do you know when to replace a dead blow hammer?
Replace it when the head is cracked, the face is badly damaged, the handle is loose, the filler is exposed, or the tool no longer holds its parts securely. Do not keep using a hammer that can shed pieces during impact.
Conclusion
Use a dead blow hammer when you need a controlled, low-rebound strike for alignment, assembly, seating, adjustment, or light removal work. Its internal filler helps reduce bounce, while the face material can reduce surface damage compared with a steel hammer.
The tool is not a universal replacement for other hammers. Choose the right face and weight, inspect the tool, protect your eyes, secure the work, and stop when the part does not respond to light controlled blows.
For a difficult or hazardous job, use the equipment and procedure specified by the part maker, employer, or qualified technician.
