

Install grommets with a hand tool by marking, punching, seating, and setting the washer—simple and precise.
I’ve installed hundreds of grommets in tarps, banners, and fabric using only a hand tool, and I’ll walk you through every step. This guide on how to install grommets with hand tool covers tools, types, step-by-step instructions, tips from real jobs, common problems, and safety. Read on and you’ll be ready to set neat, durable grommets on your next project.

Why grommets matter and when to use them
Grommets protect holes and distribute load on fabric, vinyl, canvas, and thin metal. They stop tearing and make hanging and lacing easy. Knowing how to install grommets with hand tool helps you finish DIY projects cleanly and save money compared to hiring out. I often choose hand tools for small batches and repairs because they are fast, portable, and accurate.

Tools and materials you need
Gathering the right gear makes installing grommets smooth. Below are common items that work for most jobs.
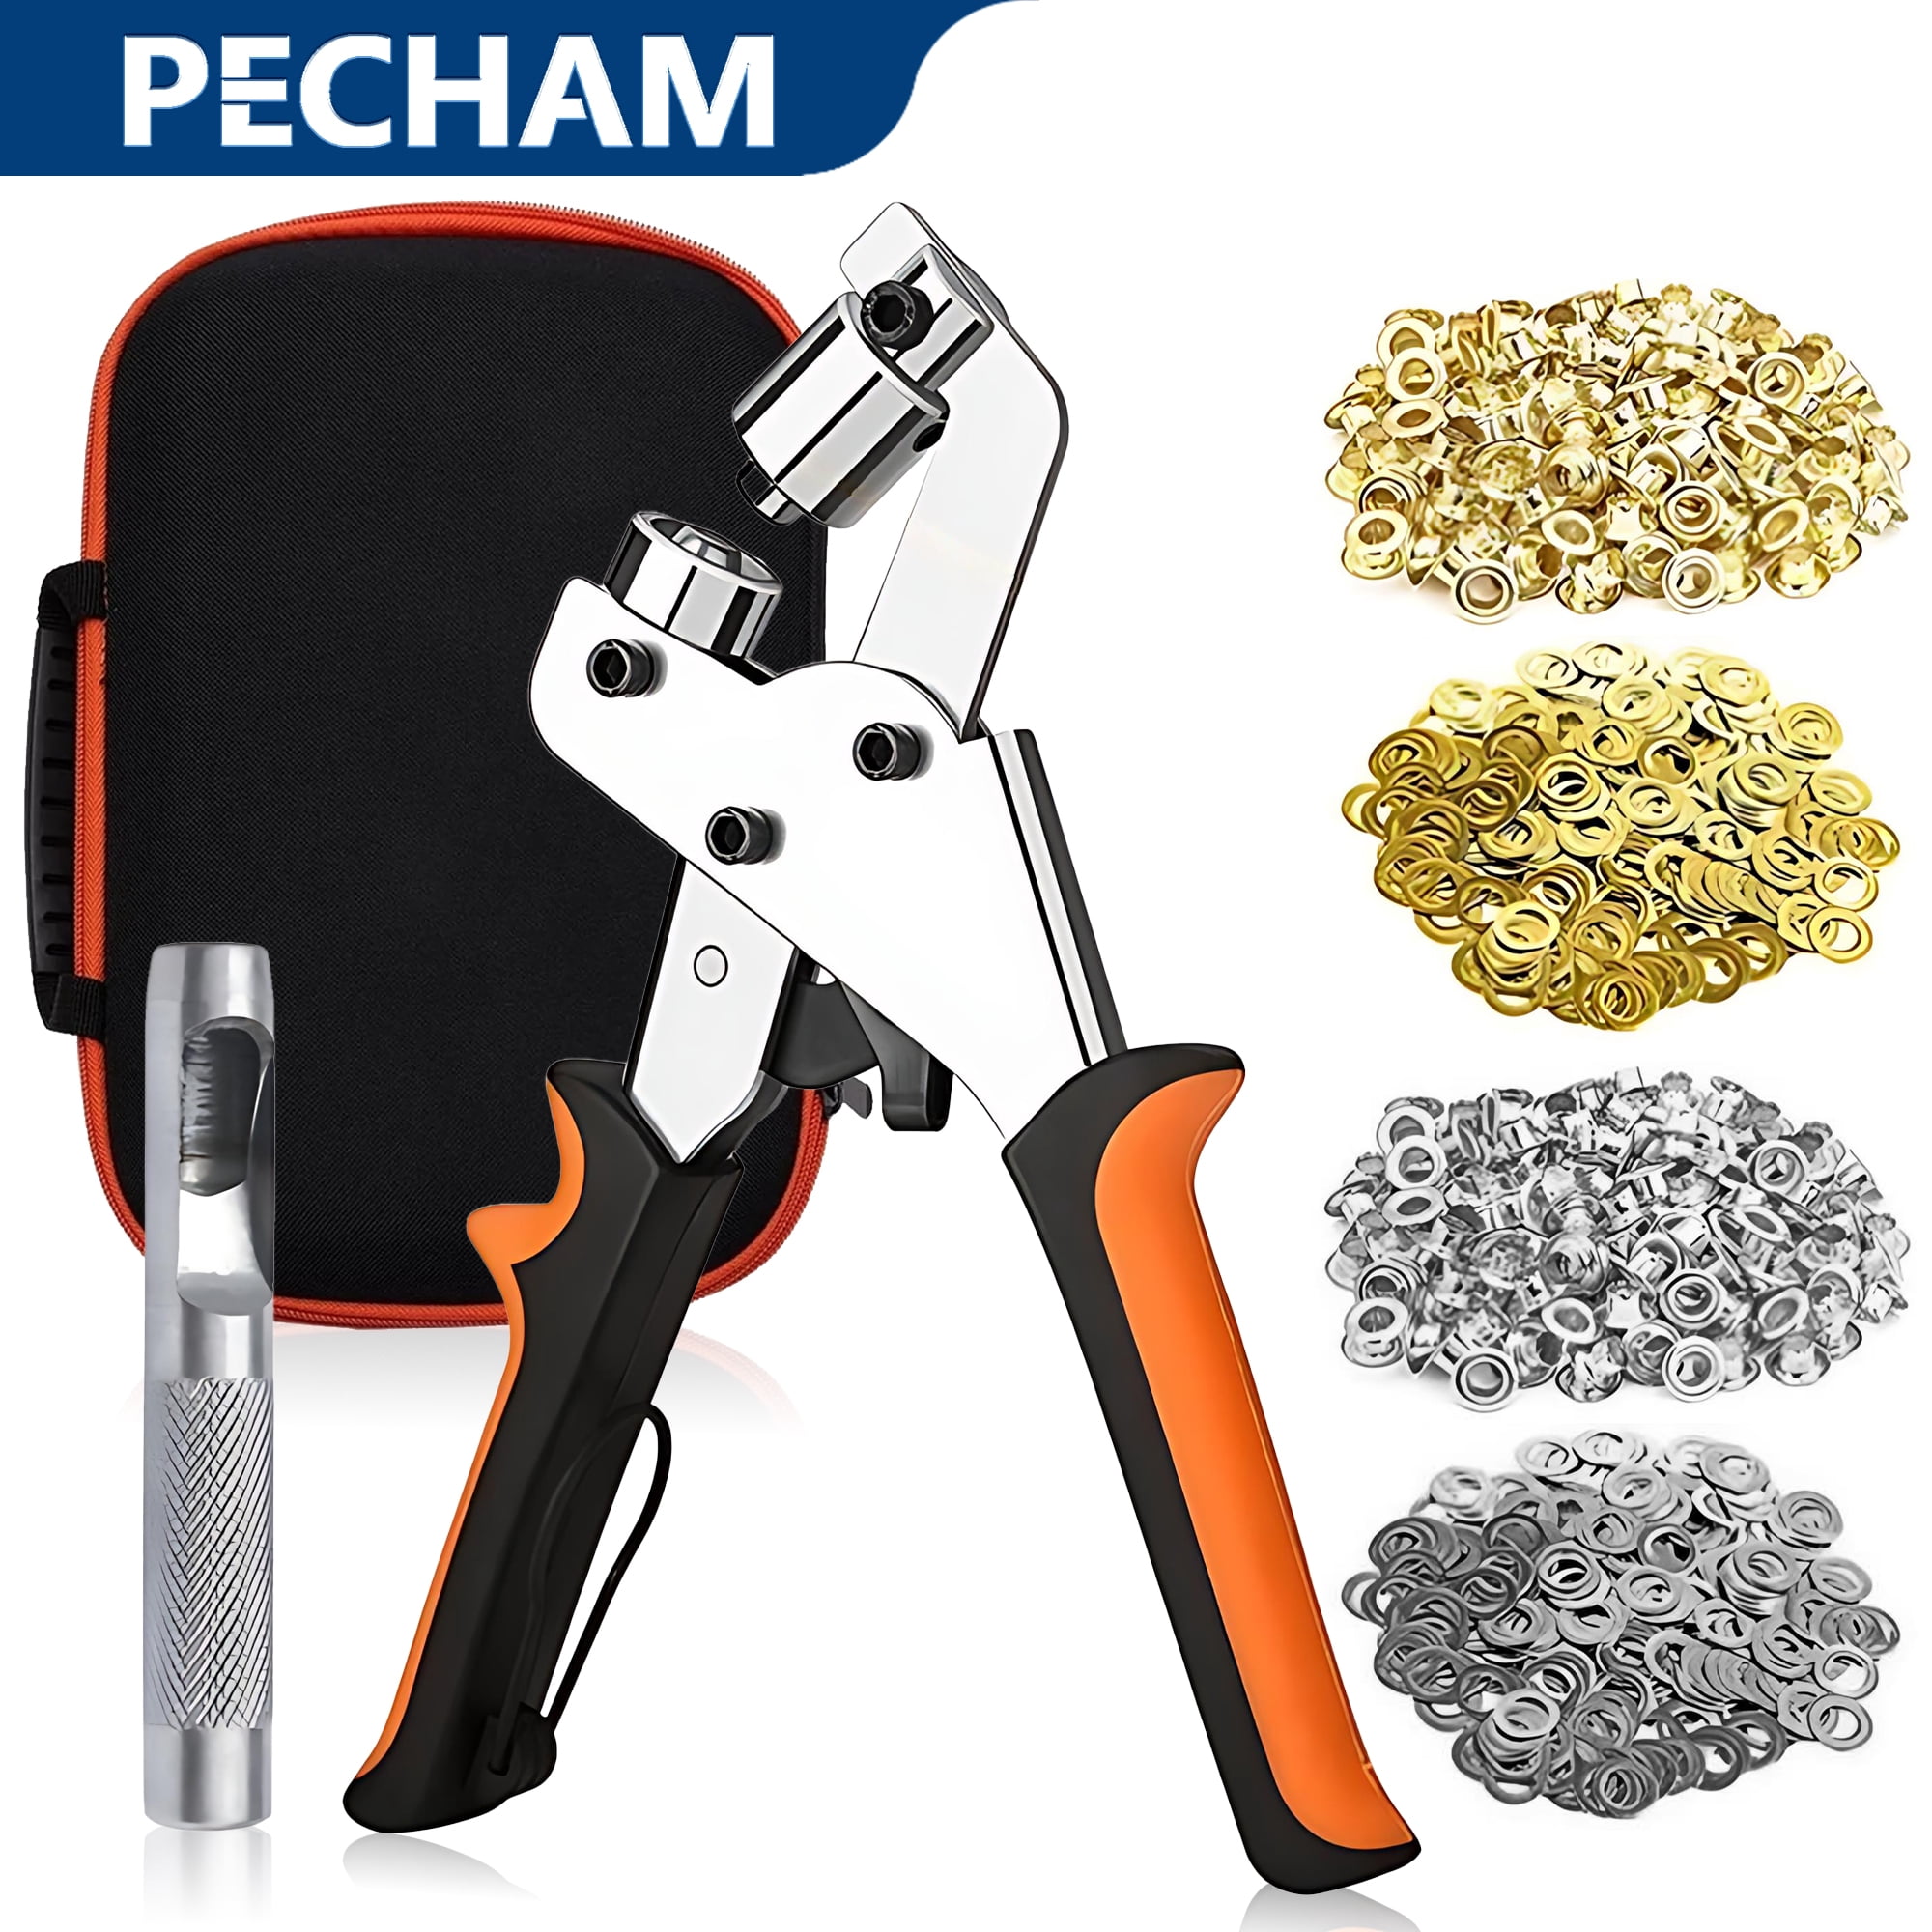
- Hand grommet press or single-station hand tool for the grommet size
- Appropriate grommets and washers matched to material thickness
- Hole punch or awl sized for the grommet barrel
- Cutting mat or scrap wood to protect surfaces
- Marker, ruler, and clamps to position the grommet
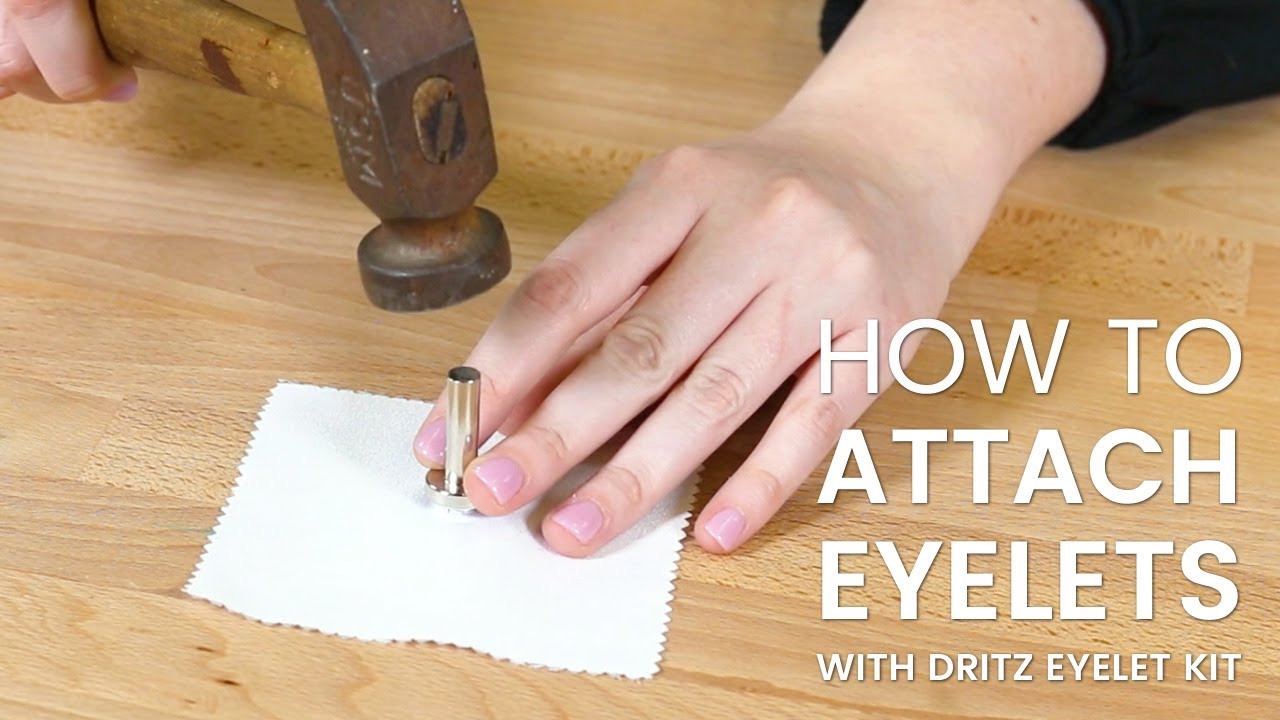
- Hammer (if using a basic setter) and protective block
Using the right grommets and a compatible tool is key. If you plan multiple grommets, consider a bench press later. For now, these tools handle most tasks.

Types of grommets and hand tools explained
Grommets come in several styles and sizes. Match the type to the project and materials.
- Metal grommets: strong, common for tarps and banners.
- Plastic grommets: lighter and rust-free for crafts and clothing.
- Self-piercing grommets: used where you need quick installs without pre-punching.
- Snap grommets and rivet-style: for thin or coated materials.
Hand tools vary by function and price. A hand grommet press is simple and gives consistent pressure. A handheld plier-style setter is great for light jobs. A hammer-and-set kit is budget-friendly but needs care to avoid misalignment. Knowing how to install grommets with hand tool means choosing the right tool for the grommet type and material.

Step-by-step: how to install grommets with hand tool
Follow these steps for clean, secure grommets. Read them once, then try a scrap piece first.
- Measure and mark
- Mark your hole location with a ruler and marker. Keep marks consistent for even spacing.
- Prepare the workspace
- Use a cutting mat or scrap wood under the material. Clamp fabric flat to avoid movement.
- Punch the hole
- Use the hole punch sized to the grommet barrel. Push the punch straight and tap lightly until the hole is clean.
- Test fit
- Slip the grommet barrel through the hole to check fit. The barrel should pass without forcing.
- Position the washer
- Place the grommet head on the front side. Add the washer on the back side to seat the barrel.
- Set with the hand tool
- Align the grommet in the tool. Squeeze the press or pliers firmly and evenly until the grommet flares and locks the washer.
- Inspect and finish
- Check for gaps and sharp edges. Trim loose threads and test strength by pulling lightly.
Practice on scrap to adjust force and alignment. The more you do how to install grommets with hand tool, the quicker and more uniform your results will be.

Tips, mistakes to avoid, and maintenance
Small habits improve results and safety. These tips come from hands-on experience.
- Always test on scrap first to match punch size and pressure.
- Don’t over-tighten or pound too hard; you can distort the grommet or material.
- Use a backing patch for fragile materials to spread load and prevent pull-through.
- Keep tools clean and lightly oiled at joints for smooth action.
- Store spare grommets sorted by size and material to avoid mix-ups.
Common mistakes include misaligned punch marks, using the wrong grommet size, and skipping the washer. I once ruined a banner by punching too close to the edge; measure twice and mark once.

Troubleshooting common problems
If a grommet looks wrong, these fixes help.
- Grommet not flaring evenly
- Realign and re-seat in the tool; use a firmer squeeze or a different die.
- Material tearing around the hole
- Add a backing patch or choose a larger washer; reduce hole size or use reinforcement tape.
- Washer not locking
- Confirm grommet and washer match size; the barrel may be too short for thick materials.
- Tool jams or slips
- Clean debris, check dies for wear, and lubricate moving parts.
Knowing how to install grommets with hand tool includes knowing how to correct errors quickly.

Safety and best practices
Safety is simple when you follow basic rules.
- Wear safety glasses when punching and setting grommets.
- Keep fingers clear of die edges during setting.
- Use clamps to stabilize material and avoid slips.
- Work on a stable surface and store tools away from kids.
These habits keep projects fast and injury-free. I recommend a pair of thin work gloves for heavier materials.
Examples and project ideas
Practical projects help reinforce the technique. Try these ideas to build skill.
- Repair a torn tarp or create reinforced tie points.
- Make custom curtains or shower liners with metal grommets.
- Build a banner for a small business or event.
- Add grommets to fabric organizers or craft projects.
On a recent job, I installed 120 grommets on a trade-show banner in a single afternoon using a hand press. The process became rhythmical and consistent after a short warm-up.
Frequently Asked Questions of how to install grommets with hand tool
What size hole should I punch for a grommet?
Punch a hole matching the grommet’s barrel diameter. Test on scrap to ensure the barrel passes easily but not loosely.
Can I use a hammer instead of a hand press?
Yes, a hammer-and-set kit works for occasional jobs, but a hand press gives more consistent results and less risk of misalignment.
How do I reinforce thin or delicate materials?
Use a backing patch or reinforcement tape under the grommet area to distribute stress and prevent tearing.
Are metal grommets better than plastic?
Metal grommets are stronger and more durable for outdoor or heavy-duty use, while plastic suits light crafts and garments.
How do I choose the right grommet size?
Match the grommet size to the material thickness and the cord or rope that will pass through. Measure barrel height and hole diameter for fit.
Conclusion
You now have a clear, practical path to how to install grommets with hand tool. Start by choosing the right grommets and tool, practice on scrap, and follow the step-by-step method for neat, durable results. Try a small project this weekend to build confidence and speed. If this guide helped, leave a comment with your project photos or subscribe for more hands-on tutorials and tips.
