
For most automotive work in the United States, a 2-pound dead blow hammer is the best all-around size. It has enough force for stuck rotors, hubs, suspension parts, and light alignment work without being as tiring or damaging as a larger hammer.
Choose a 1-pound hammer for light assembly and trim-safe work. Choose a 3-pound hammer when you need more force for stubborn parts. A 4-pound or larger hammer is usually better for heavy truck, off-road, or shop use than for routine car repairs.
The correct size depends on the part, the space around it, the face material, and how much control you need.
Quick answer: Which dead blow hammer size should you buy?
Use this guide as a starting point:
| Dead blow hammer size | Best use | Main advantage | Main limitation |
|---|---|---|---|
| 1 lb | Light assembly, brake work, small parts | High control and low risk of damage | May lack force for seized parts |
| 2 lb | General automotive repair | Best balance of force and control | Not ideal for very heavy parts |
| 3 lb | Stubborn hubs, suspension parts, truck work | More impact with fewer swings | More tiring and easier to overstrike |
| 4 lb or more | Heavy equipment, large trucks, shop work | High striking force | Poor control for delicate work |
A 2-pound dead blow hammer is the safest general recommendation for a home garage. If you work mainly on compact cars and brake components, a 1-pound model may be enough. If you often repair full-size trucks, SUVs, or rusted components, a 3-pound model may save time.
The weight normally refers to the hammer head or striking assembly. Check the manufacturer’s specifications because naming can vary between brands.

What is a dead blow hammer?
A dead blow hammer is a striking tool with a hollow head that contains shot or another movable filler. When the head hits a part, the filler moves forward and helps deliver force while reducing bounce.
The main parts are:
- Head: The weighted striking body.
- Filler: Often steel shot, lead-free metal shot, or another material.
- Face: The replaceable or fixed surface that contacts the work.
- Handle: Usually made from steel, fiberglass, or reinforced plastic.
- Soft cover: Often polyurethane, rubber, or another non-marring material.
A standard steel hammer bounces more after striking a hard surface. A dead blow hammer absorbs much of that rebound. This gives you better control and helps keep the hammer from jumping back toward your hand or nearby vehicle parts.
The tool does not make every job safe. It can still damage aluminum, painted surfaces, bearings, threads, brake parts, and body panels if you use too much force or strike the wrong location.
Dead blow hammer vs. rubber mallet
A rubber mallet is usually lighter and softer. It works well for assembling plastic, trim, covers, and lightly fitted parts.
A dead blow hammer generally delivers more force with less bounce. It is better for parts that need firm impact, such as:
- Brake rotors
- Wheel hubs
- Suspension components
- Stubborn brackets
- Seized sleeves
- Light alignment work
A rubber mallet is less likely to mark a delicate surface. A dead blow hammer is more useful when the part is stuck but you still want a controlled, non-steel strike.
Dead blow hammer vs. ball-peen hammer
A ball-peen hammer has a hardened steel head. It is designed for metalwork, forming, and driving certain punches.
It can damage machined surfaces, aluminum parts, threads, and painted components. For many automotive tasks, a dead blow hammer with a soft face is the better first choice.
Use a steel hammer only when the repair procedure calls for one and you have a safe striking surface. Never assume that a soft face makes a dead blow hammer suitable for every part.
Why a 2-pound dead blow hammer works well for automotive repairs
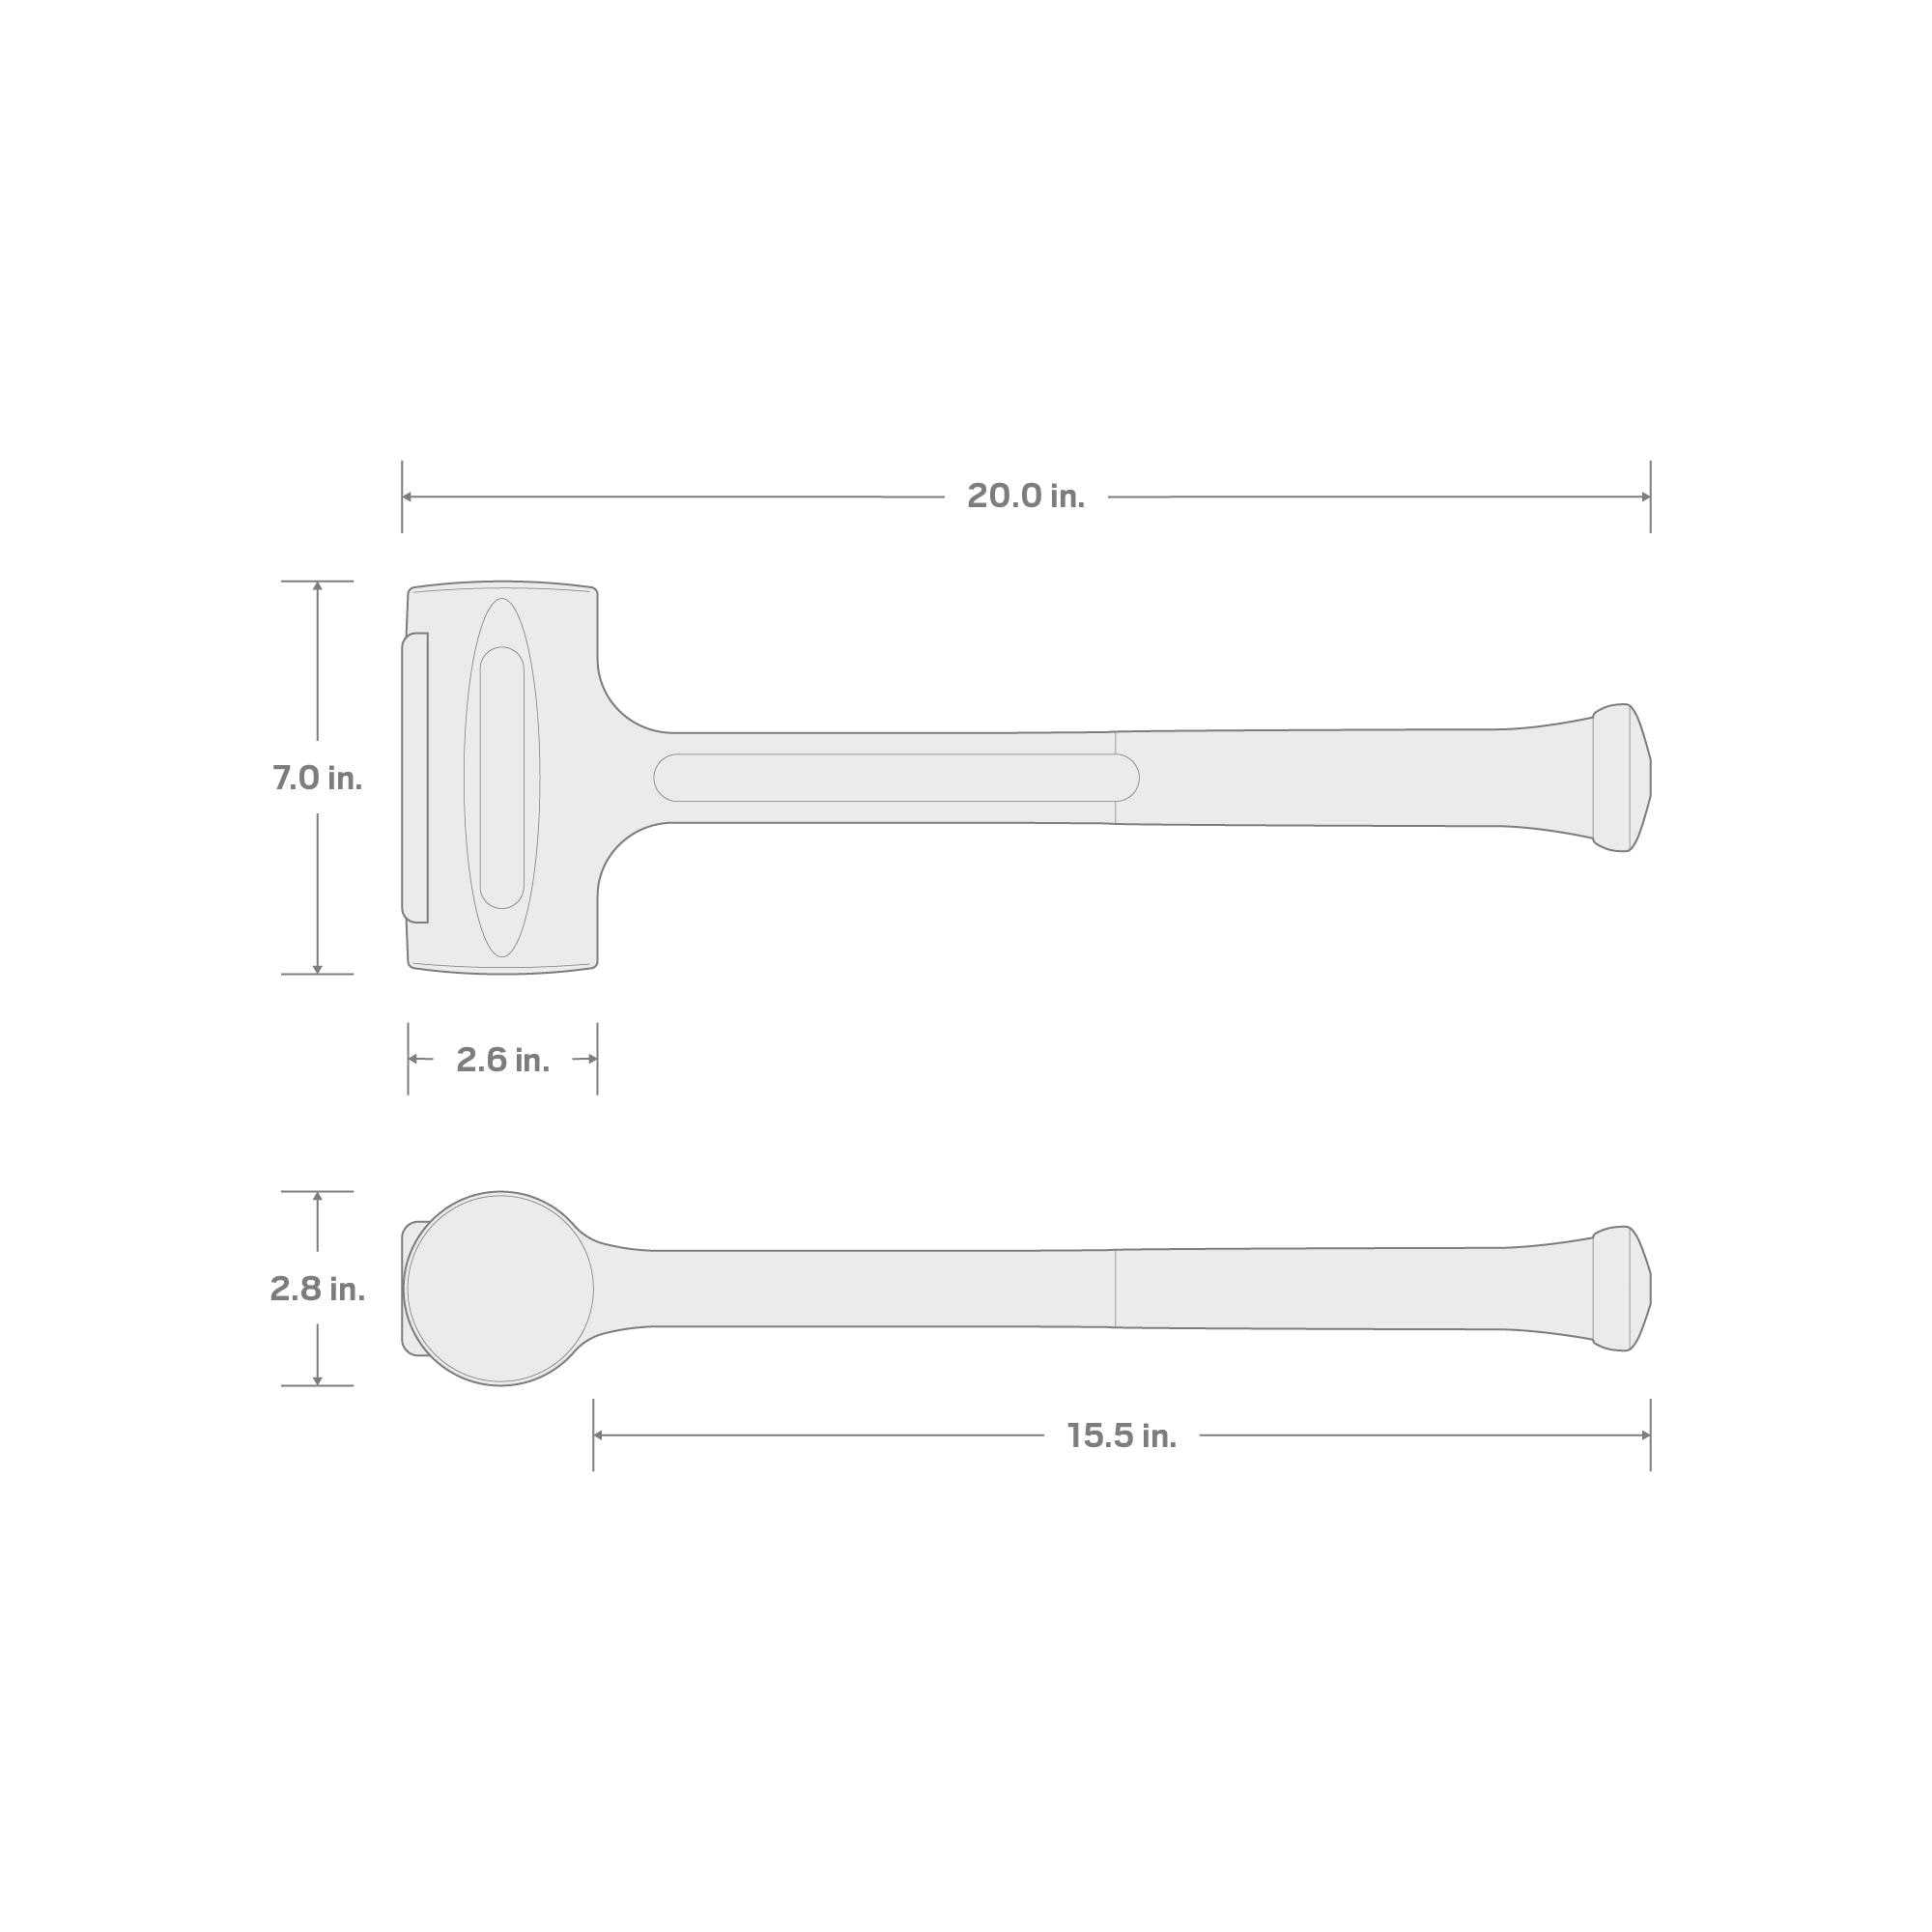
A 2-pound hammer gives a useful middle ground between control and striking energy. It is heavy enough to move many stuck parts, but light enough for repeated blows during brake and suspension work.
The benefit comes from more than weight. A dead blow hammer also uses the movement of its internal filler to reduce bounce. This helps transfer the blow to the part instead of sending as much energy back into the hammer.
A 2-pound model is often suitable for:
- Removing a brake rotor from a rusted hub
- Tapping a wheel hub into position
- Seating a bushing or sleeve with a suitable driver
- Aligning exhaust components
- Shifting a stuck bracket
- Adjusting a suspension part during installation
- Separating parts after penetrating oil has been applied
- Seating non-threaded parts during assembly
It is not a substitute for a press, puller, slide hammer, or approved separator. If a part does not move after controlled strikes, increasing hammer size may not solve the real problem.
The part may be held by:
- Rust behind a flange
- A hidden retaining clip
- A retaining bolt
- Corrosion between dissimilar metals
- Excessive interference fit
- A damaged bearing or bushing
- Load from a spring or suspension component
Stop and check the service procedure before using a larger hammer.
How to choose the right dead blow hammer size
Choose the smallest hammer that can do the job without repeated excessive force. A larger hammer is not automatically better.
Choose a 1-pound dead blow hammer when:
- You work on small cars and motorcycles.
- You need close control around painted or aluminum parts.
- You are seating light components.
- You are working in a tight engine bay.
- You want a tool for trim, covers, and light assembly.
- You rarely remove seized parts.
A 1-pound hammer is easier to control. It also reduces the chance of bending a bracket or cracking a brittle part. Its limit is striking force. You may need many more blows on a rusted rotor or heavy hub.
Choose a 2-pound dead blow hammer when:
- You want one general-purpose automotive hammer.
- You repair brakes and suspension parts.
- You work on sedans, crossovers, SUVs, or light trucks.
- You need both force and control.
- You want a hammer for regular home-garage use.
For most do-it-yourself mechanics, this is the most practical size. It covers common jobs without making every strike unnecessarily aggressive.
Choose a 3-pound dead blow hammer when:
- You work on full-size trucks or heavy SUVs.
- You often deal with rusted hubs and suspension parts.
- You need to move larger steel components.
- You have enough room for a controlled swing.
- A 2-pound hammer does not provide enough force.
A 3-pound hammer can reduce the number of strikes. However, each strike can also cause more damage if it lands on the wrong spot. Use short, controlled swings. Do not use the extra weight as a reason to hit harder than the part can tolerate.
Choose a 4-pound or larger hammer when:
- You repair heavy trucks or construction equipment.
- You work on large steel assemblies.
- The manufacturer or service procedure allows heavy impact.
- You have a stable work position and a clear swing path.
Large dead blow hammers are not usually the best choice for routine passenger-car repairs. They are bulky, tiring, and harder to control in a crowded wheel well.

Match the hammer face to the automotive part
The face material can matter as much as the hammer weight. A 2-pound hammer with the wrong face may cause more damage than a 3-pound hammer with the correct face.
Polyurethane or plastic faces
These are common for general automotive use. They help protect painted and machined surfaces while still providing useful impact.
They work well for:
- Brake rotors
- Hubs
- Brackets
- Assembly work
- General alignment
Inspect the face often. A damaged face can expose a harder internal surface.
Rubber faces
Rubber faces are softer and useful for light assembly. They are less suitable for parts that need a firm strike because rubber can absorb more energy and may deform.
Use rubber when surface protection matters more than maximum force.
Brass or copper faces
A copper or brass face can be useful for some metal assembly tasks. It is softer than steel and may reduce marking on steel parts.
These faces still require care. Metal faces should not be used on delicate aluminum, painted surfaces, sensors, or exposed threads unless the repair instructions permit it.
Replaceable faces
Replaceable faces can extend tool life. They also allow you to change the face for a different type of work.
Before buying, check:
- Replacement face availability
- Face diameter
- Face hardness
- Compatibility with the hammer body
- Whether the face is designed for automotive use
A replaceable face is only useful if replacement parts remain available.
What size dead blow hammer do you need for common automotive jobs?
The right size changes by task. This table gives practical starting points, not universal rules.
| Automotive job | Suggested size | Recommended approach |
|---|---|---|
| Brake rotor stuck to hub | 2 lb | Strike the rotor’s strong center or approved strike points |
| Wheel hub removal | 2–3 lb | Use penetrating oil and a proper puller when needed |
| Exhaust alignment | 1–2 lb | Support the exhaust and avoid crushing tubing |
| Bushing installation | 1–2 lb | Use the correct driver or sleeve |
| Suspension bracket alignment | 2 lb | Keep fingers clear and support the assembly |
| Small engine assembly | 1 lb | Use light blows and protect sealing surfaces |
| Truck or SUV hub work | 3 lb | Use controlled strikes; do not hit bearings blindly |
| Body panel or trim work | 1 lb or rubber mallet | Protect painted surfaces |
| Heavy truck components | 3–4 lb | Follow the service manual and use proper support |
Removing a stuck brake rotor
A 2-pound dead blow hammer is usually a sensible starting point. First, remove all retaining screws or clips. Confirm that the parking brake is not holding the rotor.
Apply penetrating oil where appropriate. Strike the rotor near the solid center or approved strike areas. Rotate the rotor and repeat the process.
Do not strike the rotor’s thin outer edge with excessive force. Do not hit wheel studs, brake calipers, brake lines, or ABS sensors.
If the rotor will not move, use the threaded removal holes if the rotor has them, or use an approved puller. More hammer force is not always the correct next step.
Aligning suspension parts
A 2-pound hammer is often enough for small alignment corrections during installation. Use a punch, drift, or alignment tool when the service procedure specifies one.
Never place your fingers between moving parts. Support heavy components with a jack or stand. A suspension spring can store significant energy, so do not strike a loaded spring, ball joint, or pressurized component without following the repair procedure.
Working on exhaust components
A 1- or 2-pound dead blow hammer can help align exhaust pipes and brackets. Support the exhaust before striking it.
Use a wood block or suitable drift when needed. Avoid striking oxygen sensors, catalytic converters, thin pipe sections, or heat shields directly.

Is a dead blow hammer safe for bearings, hubs, and wheel studs?
A dead blow hammer is not automatically safe for bearings or hubs. The correct tool depends on where the force is applied.
Do not strike directly on:
- Wheel studs
- Lug nuts
- Bearing seals
- ABS tone rings
- ABS sensors
- Machined bearing races
- Threaded shafts
- Aluminum sealing surfaces
- Pressurized or spring-loaded parts
A hub or bearing may require a press, hub puller, slide hammer, or manufacturer-approved adapter. Striking the wrong race can damage a new bearing before it is installed.
When installing a bearing, apply force only to the race that contacts the part being fitted. For example, pressing on the inner race while driving an outer-race fit can damage the bearing. Follow the vehicle service manual for the exact procedure.
A dead blow hammer may help with light seating, but it should not replace the correct bearing driver or press.

How much does hammer handle length matter?
Handle length affects control, swing speed, and access. A longer handle can create more leverage and allow a harder swing. It also needs more room.
For most automotive work:
- A short handle gives better control in tight spaces.
- A medium handle works well for general garage repairs.
- A long handle may help with heavy work but can be awkward near a vehicle.
Do not judge a hammer only by head weight. A heavy head on a long handle can feel much more aggressive than the same head on a short handle.
Choose a handle that lets you keep both feet stable and maintain a clear swing path. If the handle forces you to twist your wrist or strike from an awkward angle, use a different tool or reposition the vehicle and part.

Common mistakes when choosing a dead blow hammer
Buying the heaviest hammer available
A heavy hammer may move a stuck part faster, but it also increases the chance of damage. Start with the smallest useful size.
Ignoring the face material
A soft-looking cover does not prove that the hammer is safe for every surface. Read the manufacturer’s information and inspect the face for wear.
Using a dead blow hammer as a pry bar
The head is designed for impact, not leverage. Do not twist the handle against a part. You can damage the handle, face, or tool and lose control.
Striking a part without checking for fasteners
A hidden bolt, clip, or retaining ring can make a part appear seized. Check the repair manual and inspect the part from all sides.
Hitting near sensors or brake lines
A misplaced strike can damage an ABS sensor, wiring, brake hose, or fuel line. Cover nearby parts and use a drift when the work area is crowded.
Striking a hardened steel punch with the wrong hammer
Some hardened tools can chip when struck. Use the hammer and punch combination specified by the tool maker. Wear eye protection because chips can travel quickly.
Using a damaged dead blow hammer
Do not use the hammer if the face is split, loose, badly worn, or missing material. Replace damaged faces when the manufacturer allows it. Replace the hammer if the head or handle is compromised.

Safe-use checklist for automotive dead blow hammers
Before striking, complete these checks:
- Park the vehicle on a stable surface.
- Set the parking brake when appropriate.
- Support the vehicle with properly rated jack stands.
- Keep the swing path clear.
- Wear safety glasses or goggles.
- Wear work gloves that allow a firm grip.
- Check the hammer head, face, and handle.
- Confirm that no clips, bolts, sensors, or lines are blocking removal.
- Use a puller, press, or separator when the procedure calls for one.
- Strike only the approved part of the assembly.
- Use controlled swings rather than full-force blows.
- Stop if the part begins to bend, crack, or move in an unexpected way.
Do not strike a part that is under spring tension, hydraulic pressure, or compressed gas unless the service procedure specifically explains how to do so safely.
When working near fuel, oil, or solvent, also consider ignition risk. A dead blow hammer may reduce sparks compared with a steel hammer, but it does not make a flammable work area safe.

How to buy the best dead blow hammer for automotive use
For a general U.S. garage, look for a 2-pound dead blow hammer with a durable non-marring face and a comfortable, secure handle.
Check these features:
- Clearly stated head weight
- Replaceable face, if available
- Face material suited to the work
- Strong connection between head and handle
- A handle that stays secure with repeated use
- A size that fits the space around your vehicle
- Manufacturer safety and maintenance instructions
- Replacement parts if the face wears out
Avoid choosing based only on brand name, bright color, or the word “heavy-duty.” A documented weight and suitable face matter more than marketing language.
If you mainly work on brakes, suspension, and general repairs, buy a 2-pound model first. Add a 1-pound hammer later for delicate work or a 3-pound hammer for truck and seized-part work.
Key takeaways
- A 2-pound dead blow hammer is the best general size for most automotive repairs.
- Choose 1 pound for light, precise, or surface-sensitive work.
- Choose 3 pounds for larger trucks, SUVs, and stubborn steel parts.
- A 4-pound or larger model is mainly for heavy equipment and specialized shop work.
- Face material matters as much as hammer weight.
- Use pullers, presses, and approved drivers when impact is not the correct method.
- Never strike wheel studs, sensors, brake lines, bearing races, or loaded suspension parts without proper guidance.
- Begin with the smallest hammer that can complete the task safely.
FAQs
Can a dead blow hammer remove a stuck brake rotor?
Yes, a 1- or 2-pound dead blow hammer can often loosen a stuck brake rotor. Remove all retaining hardware first, then strike approved areas near the rotor center. If the rotor does not move, use removal holes or a proper puller instead of increasing force without a plan.
Is a 3-pound dead blow hammer too heavy for a car?
Not always. A 3-pound model can work well on hubs, suspension parts, and heavily rusted components. It is less suitable for delicate work or tight spaces because it is harder to control.
What is the best dead blow hammer size for home mechanics?
A 2-pound model is usually the best first choice. It handles many brake, suspension, exhaust, and assembly tasks while remaining manageable for repeated use.
Can I use a dead blow hammer on aluminum parts?
You can use one in some situations, but apply force only to an approved area and use a suitable soft face. Aluminum can bend, crack, or deform more easily than steel. Follow the vehicle or part manufacturer’s procedure.
Should I buy a dead blow hammer with metal or plastic faces?
For general automotive work, plastic or polyurethane faces are usually more versatile and less likely to mark surfaces. Metal faces may suit specific assembly tasks, but they require more care around aluminum, paint, threads, and machined surfaces.
Does a dead blow hammer replace a regular hammer?
No. A dead blow hammer is useful for controlled impact and reduced rebound. A regular hammer, soft-face hammer, brass hammer, punch, puller, or press may be better for other jobs. Select the tool based on the part and service procedure.
Conclusion
For most automotive work in a U.S. garage, start with a 2-pound dead blow hammer. It offers the best balance of force, control, and surface protection for common brake, suspension, hub, exhaust, and assembly jobs.
Choose a lighter 1-pound model when precision matters. Move to a 3-pound model when you regularly work on rusted hubs, large trucks, or heavy suspension parts. Before striking, check the repair procedure, protect nearby components, and use the correct puller or press when impact is not the right method.