
For most sheet metal work, the best general-purpose choice is a body hammer, also called a panel-beating hammer. Its smooth, shaped face helps form, flatten, and finish thin metal without leaving deep marks.
The right hammer depends on the job:
- Body or panel-beating hammer: General shaping and finishing
- Finishing hammer: Smoothing small highs and dents
- Cross-peen or pick hammer: Reaching tight areas and moving small sections of metal
- Ball-peen hammer: Riveting and heavier metal work, not usually the first choice for thin panels
- Rubber or plastic mallet: Bending or adjusting metal with less risk of scratches
- Dead-blow hammer: Controlled tapping with less bounce
For auto body panels, a smooth-face body hammer used with a matching dolly is usually the correct starting setup. For HVAC ductwork and roofing, a hammer may be used for seams, folds, or rivets, but hand seamers, snips, crimpers, and specialized setting tools often do more of the actual work.
Introduction: Sheet Metal Hammer Use in the United States
In U.S. auto repair shops, HVAC shops, roofing crews, and home workshops, workers choose a hammer based on the metal’s thickness, the shape of the panel, and the finish required. Thin steel and aluminum can dent easily, so a common claw hammer is often too aggressive.
A good sheet metal hammer moves the metal in a controlled way. It should not simply crush the panel. The face shape, hammer weight, striking angle, and support behind the metal all affect the result.
This guide explains which hammer to use, how to pair it with a dolly, and when another tool is safer or more effective. It also covers common mistakes, tool selection, and basic safety practices for work performed in the United States.

The Best General-Purpose Hammer for Sheet Metal
A body hammer with a smooth face is the best general-purpose hammer for shaping sheet metal. It is made for controlled blows on automotive panels and other thin metal parts.
A typical body hammer has:
- A polished or smooth striking face
- A compact head for better control
- A handle that lets the user guide light, repeated blows
- One or two shaped ends for reaching different areas
- A design suited to working with a body dolly
The smooth face matters. A rough, chipped, or deeply textured face can transfer marks to the panel. Those marks may remain visible after sanding and painting.
What is a body hammer?
A body hammer is a hand tool designed to move and smooth sheet metal. It is common in auto body repair, restoration, metal fabrication, and collision repair.
The tool does not work alone. Most panel repair uses a hammer-and-dolly technique. The dolly supports the back of the panel while the hammer works the front. In some cases, the dolly is used to push the metal outward. In others, the hammer strikes beside the dolly to reduce a high spot.
Why a regular claw hammer is usually a poor choice
A claw hammer is built mainly for driving and removing nails. Its face is often larger and heavier than needed for thin sheet metal. A claw hammer can:
- Stretch the panel too quickly
- Leave deep circular marks - Create new high spots
- Damage edges and flanges
- Make a small dent harder to repair
A claw hammer may be useful for rough construction tasks around metal framing, but it is not the normal choice for finishing visible sheet metal.

Common Hammer Types and Their Uses
Different sheet metal hammers solve different problems. The table below gives a practical starting point.
| Hammer type | Best use | Main advantage | Main limitation |
|---|---|---|---|
| Body hammer | General panel shaping | Good control and useful head shapes | Requires practice |
| Finishing hammer | Smoothing small highs and low areas | Smooth face leaves fewer marks | Not suited to heavy forming |
| Cross-peen hammer | Reaching narrow areas and forming lines | Peen can focus force | Can mark or stretch metal |
| Pick hammer | Pulling or raising small dents | Reaches small low spots | Easy to over-stretch thin metal |
| Ball-peen hammer | Riveting and heavier shaping | Strong, versatile head | Ball end can leave unwanted marks |
| Rubber mallet | Light bends and adjustments | Reduces surface damage | Limited forming power |
| Plastic or nylon hammer | Soft contact work | Helps protect finished surfaces | May not move stiff steel well |
| Dead-blow hammer | Controlled taps with low rebound | Reduces bounce | Less precise for fine panel work |
Body hammer
Use a body hammer for most basic panel work. A flat, smooth face is useful for general shaping and finishing. A cross-peen or pick end can help reach narrow areas, but use it with light blows.
Finishing hammer
A finishing hammer has a smooth face and is used after the main dent has been raised or flattened. It is useful for small highs, edge correction, and final surface work.
Cross-peen hammer
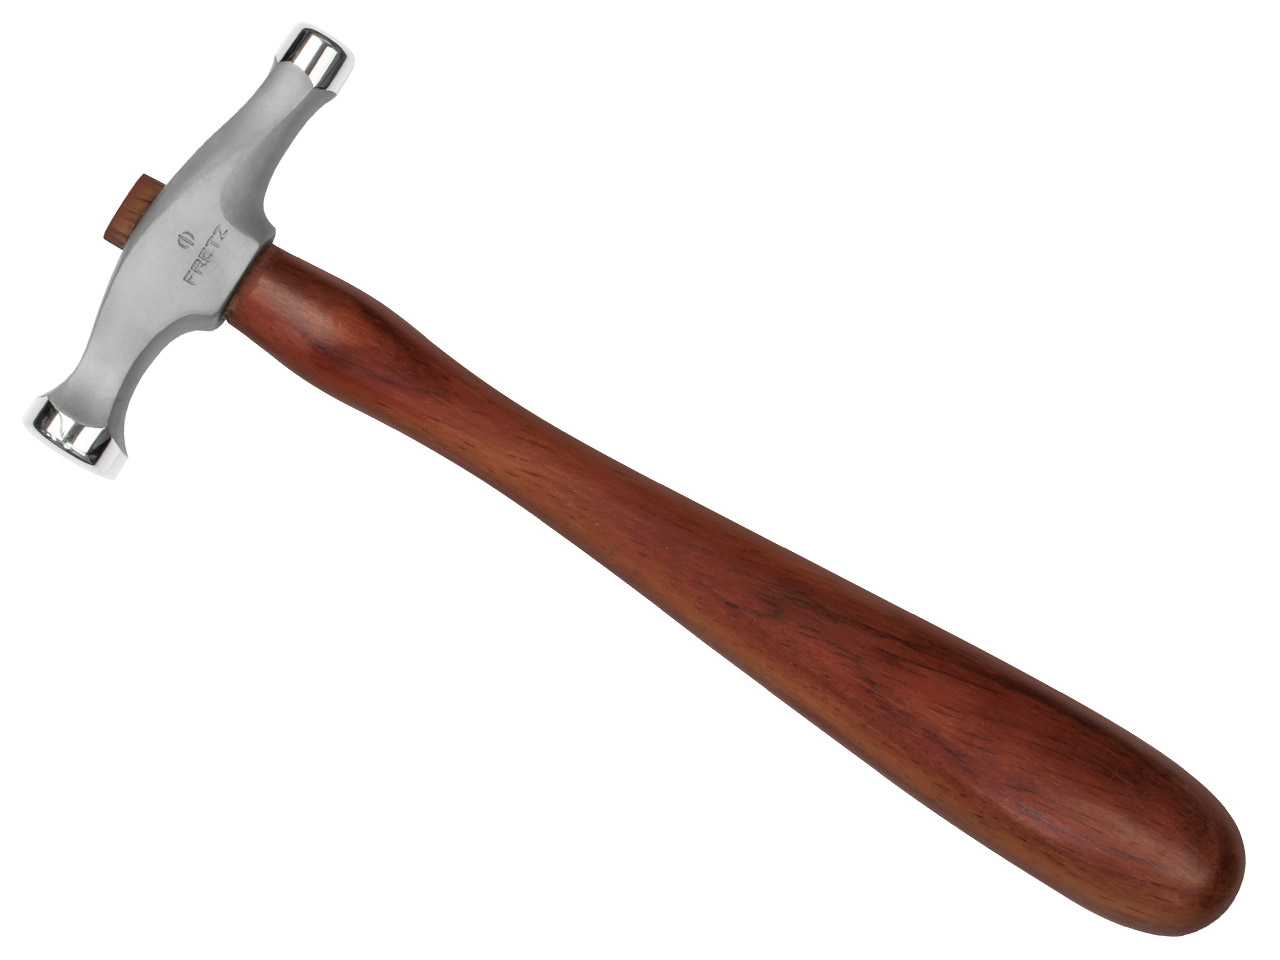
A cross-peen hammer has a narrow wedge-shaped end set across the handle. It concentrates force along a narrow line. This can help form a crease or reach a tight channel.
Use it carefully. A narrow face creates more pressure in one area and can stretch or mark thin sheet metal.
Pick hammer
A pick hammer has a pointed or narrow end. It can raise a small low spot from behind or reach an area that a broad face cannot contact.
A pick is not a good first tool for a large dent. A sharp point can create a new dimple, tear thin metal, or make the repair more difficult.
Ball-peen hammer
A ball-peen hammer is mainly used for:
- Setting rivets
- Peening metal
- Shaping small metal parts
- Working on thicker steel
- General metal fabrication
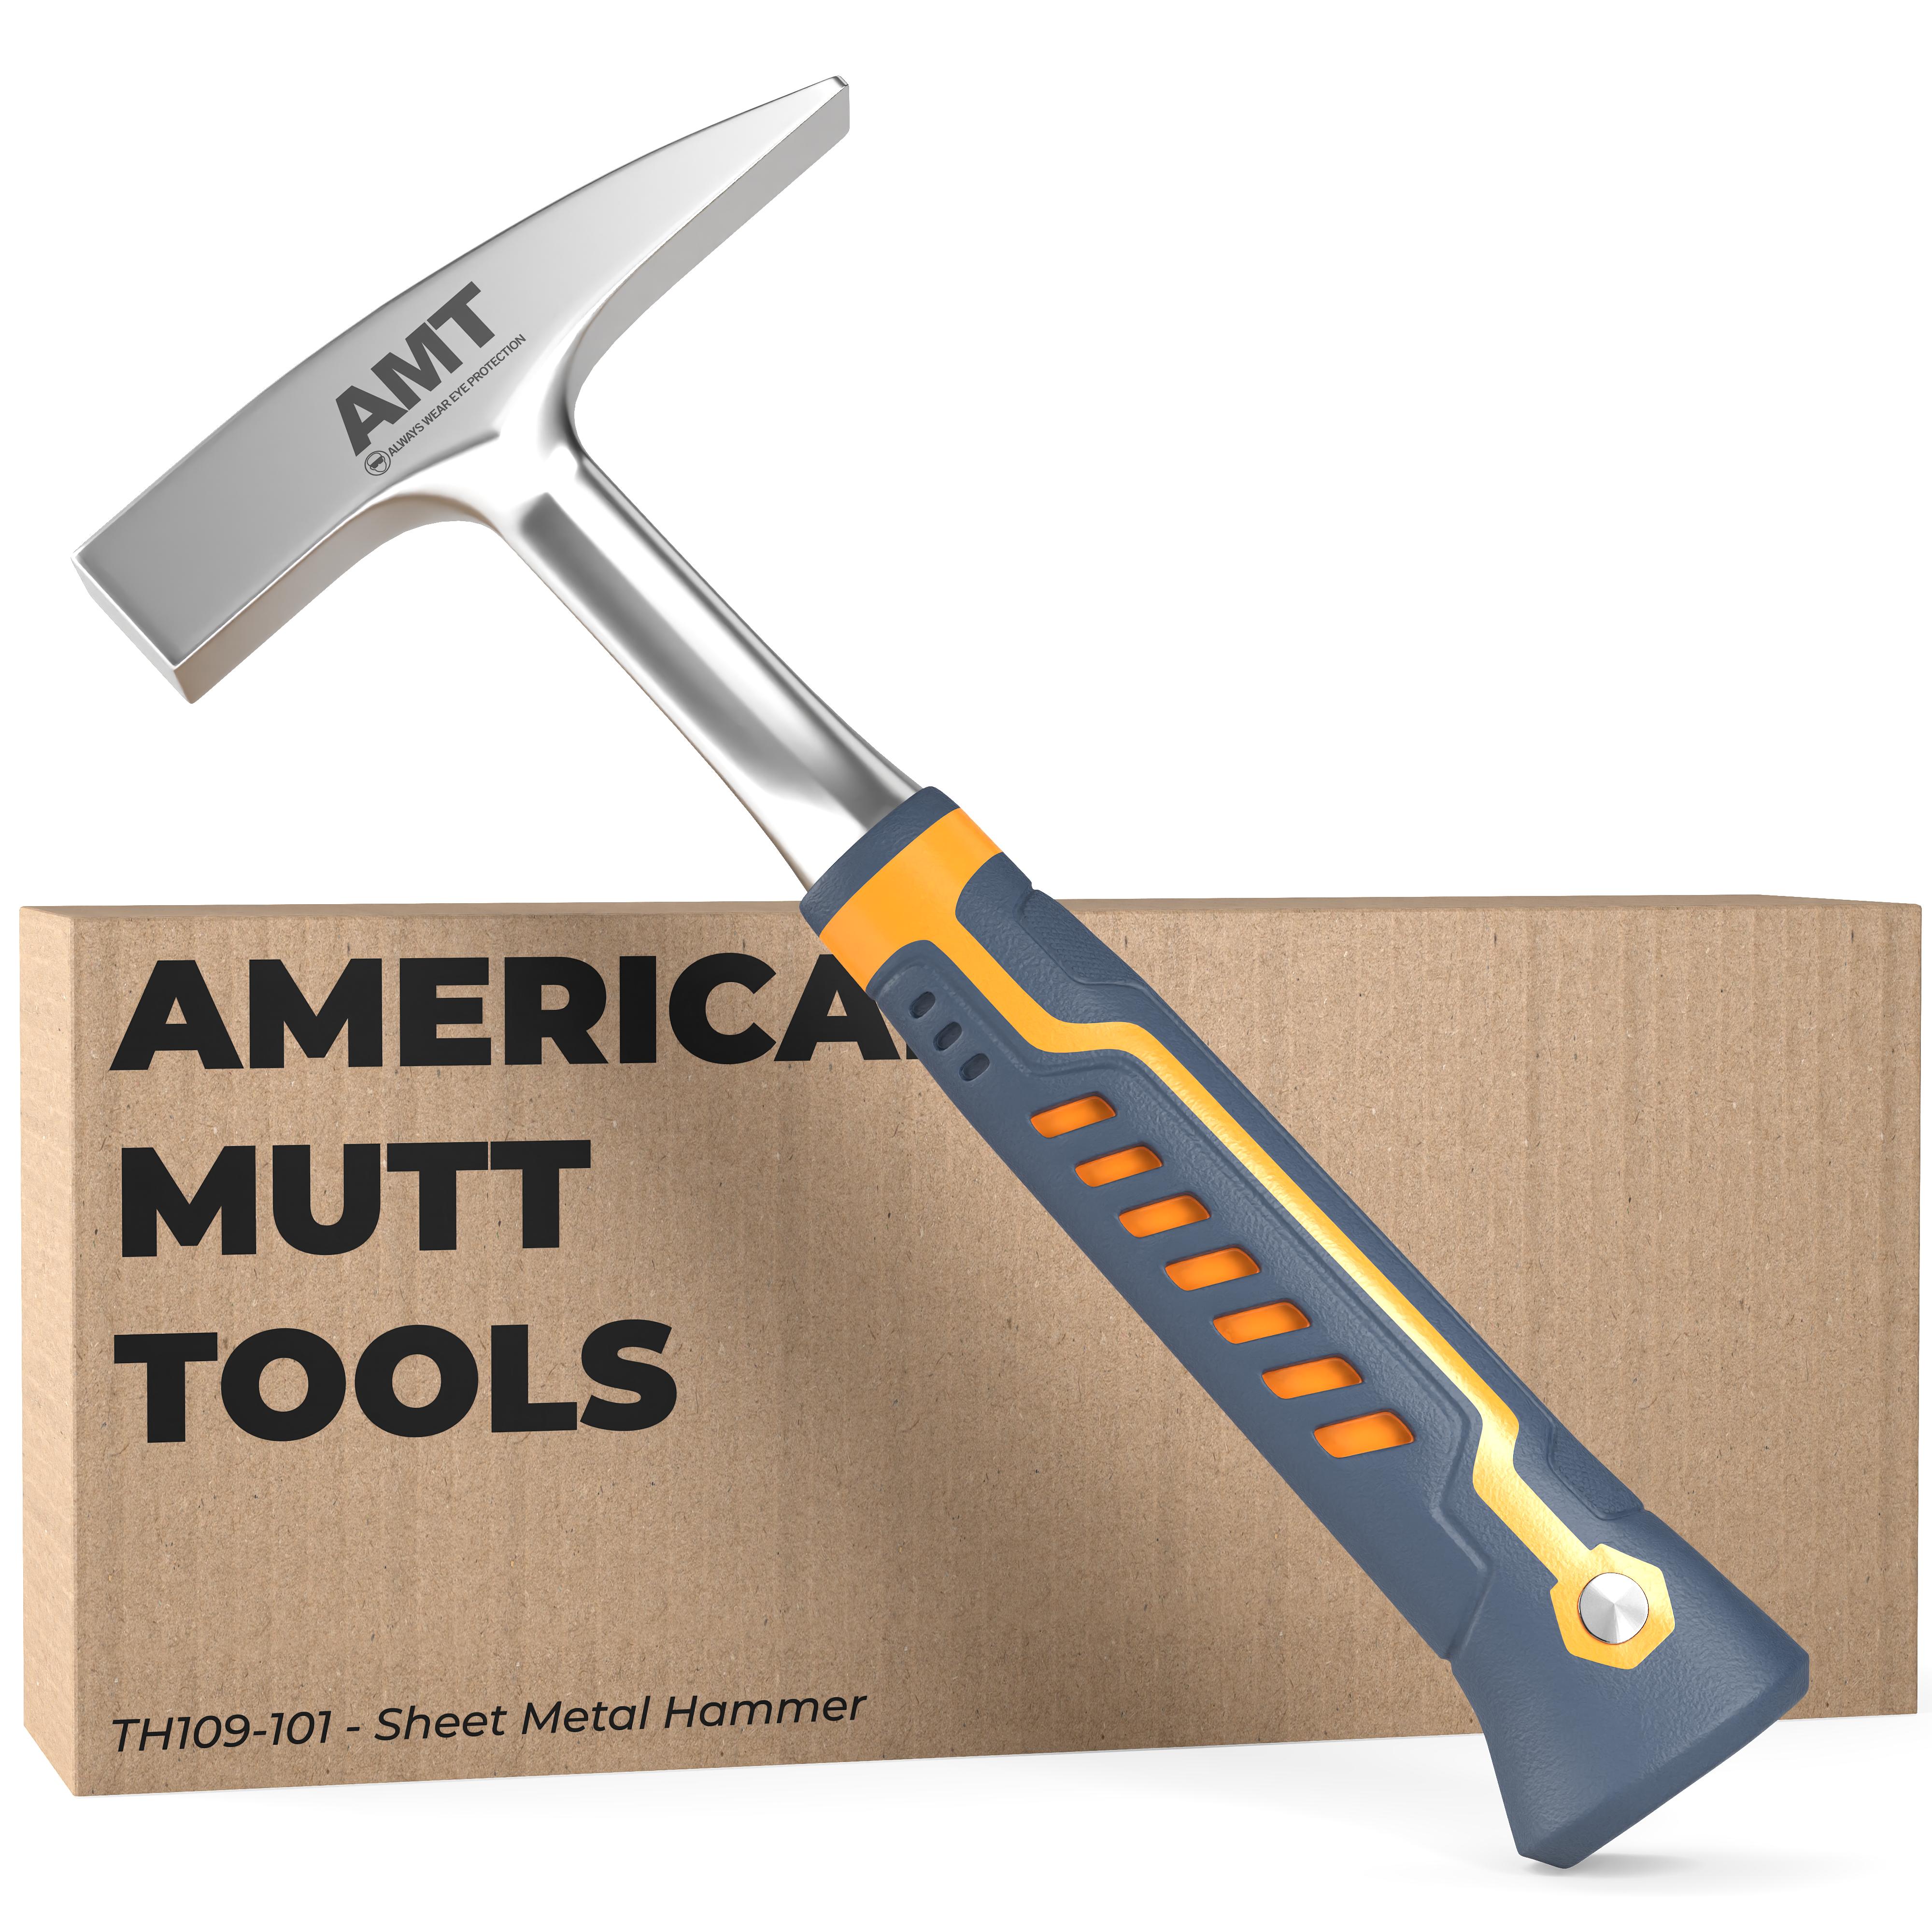
It is not normally the best hammer for a visible automotive panel. The rounded end can leave a distinct mark, and its head shape is less suited to controlled panel finishing.
The Hammer-and-Dolly Method
A hammer and dolly work as a pair. The hammer moves the metal, while the dolly provides support and controls where the force goes.
Before starting, gather:
- A smooth-face body or finishing hammer
- A suitable dolly
- Clean gloves
- Eye protection
- A stable work area
- A marker or bodywork guide coat, if needed
How to use the tools
Clean the panel. Remove dirt, loose paint, rust scale, and sharp debris around the work area.
Find the damaged area. View the panel from several angles. A low spot may be easier to see with a straightedge, reflection, or light coat of guide paint.
Choose the dolly shape. Match the dolly to the panel’s curve. A flat dolly is not ideal for every curved surface.
Place the dolly behind the panel. Support the low area without forcing the panel far past its original shape.
Use light hammer blows. Tap around the damaged area first. Avoid starting with hard blows in the center.
Check the surface often. Stop and inspect the panel after a few taps. Metal can move farther than expected.
Reduce high spots. If the panel develops a raised area, place the dolly behind the high spot or use a controlled off-dolly technique, depending on the repair.
Finish with a smooth face. Use light, even taps to reduce small marks and blend the repair.
On-dolly and off-dolly work
On-dolly work means the hammer strikes the metal directly over the dolly. This can raise low spots and smooth supported areas.
Off-dolly work means the hammer strikes near the dolly rather than directly over it. This can flatten a high spot and reduce stretching in some repairs.
The correct method depends on the dent, the metal, and the panel’s shape. If the metal has stretched badly, hammering alone may not restore the original form.
Signs of good progress
A repair is moving in the right direction when:
- The panel becomes smoother with fewer sharp transitions
- The metal returns near its original contour
- The hammer marks remain shallow or disappear
- The panel does not develop new ripples
- Less filler will be needed during finishing
Stop if the panel begins to oil-can, ripple, crack, or move too freely. These signs may indicate stretched metal or excessive force.

Choosing the Right Hammer by Material and Task
The best hammer changes with the material and the kind of work. Thin aluminum needs a lighter touch than thicker mild steel. Finished or painted surfaces may need a soft-face tool.
For automotive steel panels
Choose a smooth-face body hammer for general work. Use a finishing hammer for final correction. Pair the hammer with a dolly that matches the panel’s curve.
For a sharp crease, a cross-peen may help. Use it only with controlled, light blows because the narrow face can stretch the steel.
For aluminum sheet metal
Aluminum marks and stretches easily. Use a lighter hammer and softer, more controlled blows. A plastic, nylon, or polished body hammer may help protect the surface.
Do not assume that a steel repair method will produce the same result on aluminum. Aluminum can work-harden, which means repeated forming may make it less flexible and more likely to crack.
For HVAC ductwork
HVAC sheet metal work often uses tools such as:
- Aviation snips
- Hand seamers
- Crimpers
- Folding tools
- Rivet tools
- Seaming hammers
- Mallets
A lightweight ball-peen or sheet metal hammer may help set seams or rivets. A rubber or plastic mallet is useful when the goal is to adjust a duct without leaving sharp dents.
The hammer should not replace the proper seaming tool when a clean, straight fold is needed.
For roofing and flashing
Roofing and flashing work may use a lightweight sheet metal hammer, mallet, or specialized setting tool. The correct choice depends on the metal, coating, fold, and visible finish.
A smooth face is safer for exposed copper, aluminum, and coated steel. Protect finished surfaces from scratches and avoid striking near edges unless the metal has proper support.
For riveting
Use a ball-peen hammer or a riveting hammer when setting compatible rivets. The hammer size should match the rivet and material.
Do not use a pointed body hammer to set a rivet unless the tool is designed for that purpose. A poor strike can bend the rivet, damage the sheet, or leave a weak joint.

A Simple Decision Guide
Use this quick guide when choosing a hammer:
- Need to repair a dent in an auto panel? Use a body hammer and dolly.
- Need to smooth small highs? Use a smooth-face finishing hammer.
- Need to reach a narrow groove? Use a cross-peen or carefully shaped body hammer.
- Need to raise one small low spot? Use a pick hammer with very light blows.
- Need to set a rivet? Use a ball-peen or riveting hammer.
- Need to bend coated or finished metal? Start with a rubber, plastic, or nylon mallet.
- Need to adjust ductwork without bounce? Consider a dead-blow hammer.
- Need to make a clean fold? Use hand seamers or a folding tool instead of relying on a hammer.
The main trade-off is control versus force. A heavier hammer moves metal faster, but a lighter hammer usually gives better control on thin sheet metal.
Hammer Weight and Face Shape
A light hammer is usually easier to control for thin sheet metal. The exact weight depends on the material and task, so there is no single weight that fits every job.
Consider these features:
Head weight
A lighter head supports small, repeated taps. It reduces the chance of overcorrecting a panel.
A heavier head can help move thicker steel, but it also increases the risk of stretching or denting thin stock. Heavy blows are rarely the best way to finish a visible panel.
Face diameter
A broad face spreads force over a larger area. It is useful for general smoothing.
A narrow face concentrates force. It can reach tight areas but leaves a greater risk of marks and local stretching.
Face condition
The face should be:
- Smooth
- Free from deep dents
- Free from sharp burrs
- Clean and dry
- Properly secured to the handle
Never use a hammer with a mushroomed striking face. A damaged face can chip during impact and create a serious eye hazard.
Handle and grip
Choose a handle that fits your hand and allows a relaxed grip. A tight, forceful grip can reduce control and cause fatigue.
The handle must be firmly attached. Do not use a loose head, cracked handle, or improvised repair as a substitute for a sound tool.

Common Mistakes in Sheet Metal Hammer Work
The most common mistake is using too much force too soon. Sheet metal responds better to many light, controlled taps than to a few heavy blows.
Other frequent errors include:
- Using a claw hammer on a visible panel
- Using a damaged or rough hammer face
- Choosing the wrong dolly shape
- Striking without supporting the panel
- Working only from one viewing angle
- Hammering the center of a dent first
- Creating new high spots
- Ignoring stretched metal
- Striking near a sharp edge without protection
- Trying to repair a structural panel without proper training
A hammer can reshape metal, but it cannot always reverse stretching. If the panel has severe creases, torn metal, rust damage, or structural deformation, replacement or professional repair may be the safer option.
Safety Rules for Sheet Metal Hammer Work
Wear safety glasses with side protection when striking metal. OSHA’s hand and power tool guidance places responsibility on employers and workers to keep tools in safe condition, and OSHA’s eye and face protection standard addresses protection from flying particles and other hazards.
Use these basic precautions:
- Wear ANSI-rated eye protection suitable for impact hazards.
- Wear gloves when handling sharp sheet metal edges.
- Keep hands clear of the hammer path and the panel’s edges.
- Secure loose work before striking.
- Inspect the hammer before each session.
- Do not strike hardened surfaces unless the tool is designed for that use.
- Keep bystanders away from flying chips and sharp scraps.
- Use hearing protection when hammering in a loud shop.
- Remove rings, loose clothing, and hanging cords near the work.
- Follow the tool maker’s instructions for specialty hammers.
If grinding, cutting, heating, or welding is part of the repair, address those hazards separately. Paint, coatings, oils, and galvanized surfaces may create harmful fumes when heated or disturbed.
Frequently Asked Questions
Is a ball-peen hammer good for sheet metal?
A ball-peen hammer is useful for riveting and some metal-shaping work. It is not usually the best choice for thin, visible panels because the rounded end can leave marks. A smooth-face body hammer gives better control for automotive panel repair.
What hammer is used for auto body work?
A smooth-face body hammer, used with a suitable dolly, is the standard general-purpose choice for auto body work. A finishing hammer, cross-peen, or pick hammer may be added for specific dents and tight areas.
Can I use a rubber mallet on sheet metal?
Yes. A rubber mallet works well for light bends, ductwork, flashing, and adjustments where surface protection matters. It may not provide enough force or precision for serious dent repair.
What is the difference between a body hammer and a dolly?
A body hammer strikes and moves the metal. A dolly supports the metal from behind and helps control its shape. They are often used together during panel repair.
Should I hit directly on the dent?
Usually, start around the damaged area with light blows rather than striking the deepest point hard. This helps bring the surrounding metal back into shape and reduces the risk of creating a new high spot.
Final Recommendation
For general sheet metal work, choose a smooth-face body hammer. Add a properly shaped dolly for auto body panels, and use a finishing hammer when the surface is close to its final shape.
Use a ball-peen hammer mainly for rivets and heavier metal work. Choose a rubber or plastic mallet when surface protection matters more than forming power. Whatever hammer you use, light blows, frequent checks, and proper eye protection will produce safer and cleaner results.
For U.S. workplace safety guidance, review OSHA’s Hand and Power Tools information and Eye and Face Protection standard.