
A drywall hammer is a small hand tool made for cutting, fitting, and fastening drywall in homes and buildings in the United States. It is also called a drywall hatchet or drywall axe.
Unlike a standard claw hammer, a drywall hammer has a narrow blade or hatchet edge on one end and a shaped striking face on the other. The blade can cut drywall, while the face helps set nails or make small recesses without badly damaging the gypsum board.
Drywall hammers are most useful for repair work, drywall nailing, small cuts, and detail work around outlets, corners, and openings. They are not a replacement for a utility knife, drywall saw, drill, or screw gun in every job.

What Is a Drywall Hammer Used For?
A drywall hammer is used to cut, shape, fasten, and adjust drywall panels. Its design combines several small drywall tasks in one tool.
Typical uses include:
- Cutting small sections of gypsum board
- Trimming drywall around electrical boxes
- Setting drywall nails below the paper surface
- Creating a shallow recess for a nail head
- Removing loose or damaged drywall
- Pulling drywall nails
- Tapping a panel into place
- Cutting a small notch or opening
- Removing small pieces of gypsum near a repair area
The tool is most useful when a worker needs a controlled cut or light strike. A large framing hammer can crush the drywall core or tear the paper face. A drywall hammer gives better control because its head is smaller and its striking face is shaped for the board.
Most new drywall work in the United States uses drywall screws rather than nails. Even so, a drywall hammer remains useful for repair work, older walls, nail removal, and small adjustments.

What Does a Drywall Hammer Look Like?
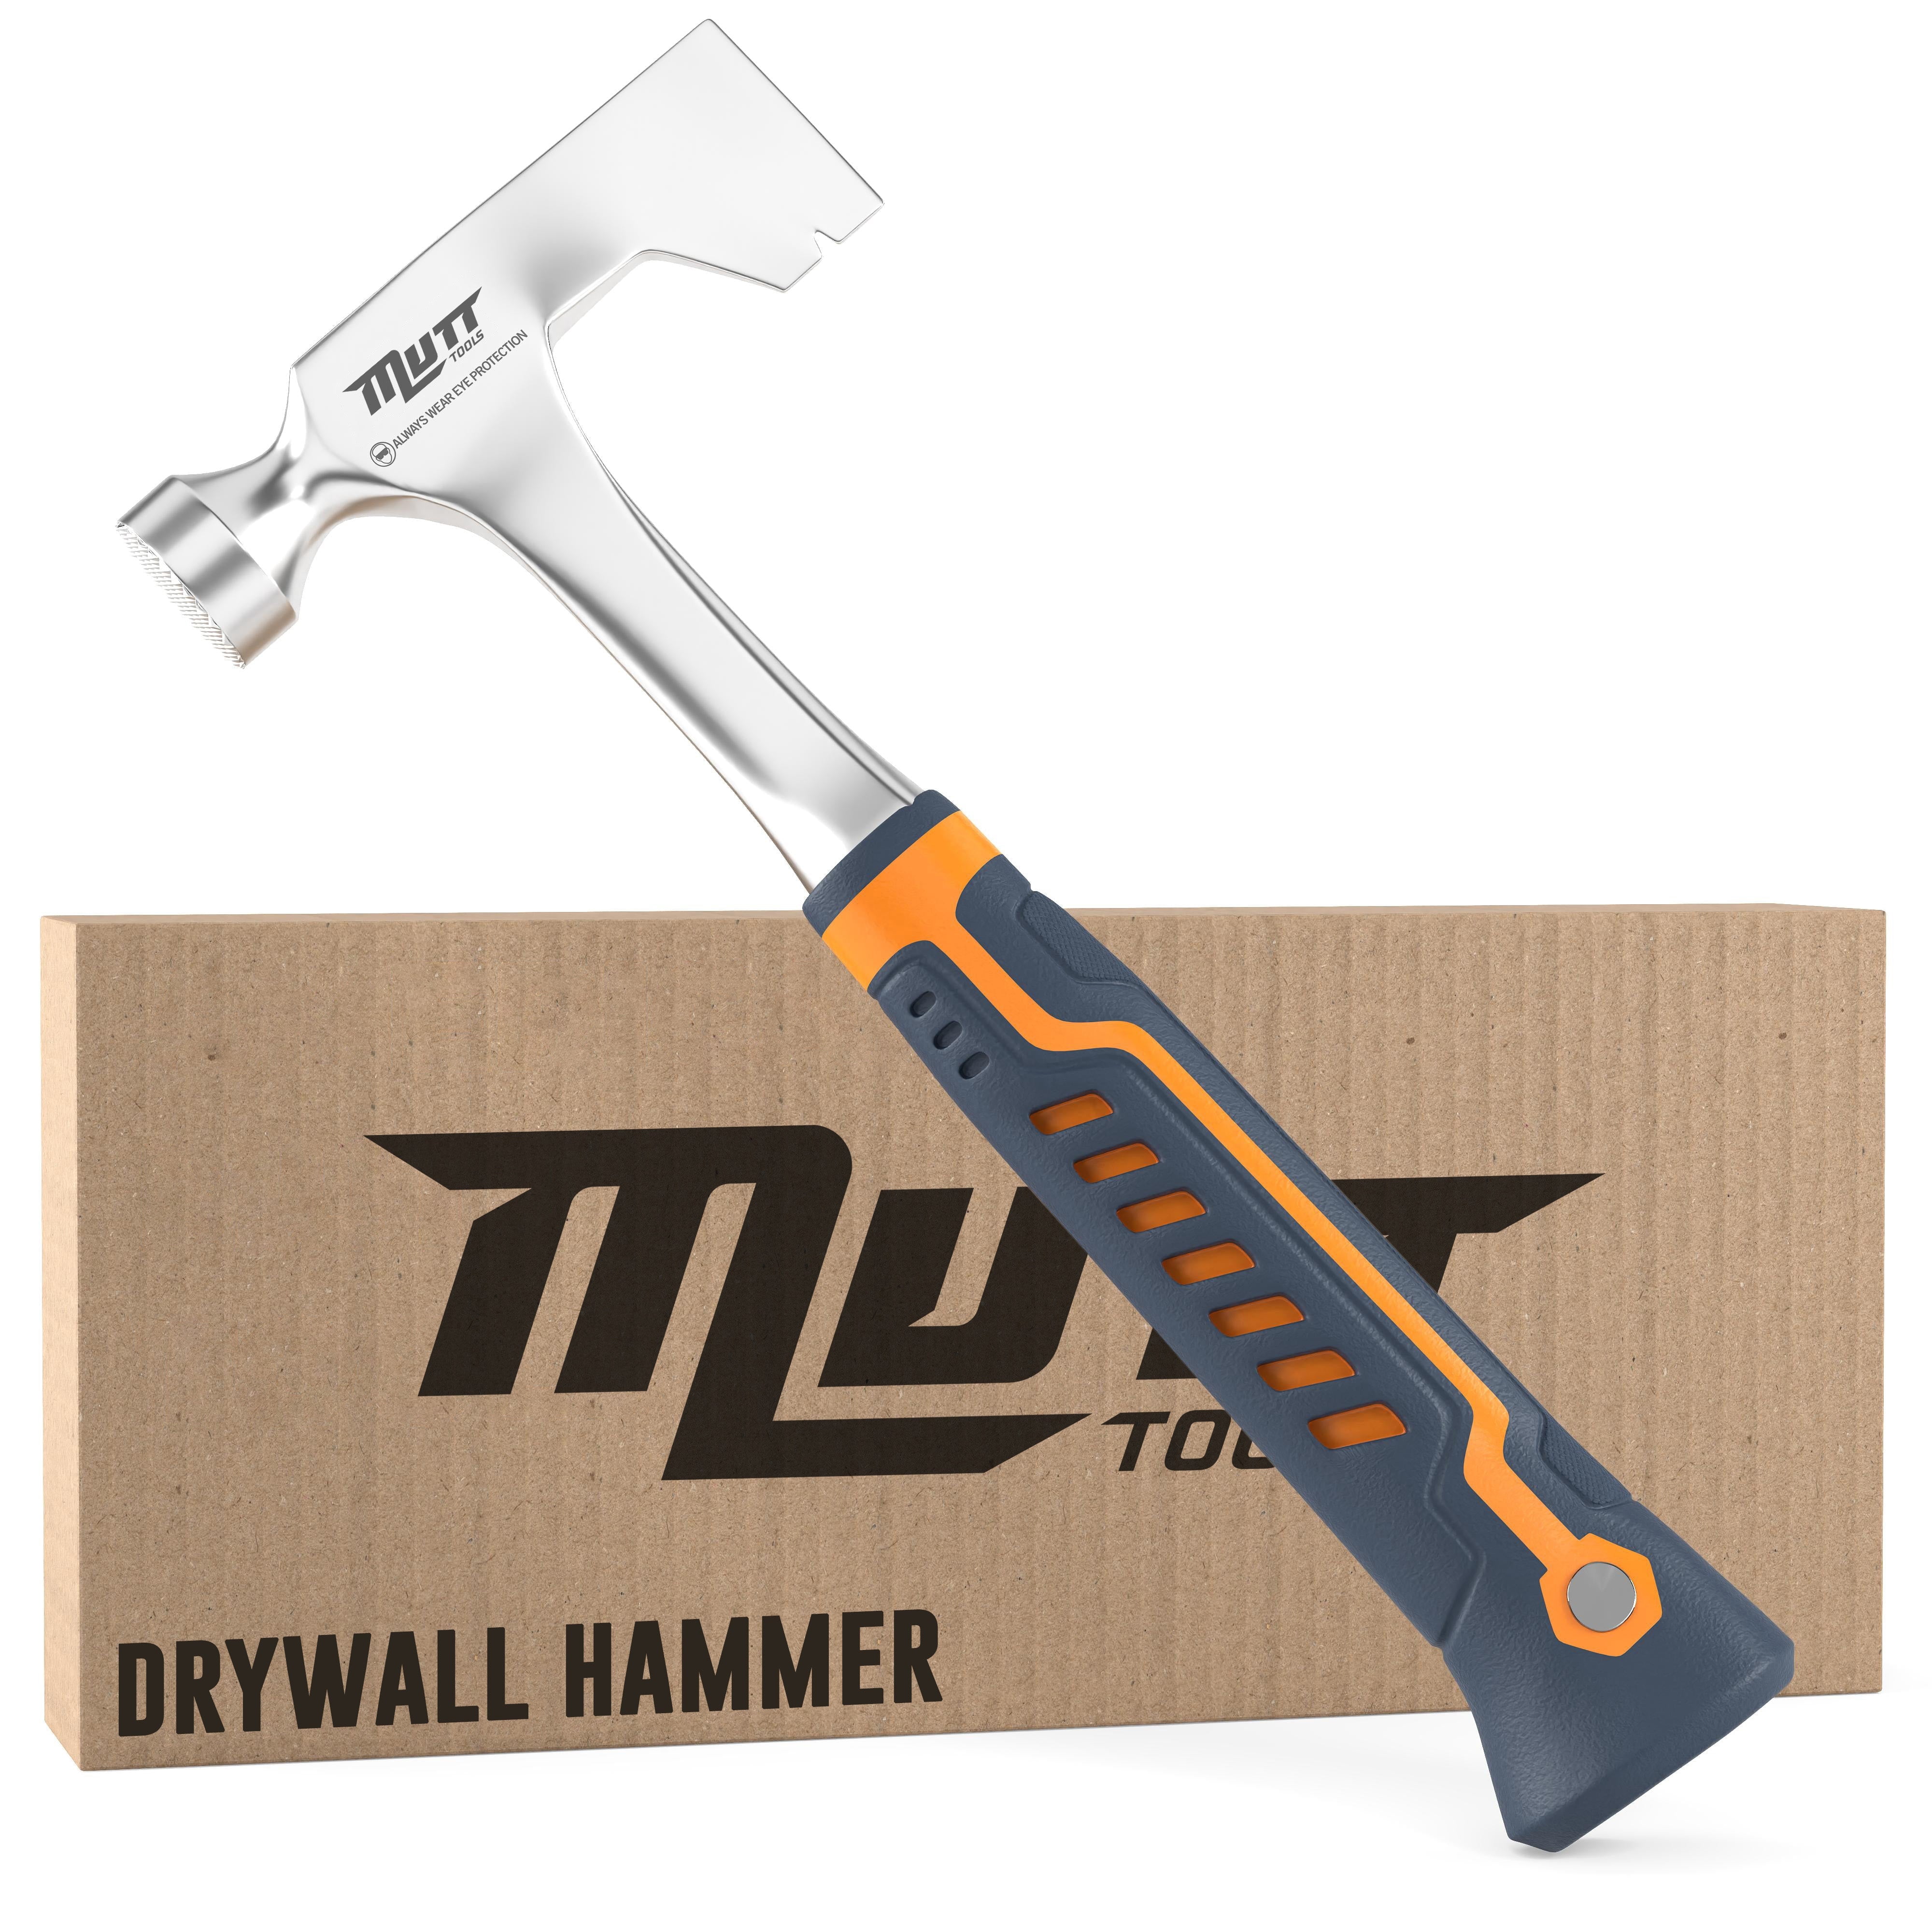
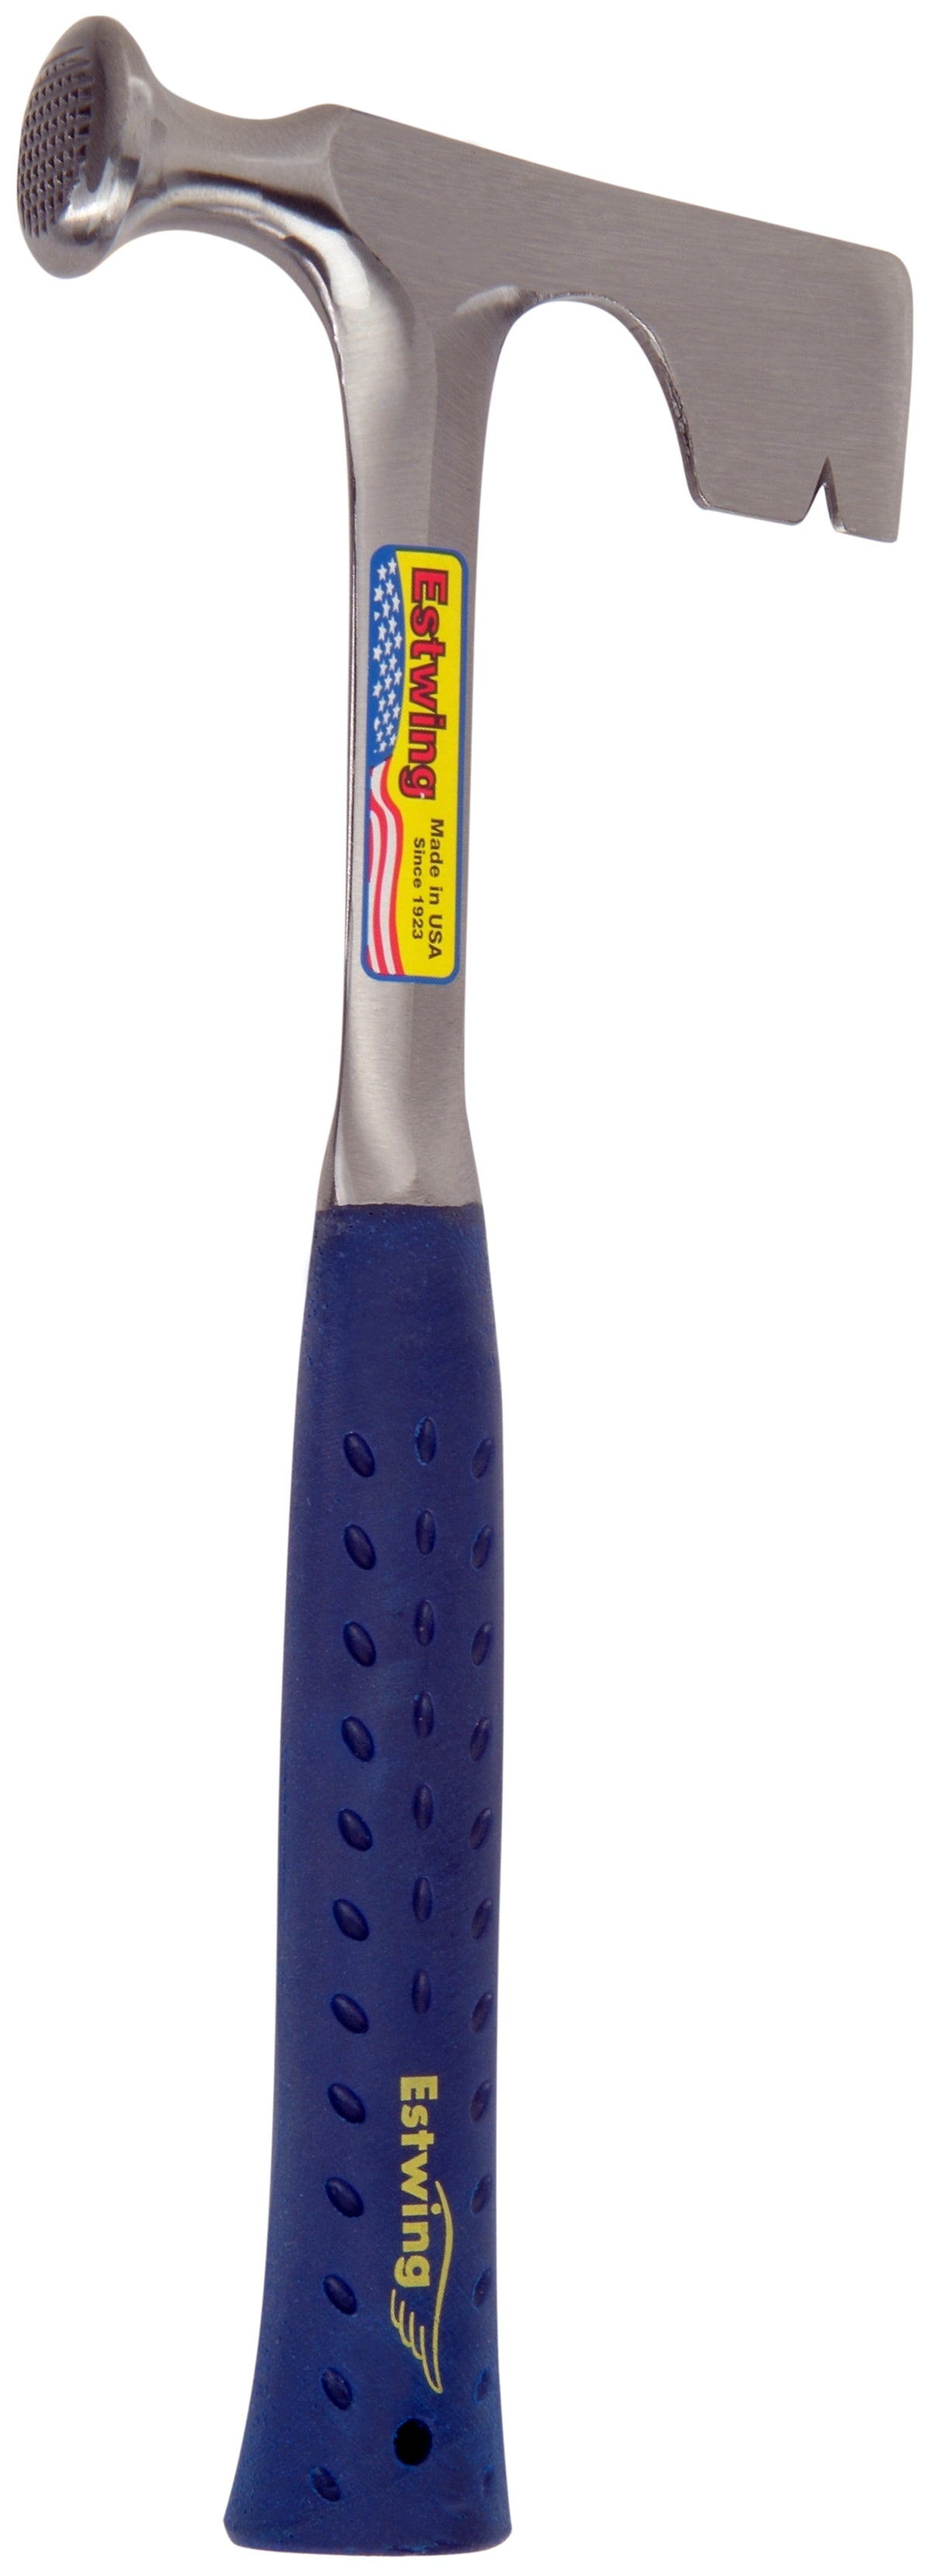
A typical drywall hammer has two working ends:
- A striking face for tapping and setting nails
- A narrow blade or hatchet edge for cutting and trimming drywall
The striking face often has a rounded or convex shape. This shape helps press a nail head slightly below the drywall surface without creating a large flat dent.
The opposite end may have a sharp, narrow blade. Some models also include a notch that can help pull nails. Designs vary, so the exact shape depends on the manufacturer and intended use.
Main drywall hammer parts
| Part | Main purpose |
|---|---|
| Striking face | Drives or sets drywall nails and makes light dents |
| Drywall blade | Cuts small sections of gypsum board |
| Nail notch | Helps remove nails in some designs |
| Handle | Provides grip and control |
| Head | Adds weight and balance for controlled blows |
A drywall hammer is usually lighter and more compact than a framing hammer. The smaller head helps reduce accidental damage to the panel.
The blade is not always meant to replace a drywall saw. It works well for short cuts and quick changes, but a utility knife or jab saw is often better for long, clean cuts.
How Do You Use a Drywall Hammer?
Use a drywall hammer with light, controlled strikes and confirm that no wires or pipes are behind the panel before cutting or driving anything into it.
To set a drywall nail
- Place the nail in the correct location.
- Drive it until the head is nearly level with the drywall paper.
- Use the rounded face of the hammer to make a shallow dimple.
- Stop when the paper remains intact.
- Cover the dimple with joint compound during finishing.
The goal is to recess the nail head without breaking the paper. If the paper tears, the fastener may lose holding strength and the damaged area can become harder to finish.
Do not strike the same spot repeatedly with force. Several light taps are safer and give better control than one hard blow.
To make a small drywall cut
- Mark the cut with a pencil.
- Check for wires, pipes, studs, and other hidden parts.
- Score the paper along the mark.
- Use the blade to deepen the cut or open the small section.
- Clean the edge with a utility knife or rasp if needed.
For a large opening, use a drywall saw or oscillating tool instead. A drywall hammer blade is better for short cuts than for long, straight cuts.
To remove damaged drywall
- Mark the damaged area.
- Cut a clean shape around the damage.
- Break away the loose gypsum with controlled taps.
- Remove nails or screws that hold the section.
- Check the framing before installing a patch.
Wear eye protection. Small gypsum chips can break loose when the hammer strikes the panel.
Signs that you are using it correctly
You are using the tool properly when:
- The paper face stays mostly intact.
- Nail heads sit slightly below the surface.
- The cut edge does not crumble more than needed.
- The panel does not flex or crack from heavy blows.
- You can control each strike without over-swinging.
If the paper tears, the gypsum cracks widely, or the hammer leaves deep dents, reduce the force and switch to a more suitable cutting tool when needed.

Drywall Hammer vs. Regular Hammer
A drywall hammer and a regular claw hammer are not the same tool. Their heads, weight, and intended work differ.
| Feature | Drywall hammer | Framing or claw hammer |
|---|---|---|
| Main job | Drywall cutting and fastening | General construction and framing |
| Head size | Usually compact | Often larger and heavier |
| Striking face | Often rounded or shaped | Usually flat or textured |
| Cutting end | Narrow drywall blade | No drywall blade |
| Control | Designed for light, precise blows | Designed for stronger strikes |
| Best use | Drywall panels and repairs | Wood framing, nails, and demolition |
A regular hammer can drive drywall nails, but it may leave larger dents or damage the paper. A drywall hammer can drive some nails, but it is not ideal for framing lumber or heavy demolition.
Drywall hammer vs. utility knife
A utility knife usually makes cleaner, more precise scores in drywall paper. It is the better choice for long straight cuts and measured panel work.
A drywall hammer is more useful for:
- Small openings
- Quick trimming
- Removing damaged sections
- Light tapping
- Nail setting
Many drywall jobs use both tools. The knife makes the planned cut, while the hammer helps remove or adjust the cut section.
Drywall hammer vs. drywall saw
A drywall saw has a longer toothed blade. It is useful for plunge cuts and openings that must pass through the panel.
A drywall hammer is smaller and can be easier to control in tight areas. It is not usually the best option for long cuts or large openings.

Do You Need a Drywall Hammer for Drywall Work?
You do not always need a drywall hammer. The right choice depends on the work.
A drywall hammer can be helpful if you:
- Repair holes or damaged wall sections
- Work with drywall nails
- Install drywall in a small area
- Need to trim a panel in a tight spot
- Want one tool for light cutting and tapping
You may not need one if you:
- Use drywall screws for all fastening
- Make only straight cuts
- Have a utility knife, drywall saw, and drill
- Do not perform drywall repairs often
For many do-it-yourself projects, a utility knife, measuring tool, drywall saw, drill, and sanding block cover more tasks. A drywall hammer becomes more useful when you handle repairs often or work with older nail-fastened drywall.
The main trade-off is convenience versus specialization. A drywall hammer combines several functions, but it may not perform each one as well as a dedicated tool.

How to Choose a Drywall Hammer
Choose a drywall hammer based on control, blade design, handle comfort, and the type of drywall work you plan to do.
1. Check the head design
Look for a striking face that is shaped for controlled drywall work. A rounded face can help create a small nail dimple without cutting a wide mark into the panel.
The blade should be narrow enough for detail work but strong enough for light cutting. Avoid assuming that a sharper blade is always better. A very sharp edge can be harder to control and may cause unwanted cuts.
2. Consider the weight
A lighter hammer can improve control and reduce fatigue during repair work. A heavier head can deliver more force, but it also increases the risk of breaking the drywall core.
For most home repairs, control matters more than maximum striking power.
3. Inspect the handle
The handle should feel secure and comfortable. Common handle materials include wood, steel, and composite materials.
Check for:
- A firm connection between the head and handle
- A grip that does not slip easily
- No cracks, loose parts, or sharp edges
- A shape that fits your hand
- A length that gives control in tight spaces
4. Look for a nail notch
A nail notch can help remove drywall nails. This feature is useful when repairing older walls or replacing a damaged panel.
It is not essential if you mainly use screws or plan to remove fasteners with a separate claw bar or pliers.
5. Match the tool to the job
For occasional home repairs, a basic, well-balanced drywall hammer may be enough. For repeated installation work, handle comfort, balance, and durable construction become more important.
Do not choose a tool based only on weight or a sharp-looking blade. A drywall hammer should feel predictable in the hand.

Drywall Hammer Safety Tips
Use eye protection, control the striking force, and check behind the drywall before cutting or driving fasteners.
Drywall work can expose you to sharp metal edges, dust, hidden wiring, plumbing, and falling pieces of board.
Follow these safety practices:
- Wear safety glasses when cutting or striking drywall.
- Wear work gloves when handling broken panels or metal framing.
- Keep your free hand away from the striking path.
- Check for electrical wires and plumbing before cutting.
- Do not drive a nail or screw where it could contact hidden wiring.
- Use a stable ladder or platform when working overhead.
- Keep the blade covered or stored safely when not in use.
- Control dust with ventilation and suitable respiratory protection.
- Follow the product label and local safety rules for dust control.
- Do not use a damaged hammer or loose handle.
Gypsum dust can irritate the eyes, skin, and airways. Larger demolition jobs may require extra controls, especially in occupied homes. If the wall may contain lead paint, asbestos-containing material, or other hazardous substances, stop and get qualified guidance before disturbing it.
If you are unsure about hidden electrical or plumbing lines, do not guess. Use an appropriate detector or ask a qualified professional to inspect the area.

Common Drywall Hammer Mistakes
The most common mistake is treating a drywall hammer like a small framing hammer. Drywall needs controlled force because the paper face provides much of the panel’s surface strength.
Avoid these errors:
Striking too hard
Heavy blows can crush the gypsum core, tear the paper, or create a large repair area. Use light taps instead.
Using the blade for long cuts
The blade may wander or produce a rough edge. Score long cuts with a utility knife or use a drywall saw when appropriate.
Over-setting nails
A nail should sit slightly below the surface, not deep inside the panel. A deep crater can weaken the paper and take more joint compound to repair.
Cutting without checking behind the wall
A small opening can still hit a wire or pipe. Inspect first, especially near outlets, switches, plumbing fixtures, and heating equipment.
Using the tool on wood framing
A drywall hammer is not designed for heavy framing work. Repeated use on hard materials can damage the edge or handle.
Ignoring a damaged handle
A loose head or cracked handle can cause loss of control. Replace or repair the tool before using it again.

How to Maintain a Drywall Hammer
Clean the hammer after use and store it in a dry place. Remove gypsum dust from the blade and head with a dry brush or cloth.
Inspect the tool before each job:
- Check that the head is tight.
- Look for cracks in the handle.
- Check the blade for chips or bends.
- Confirm that the grip is not loose.
- Remove rust from exposed metal when needed.
Do not use a damaged blade for precision cuts. A bent edge can slip and create an uneven opening.
If the manufacturer provides care instructions, follow them. Avoid changing the shape of the blade unless the tool is designed to be sharpened. Excessive grinding can weaken the metal or change the tool’s balance.
Key Takeaways
- A drywall hammer is a compact tool for cutting, tapping, trimming, and setting drywall fasteners.
- It is also called a drywall hatchet or drywall axe.
- Its narrow blade handles small cuts, while its shaped face helps set nails.
- Use light strikes to protect the drywall paper and gypsum core.
- A utility knife or drywall saw is usually better for long or precise cuts.
- Check for hidden wires and pipes before cutting or driving fasteners.
- Choose a hammer with good balance, a secure handle, and a blade suited to your work.
Frequently Asked Questions
Is a drywall hammer the same as a drywall hatchet?
Yes. “Drywall hammer,” “drywall hatchet,” and “drywall axe” often describe the same general type of tool. Exact designs vary by manufacturer.
Can you use a drywall hammer on drywall screws?
A drywall hammer is not used to drive drywall screws. Use a drill, driver, or drywall screw gun with the correct bit and depth setting. The hammer may still help with small cuts or panel adjustments.
Can a drywall hammer replace a utility knife?
Not fully. A drywall hammer can make small cuts, but a utility knife usually provides better control for long, straight scores and clean panel edges.
Does a drywall hammer cut through studs?
No. Its blade is intended for drywall and light materials. Do not use it to cut wood studs, metal framing, electrical cable, or plumbing.
How deep should a drywall nail sit?
The nail head should sit just below the drywall surface while leaving the paper face intact. A shallow dimple is easier to cover than a deep, torn crater.
Conclusion
A drywall hammer is a specialized hand tool for small drywall cuts, nail setting, trimming, and repair work. Its compact blade and shaped striking face give it more control than a standard hammer when working with gypsum panels.
You may not need one for every drywall project. If you often repair walls, work with drywall nails, or need quick detail cuts, it can be a useful addition to your tool kit. For a single project, compare its role with the tools you already own and choose the option that gives you the cleanest cut and safest control.